Monthly Archives: August 2014

New Radiator and Phone Mounts

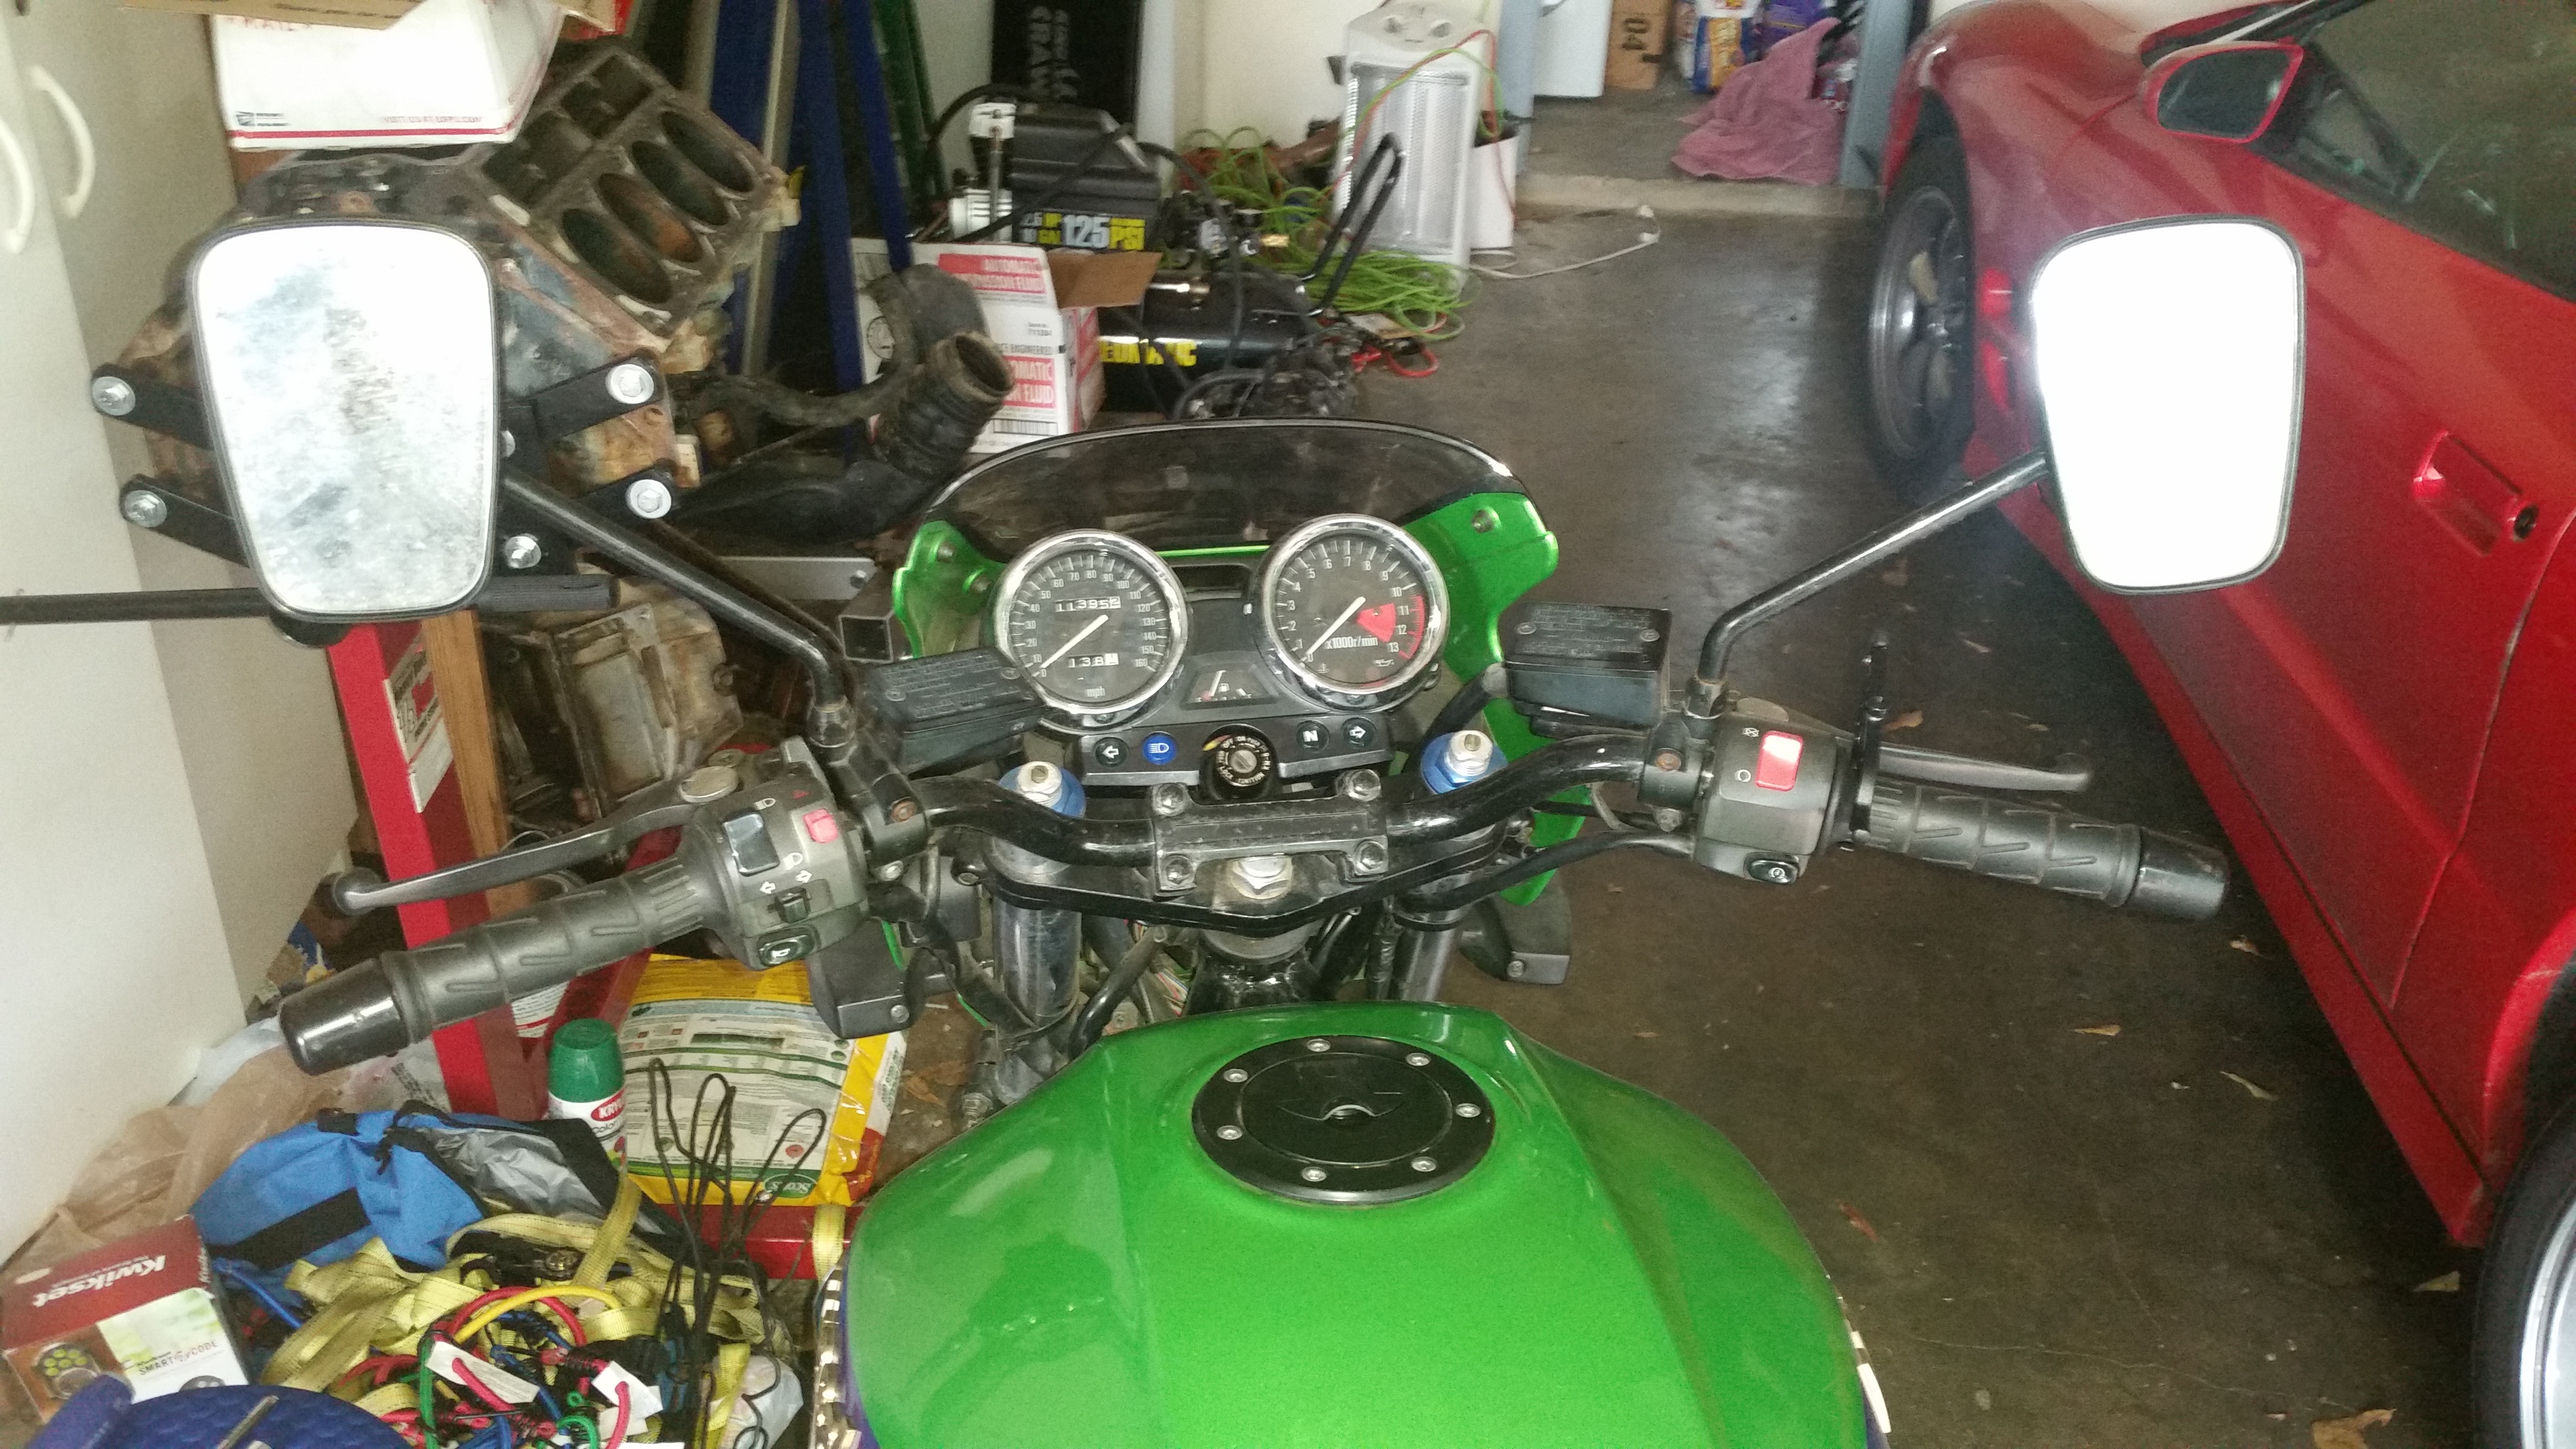
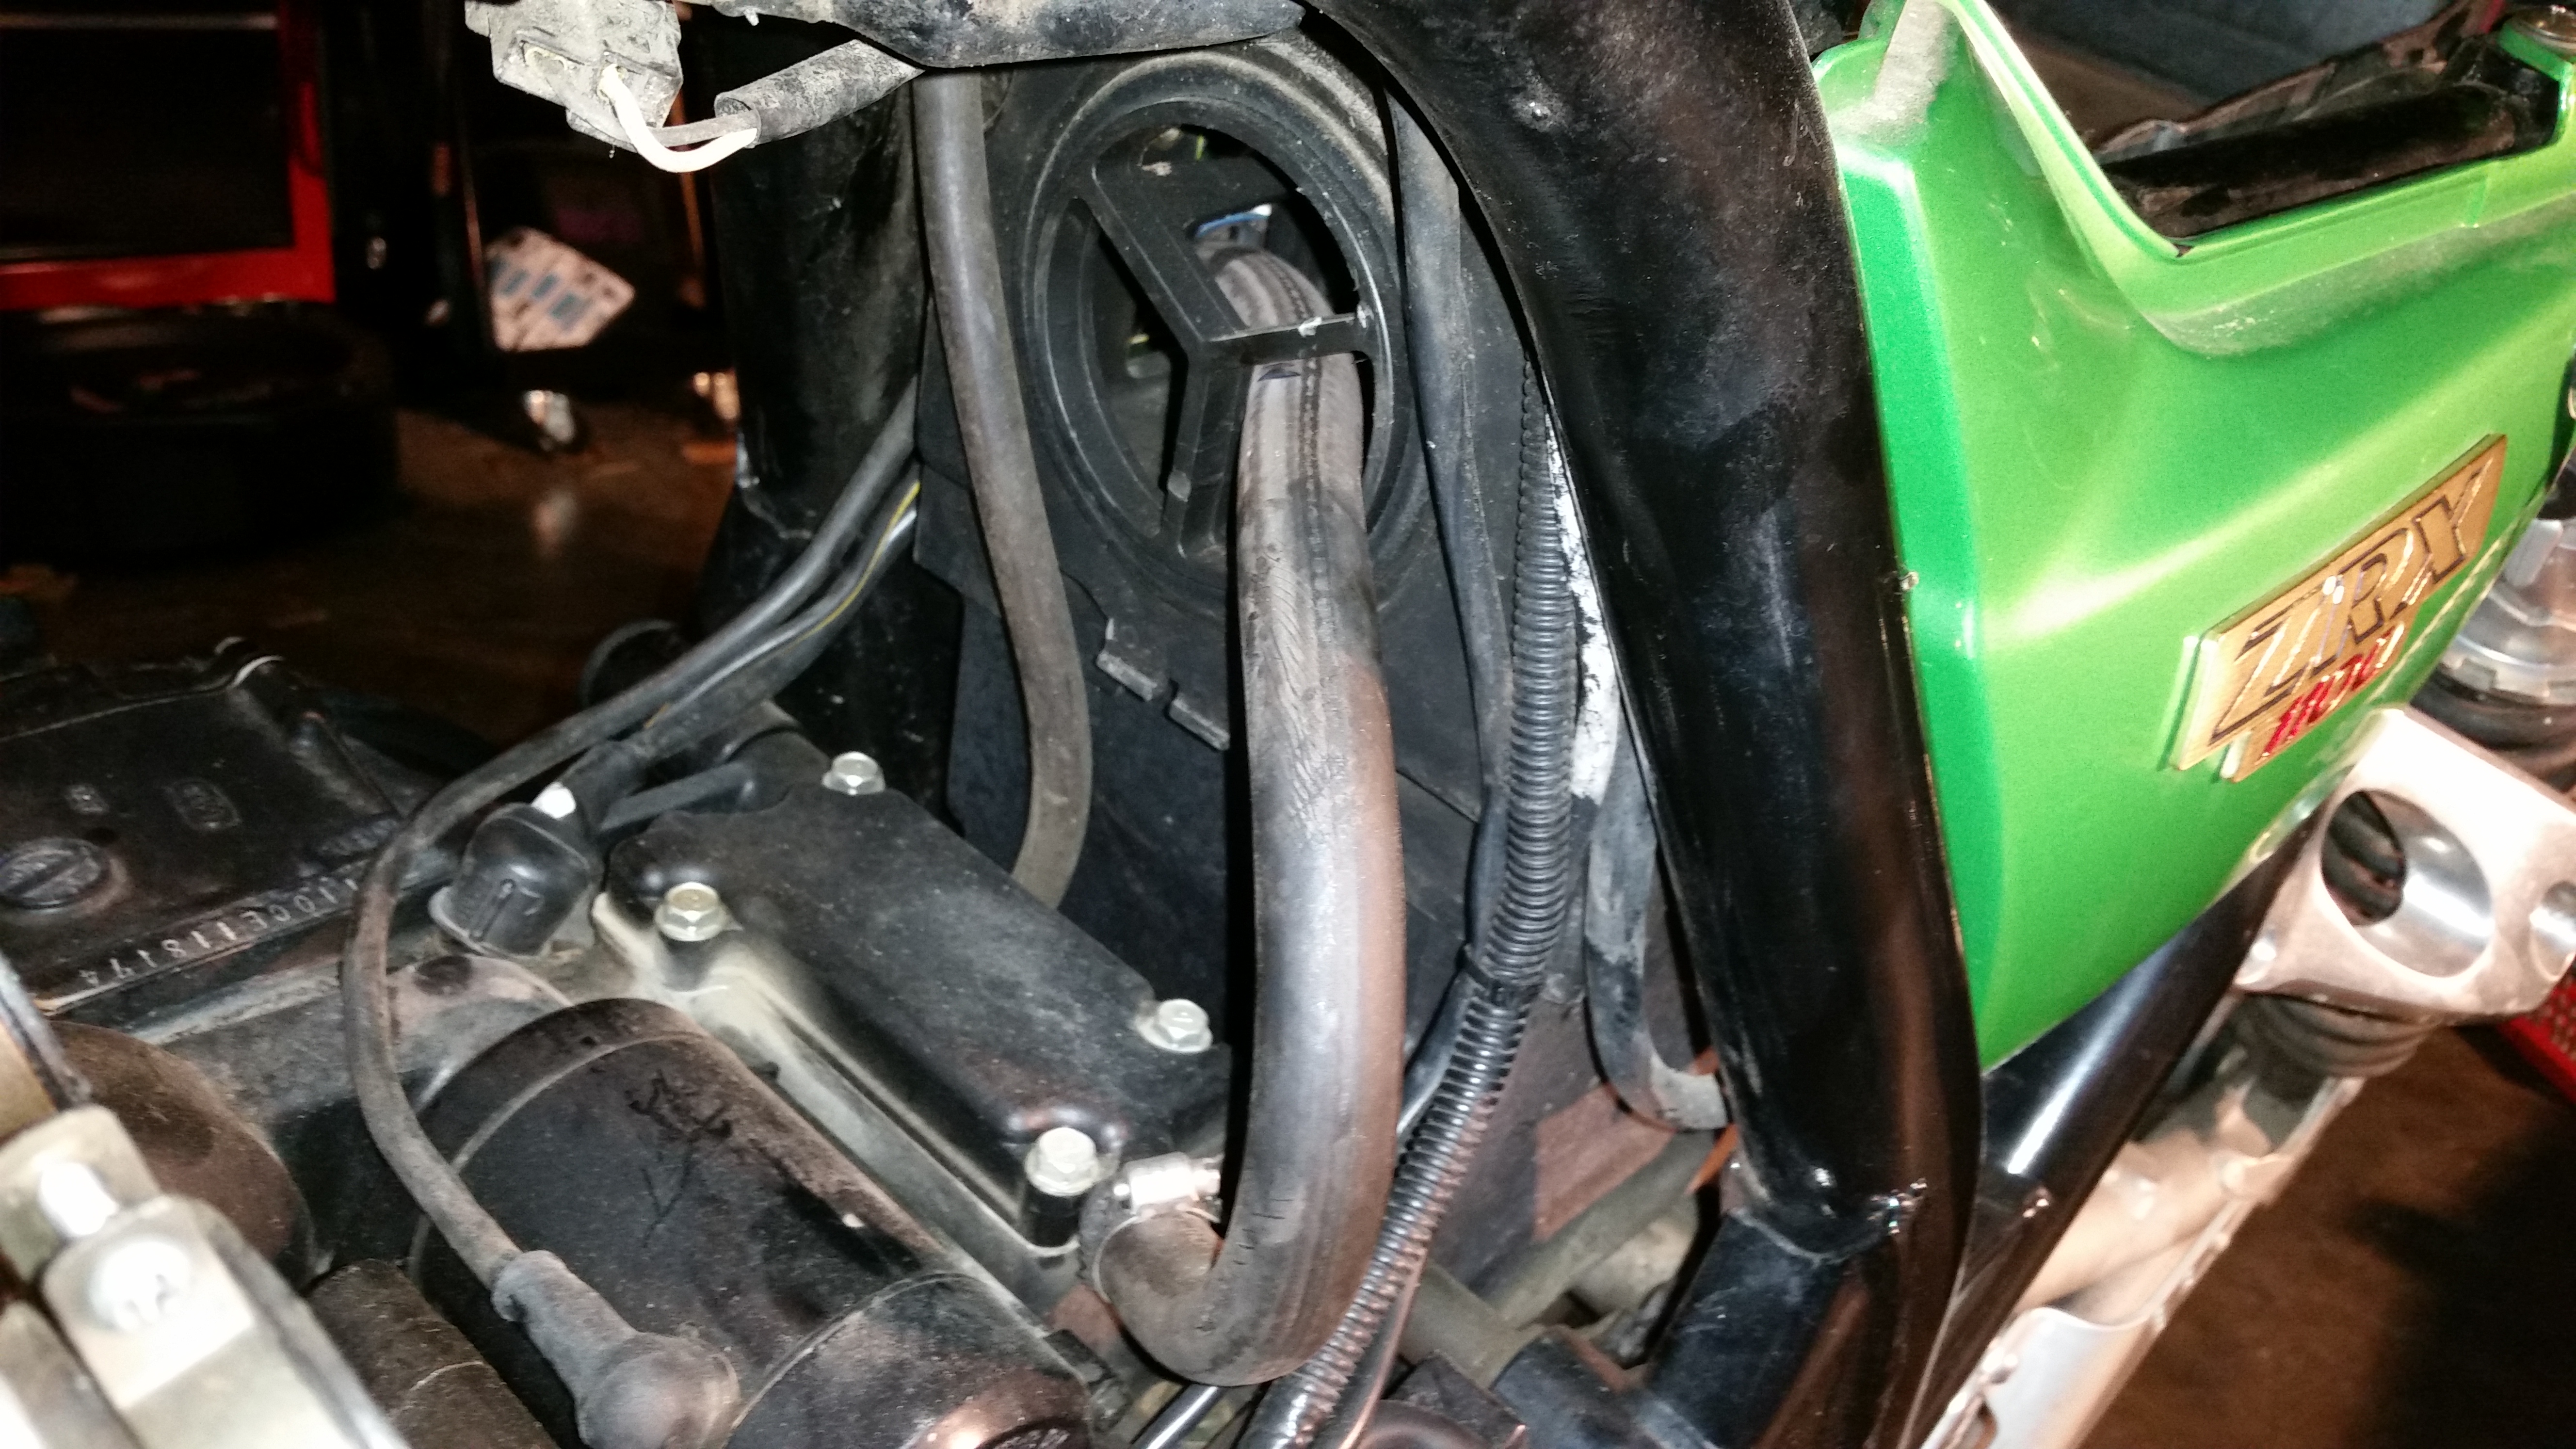
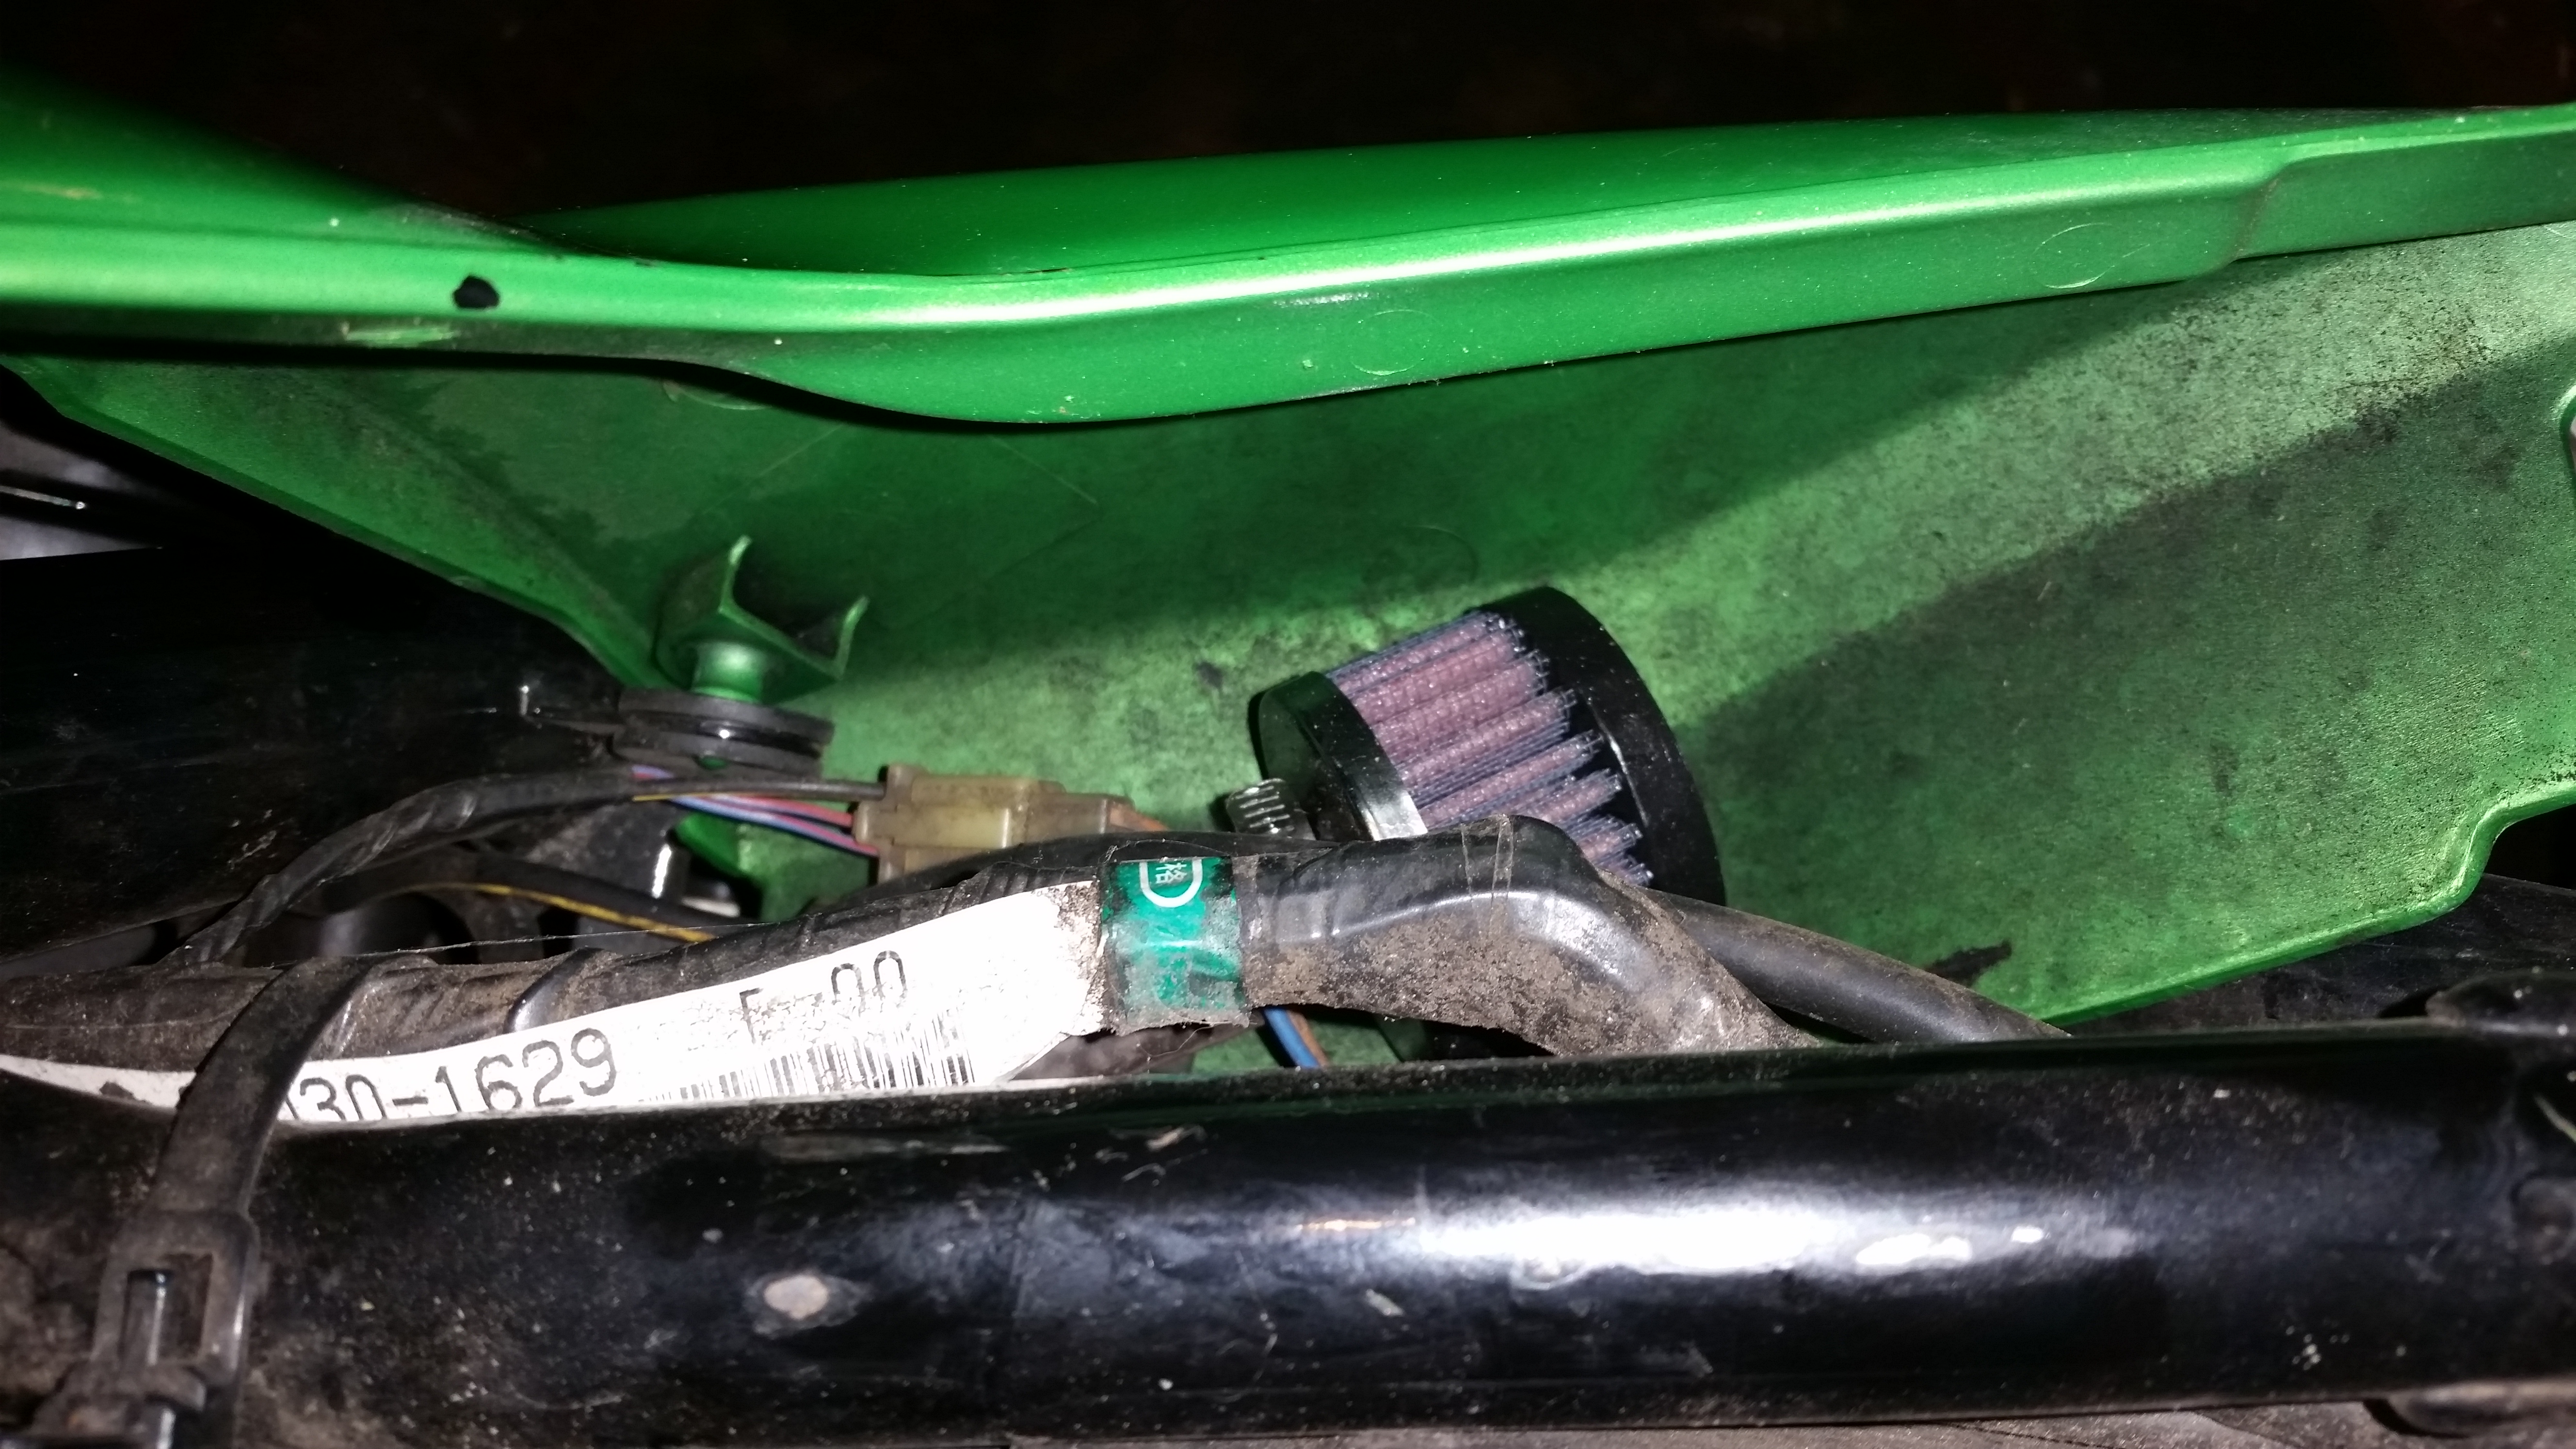
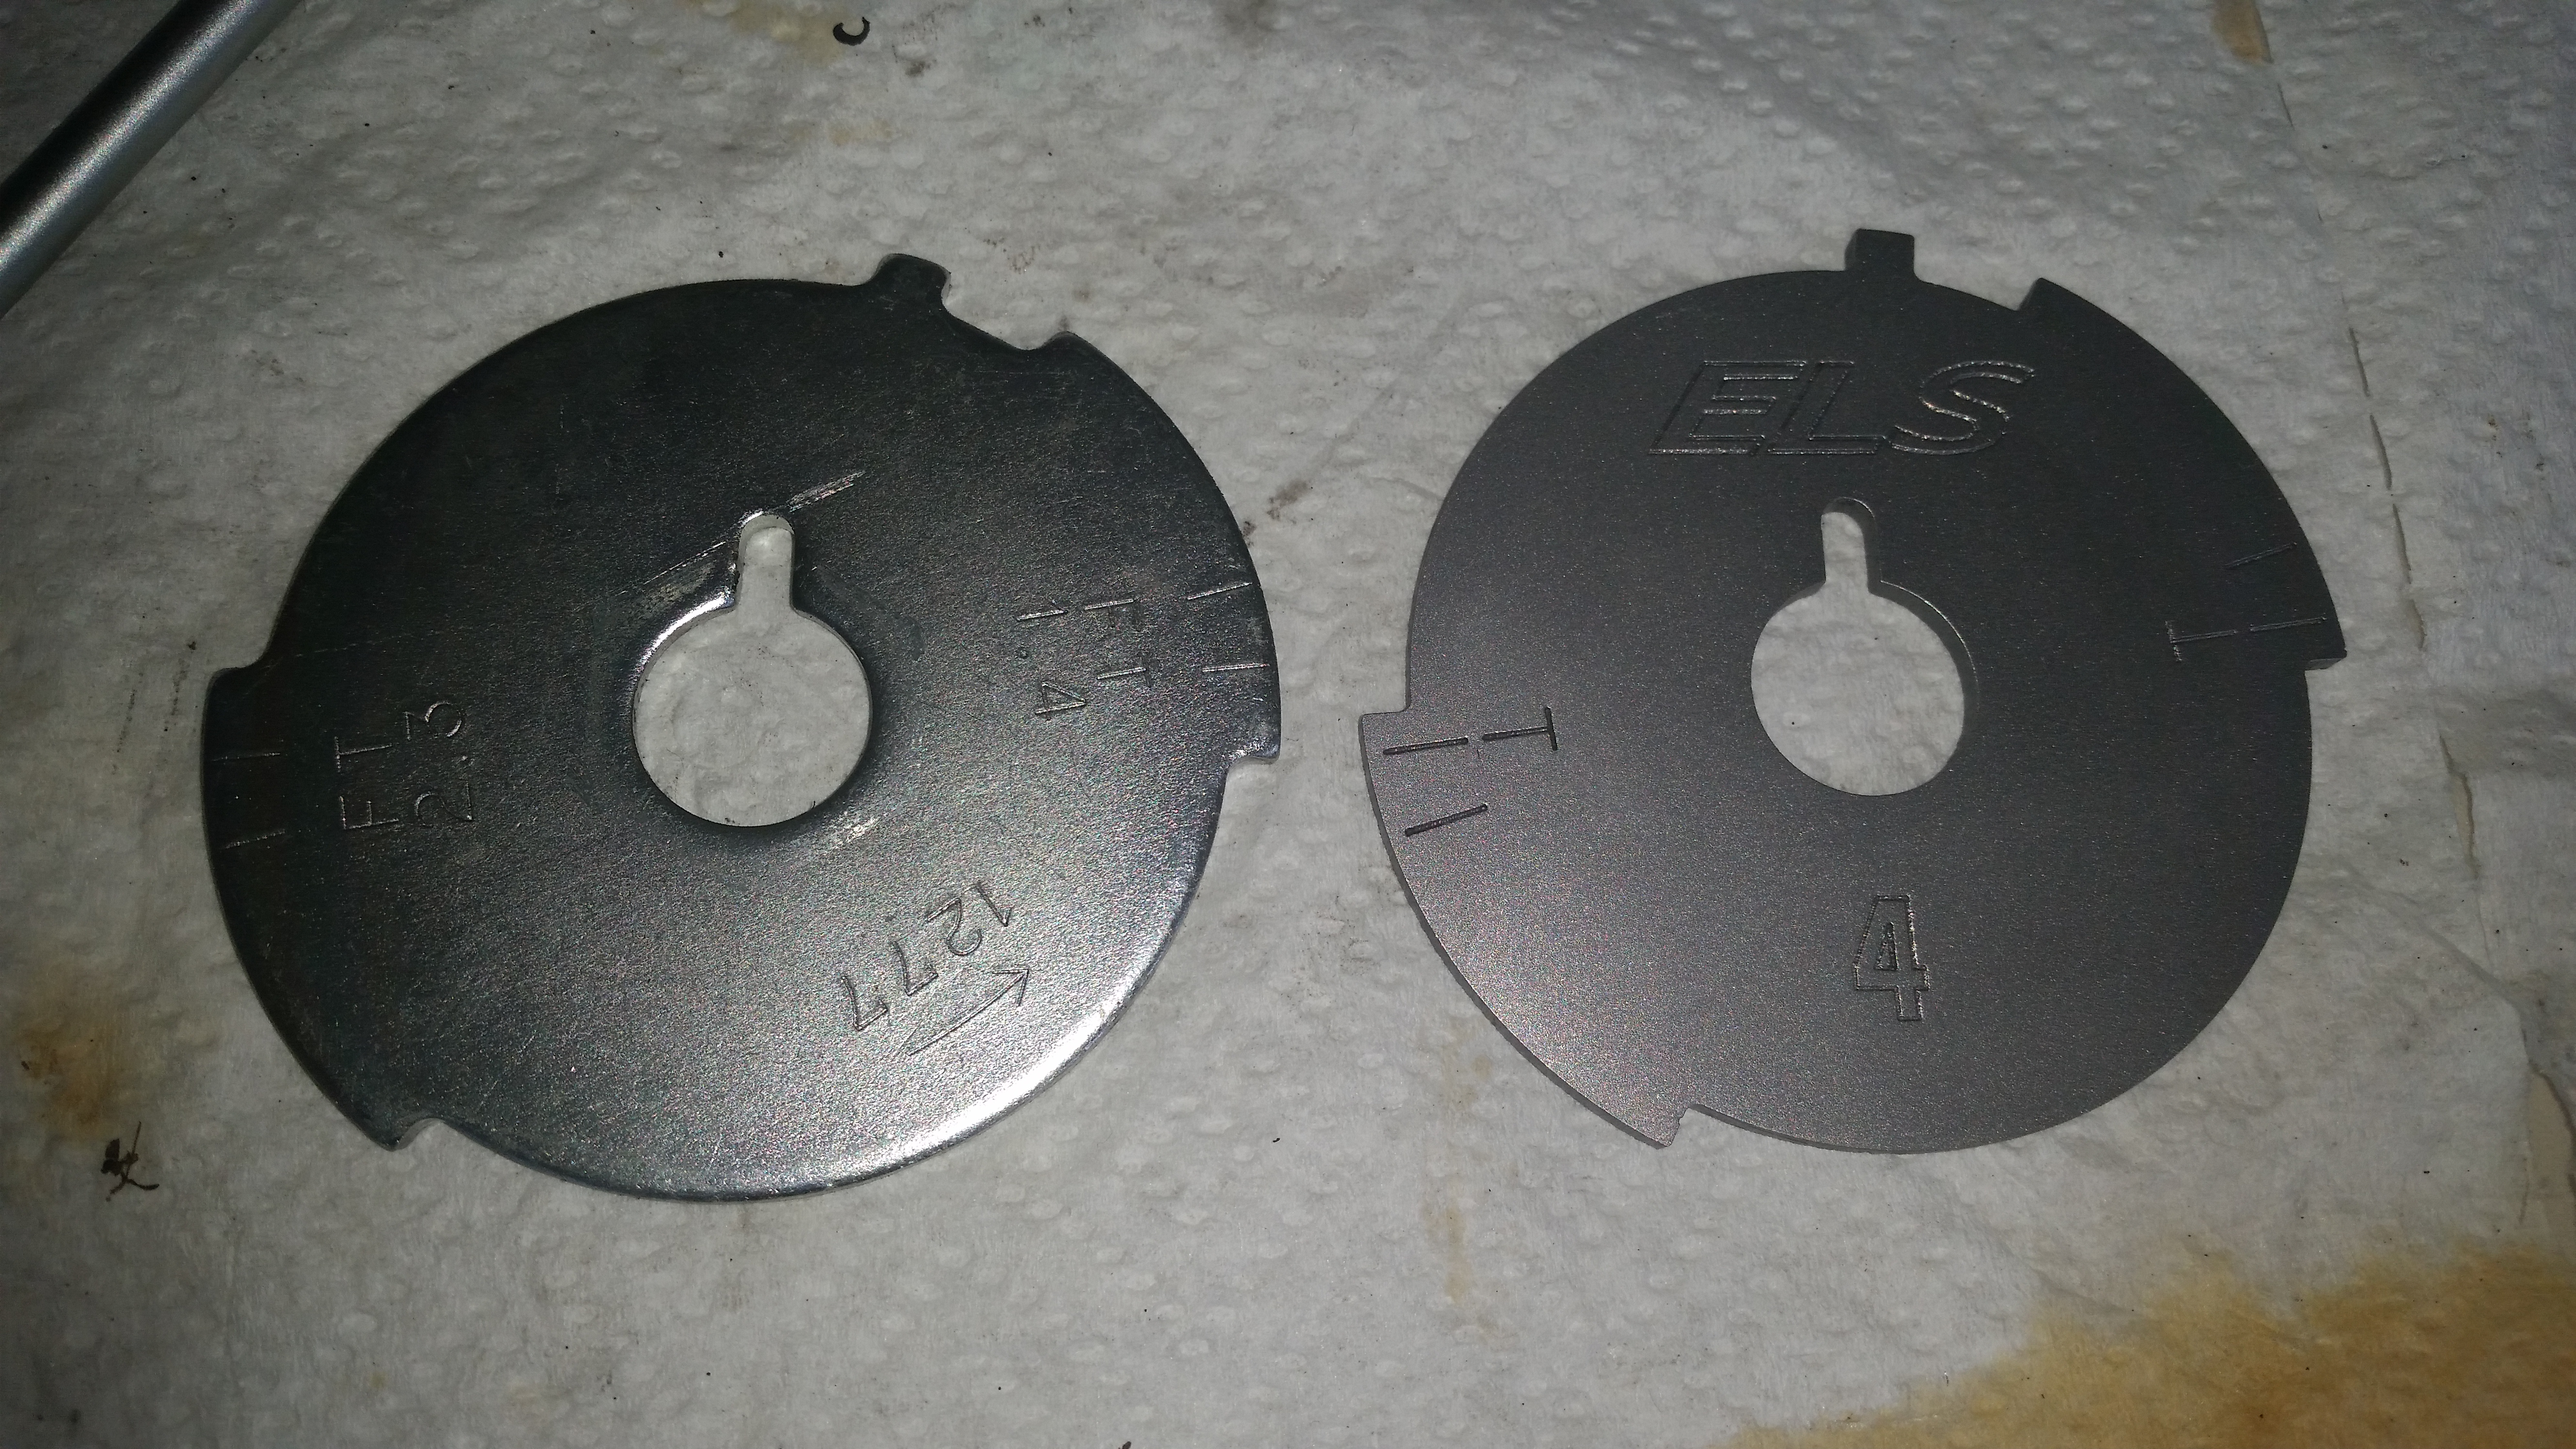
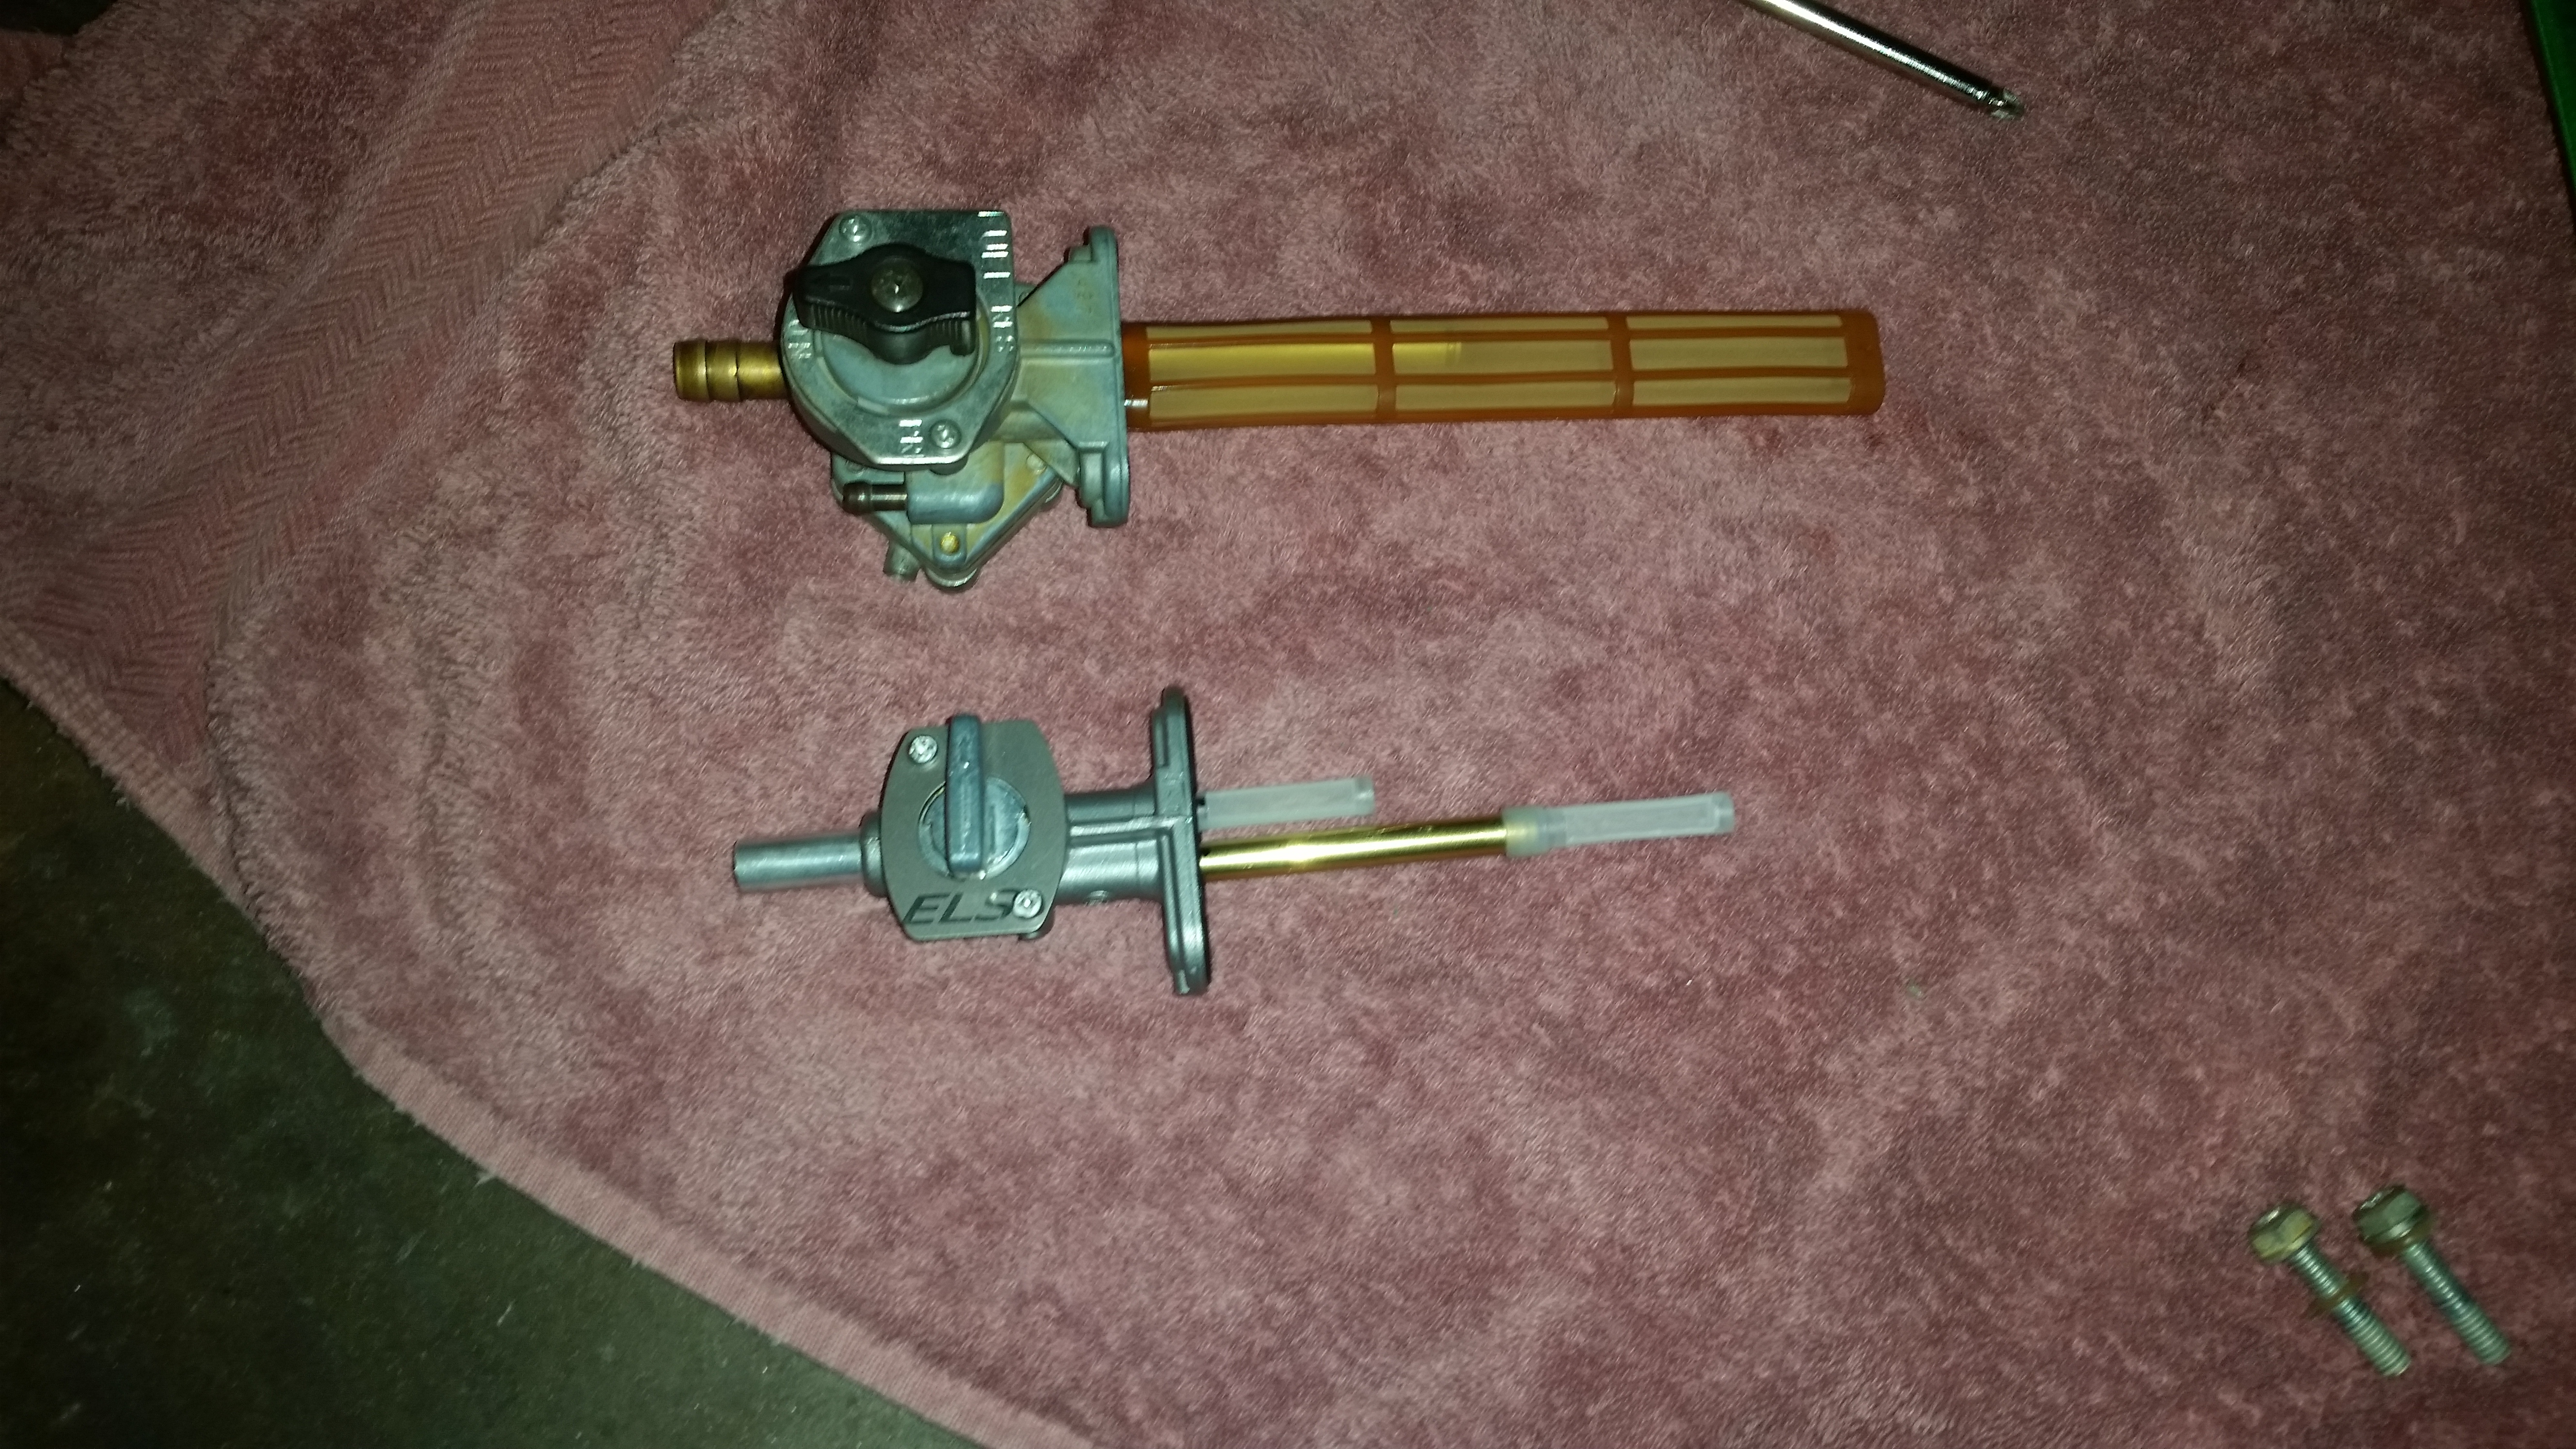
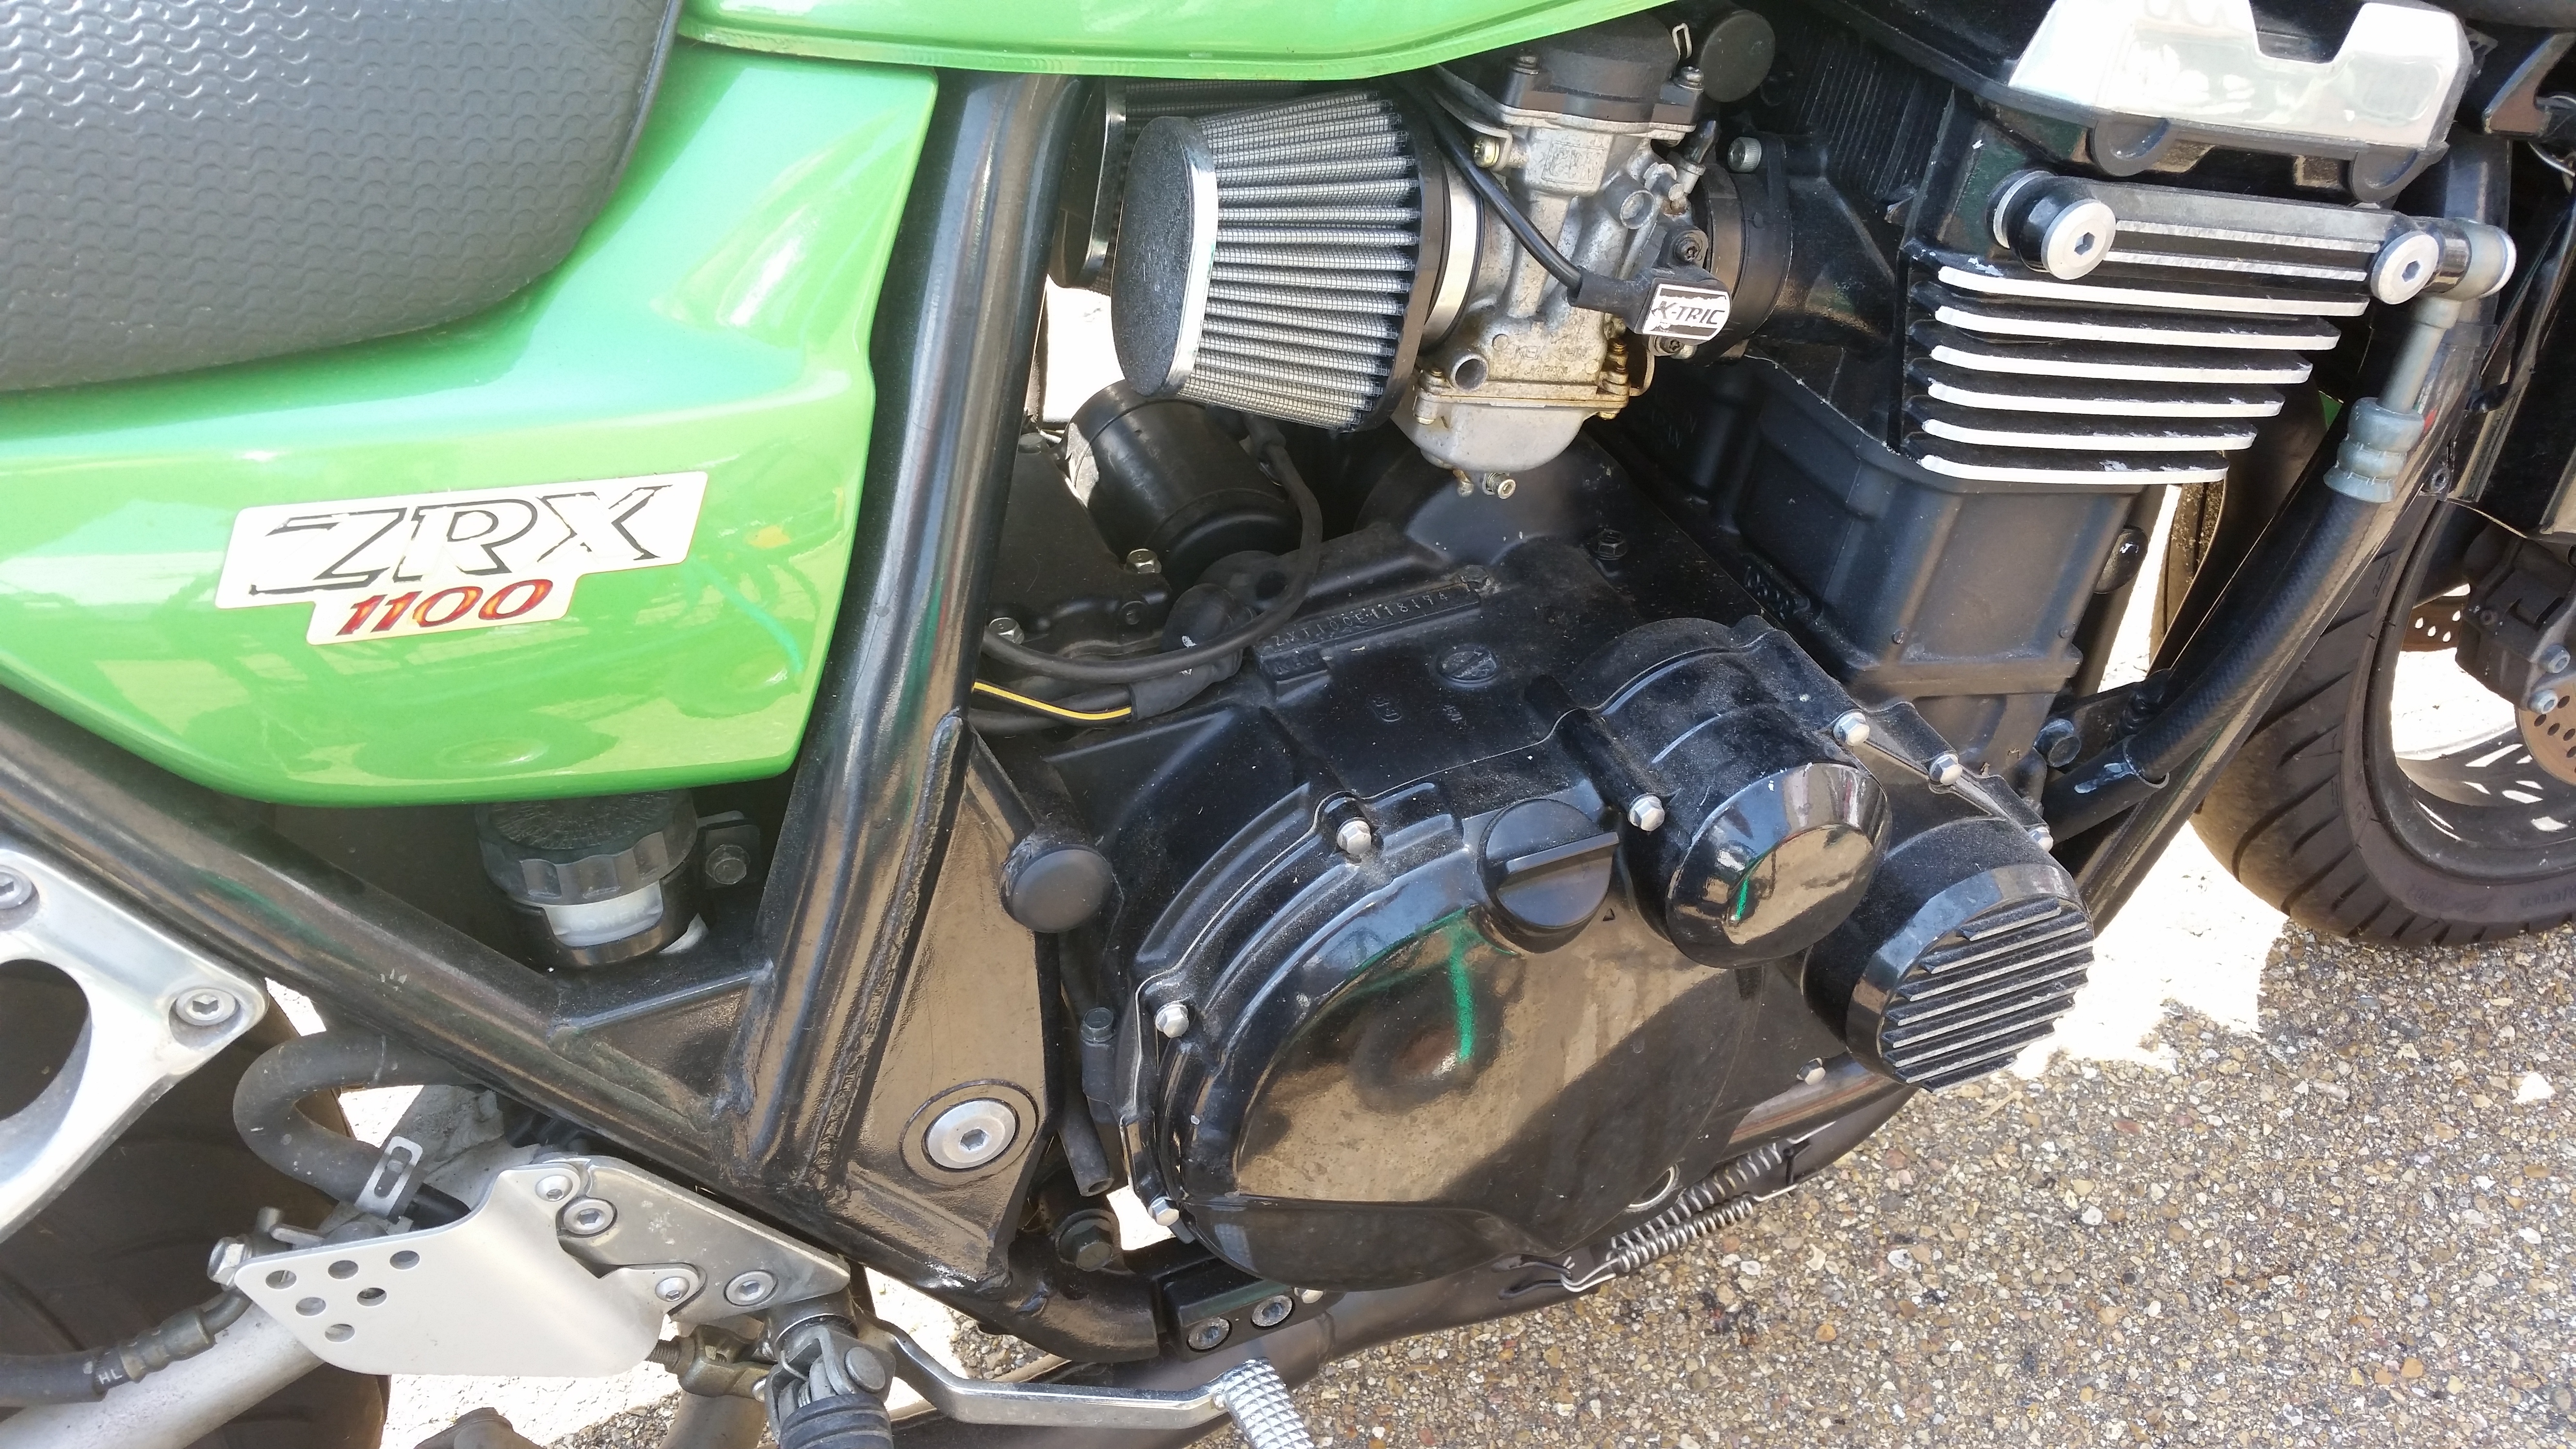
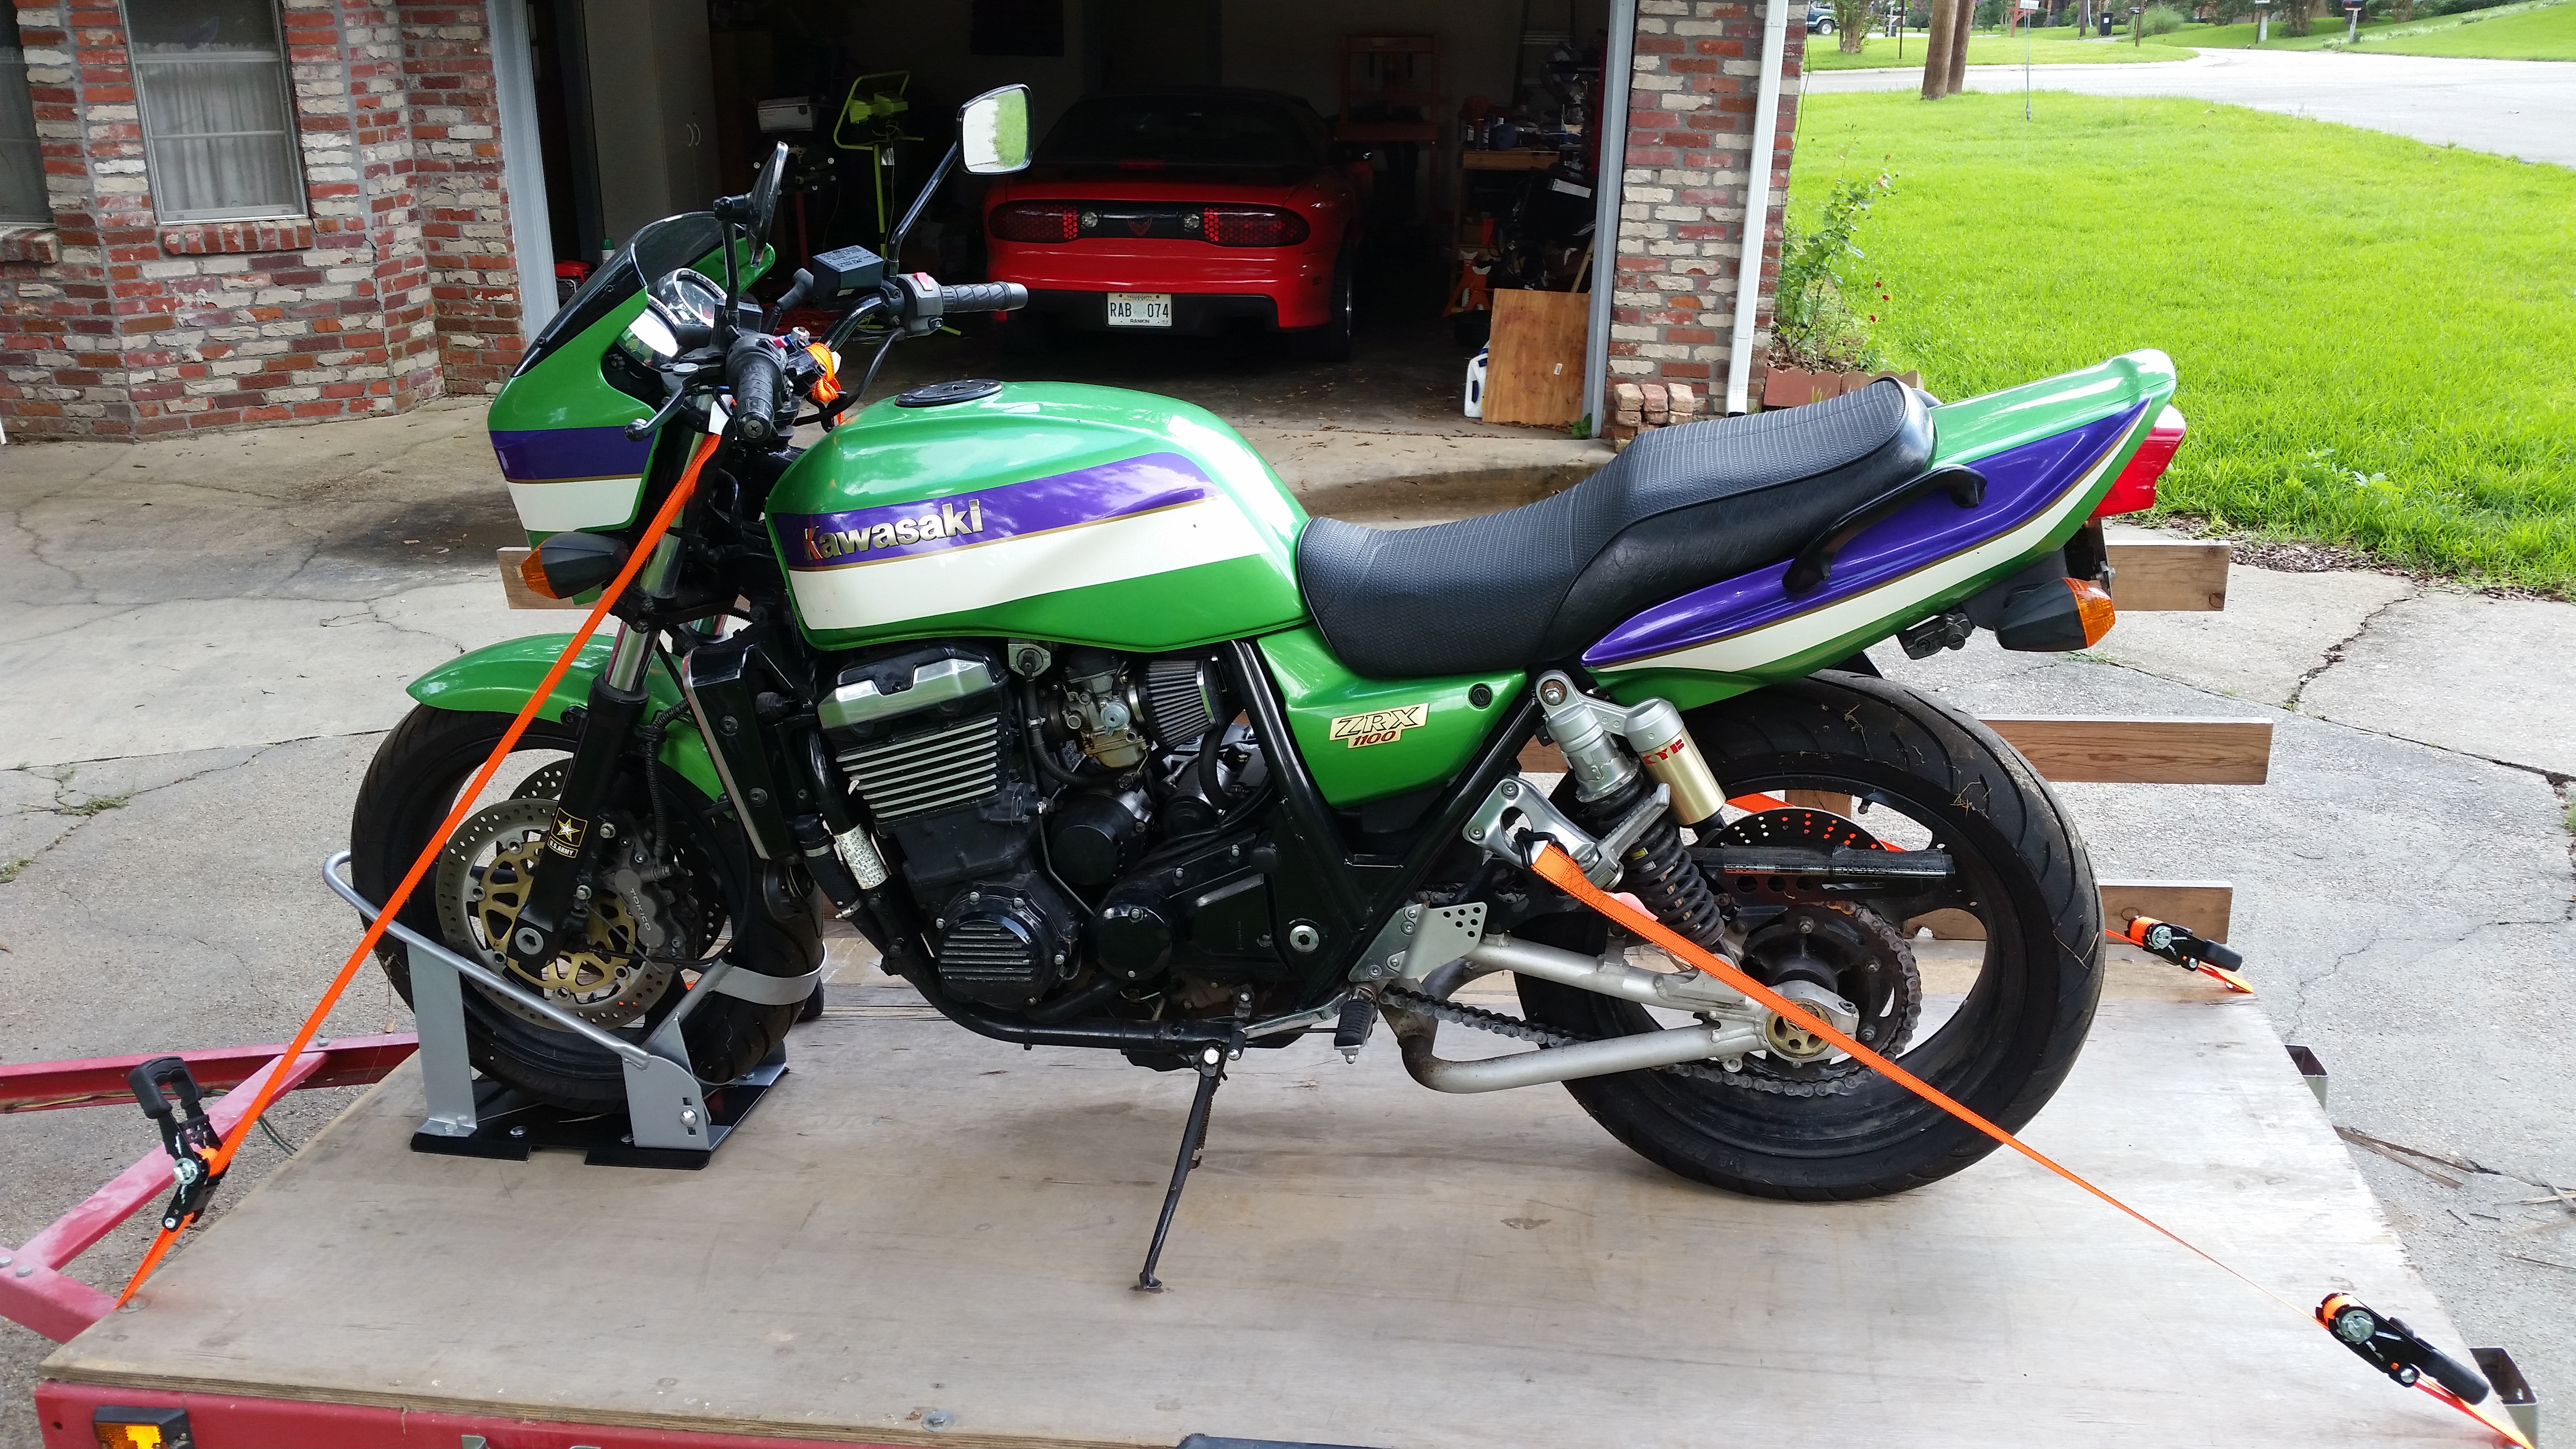
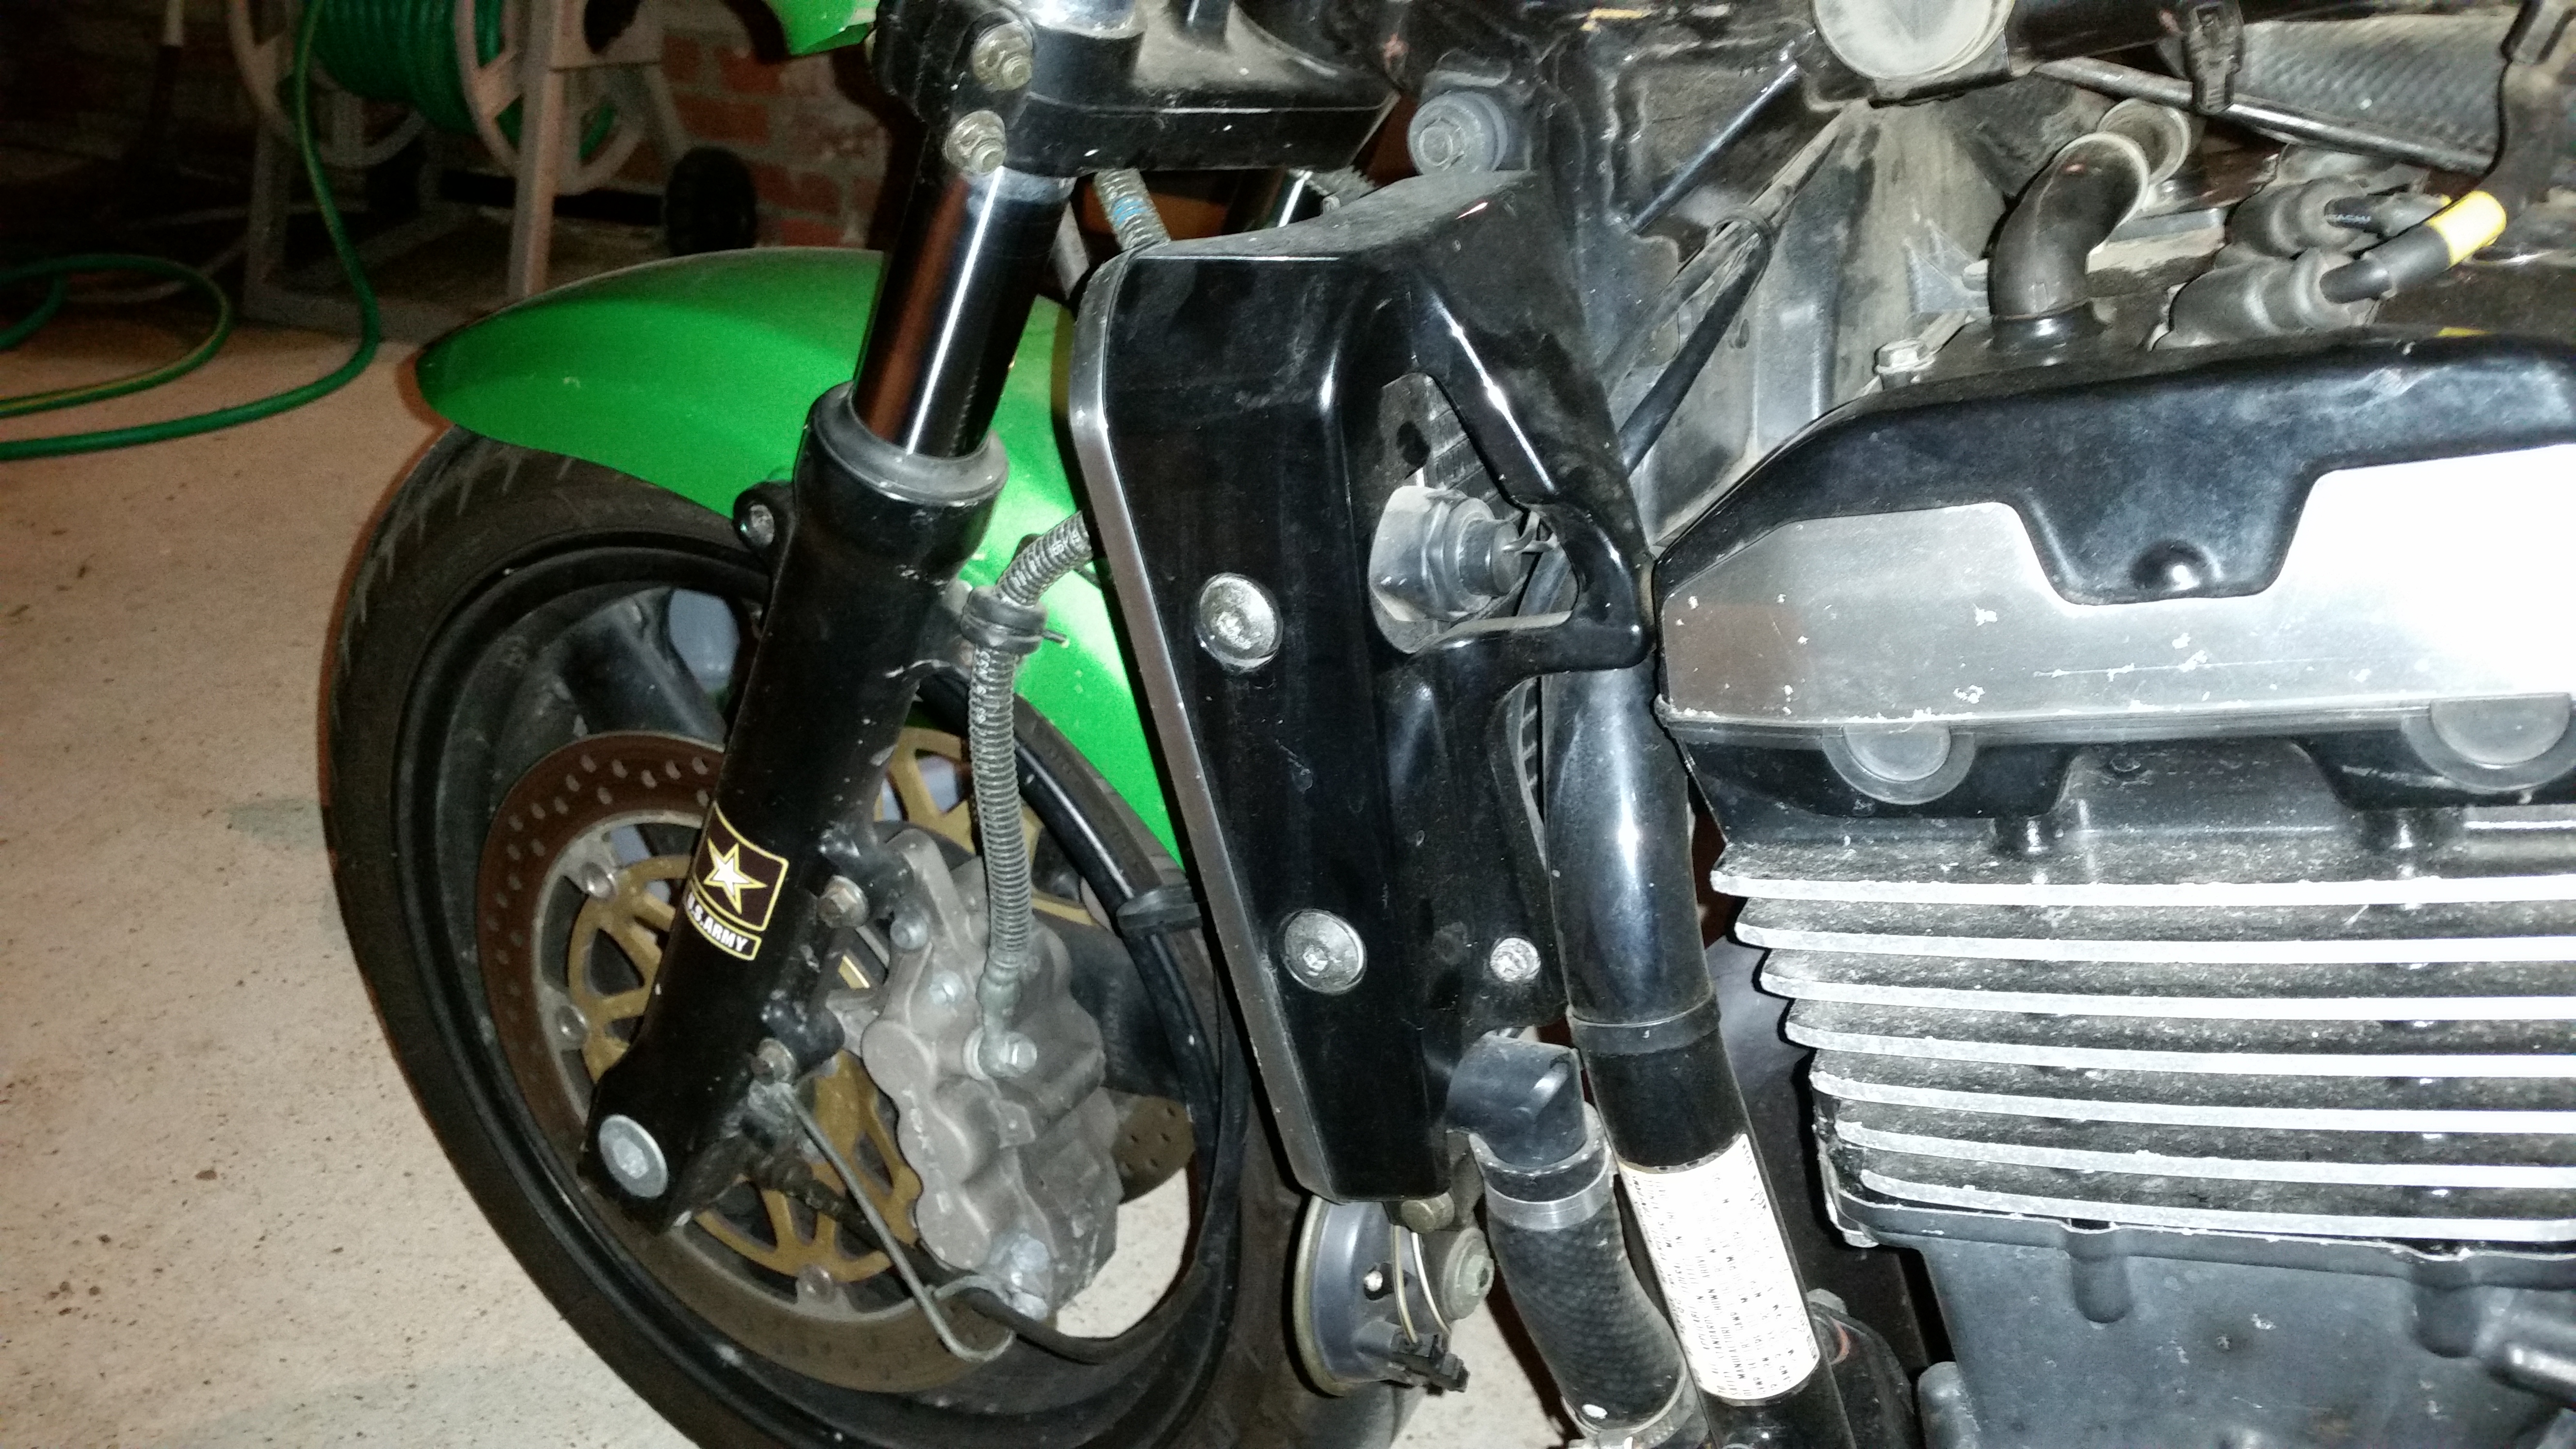
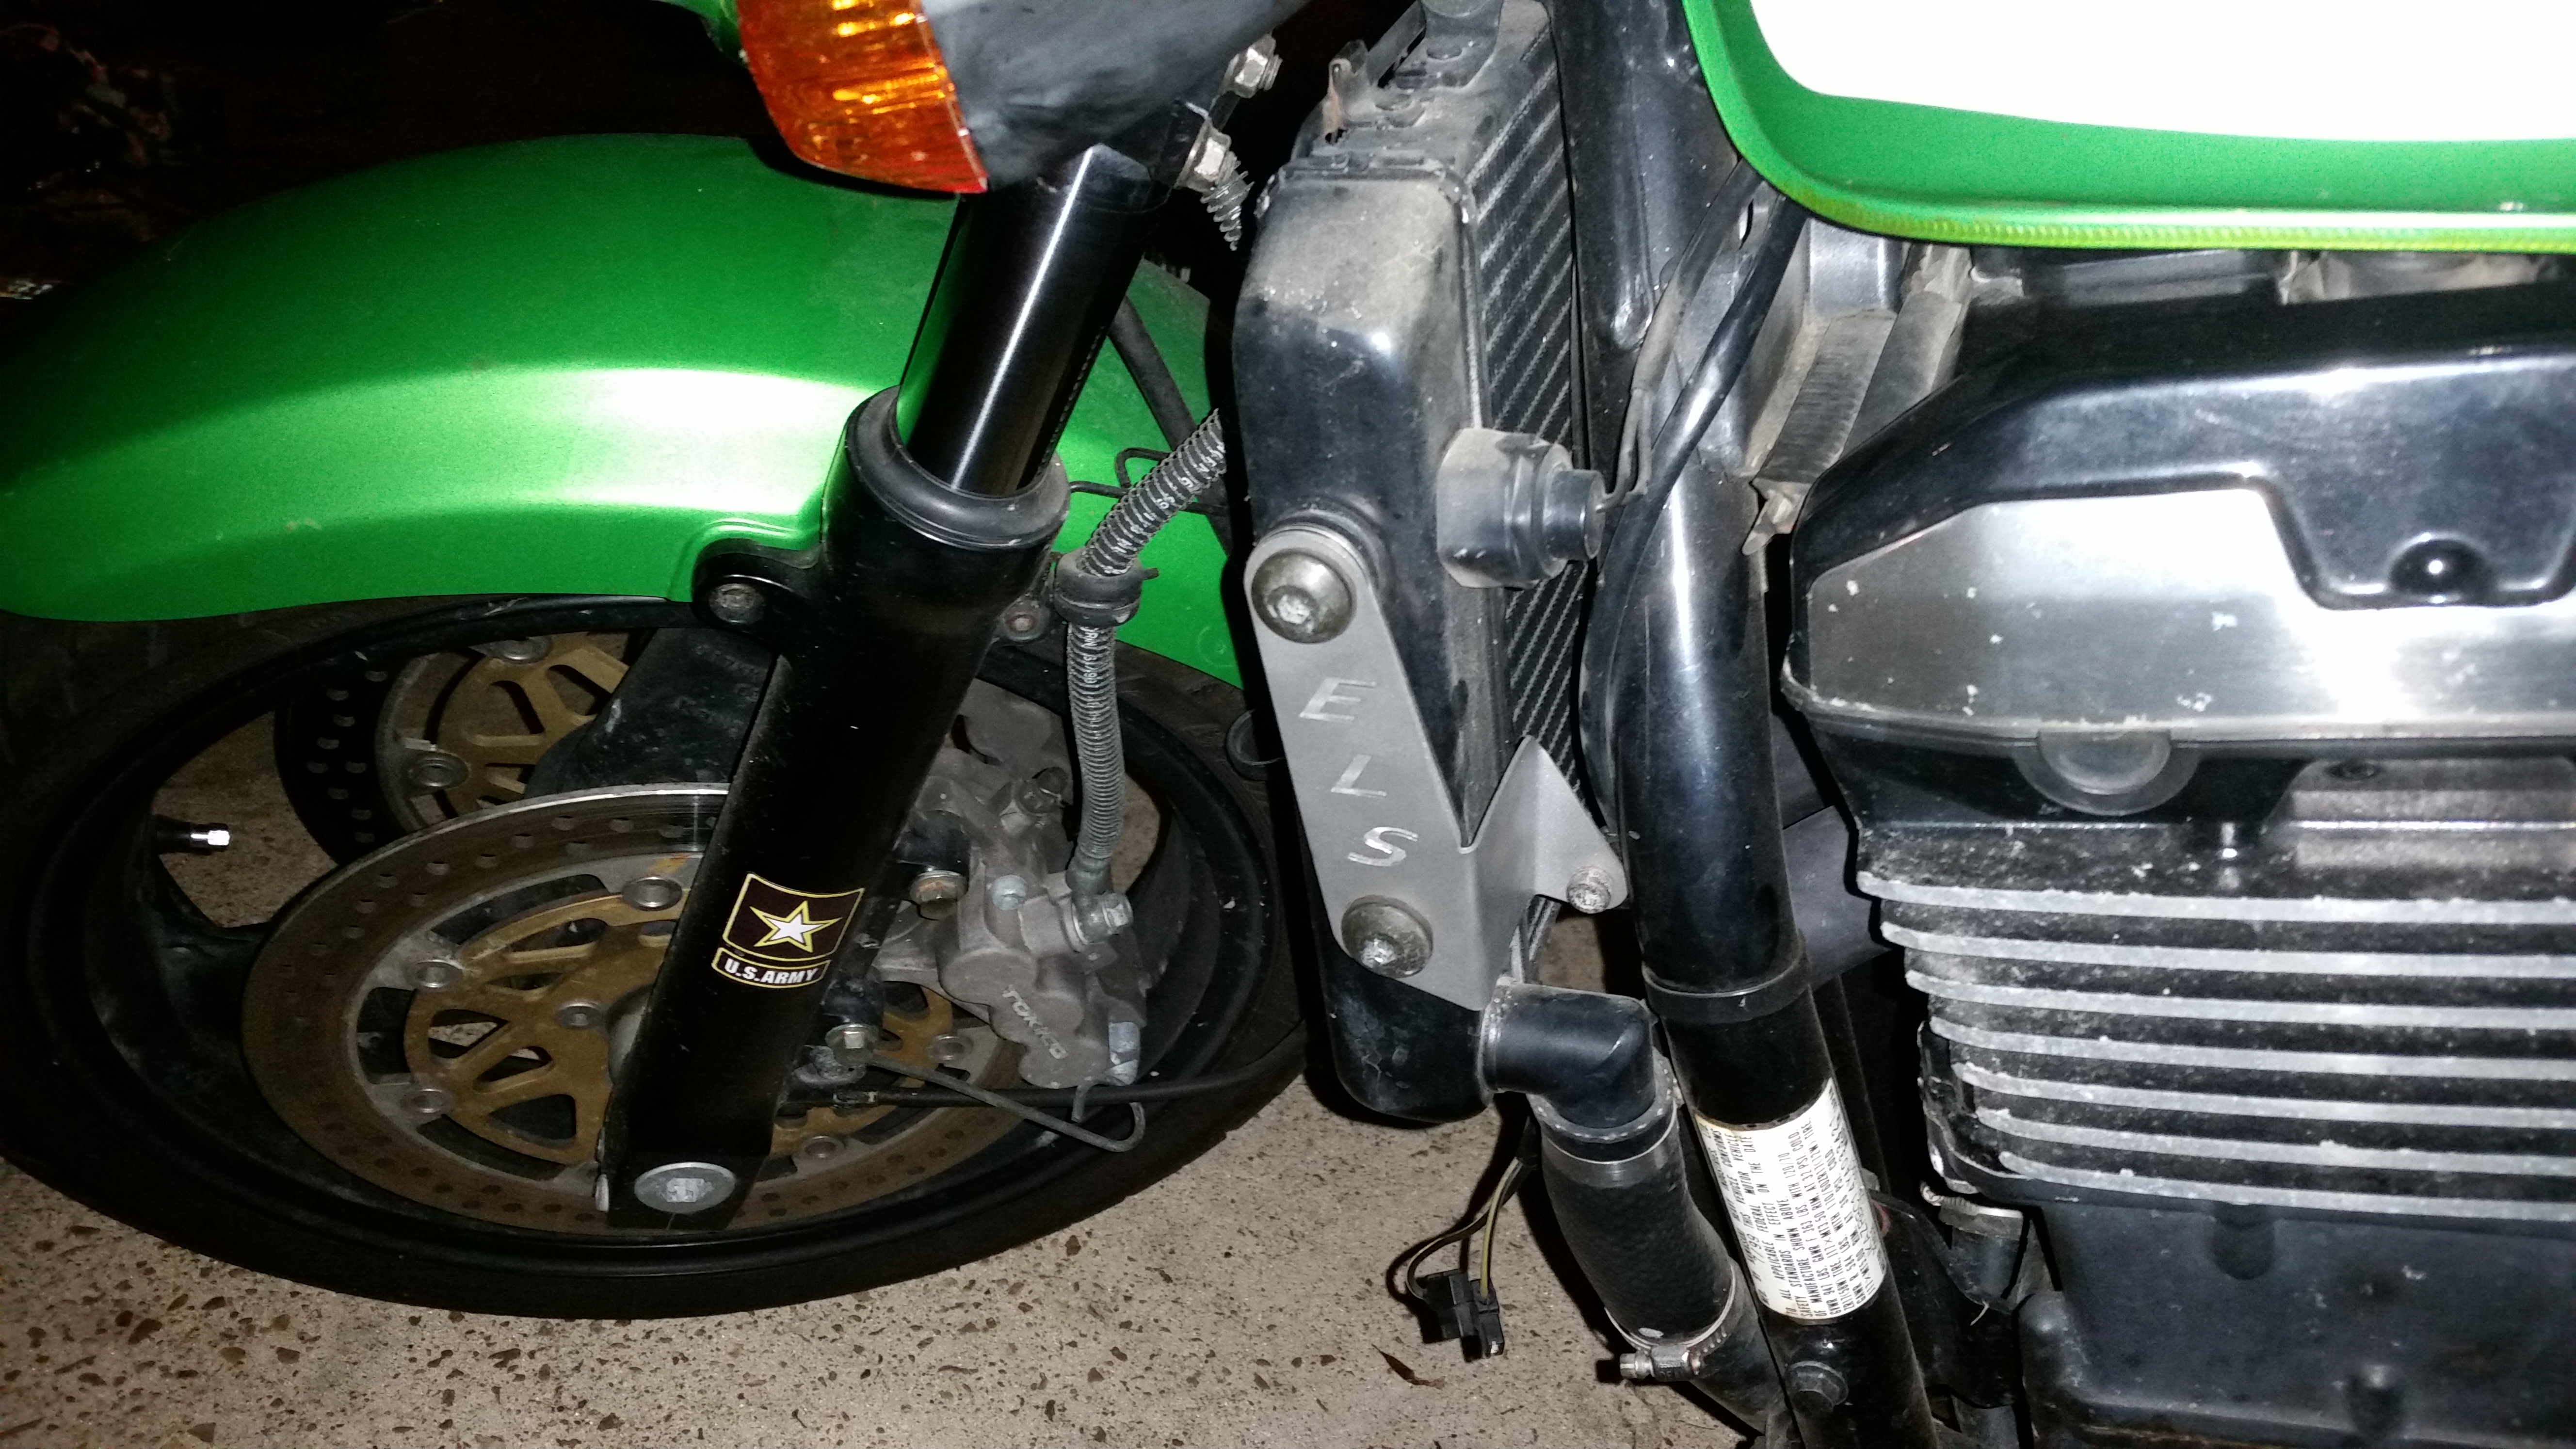
Tonight I made a couple more improvements to the rex.  The first of which was replacing the stock radiator supports that I’ve been putting off for a month now because of other work being done on the bike and most recently spending too much time riding to do anything else to it.  When I picked the bike up at auction a month and a half ago the right side radiator support was broken where it connected to the frame so there wasn’t any support other than the bolts it was hanging from on that side.  Not to mention the horn and it’s mount was missing from that support as well.  So I finally broke down and swapped the stockers out for the shiny new ELS mounts.  Here is a side by side view of stock versus ELS.  I also had to remove my one remaining horn for now because I don’t have a place to mount it.  I need to look into a horn relocation kit or figure out something to fab up to re-mount it around the radiator area.

Stock Radiator Support  ELS Radiator Support

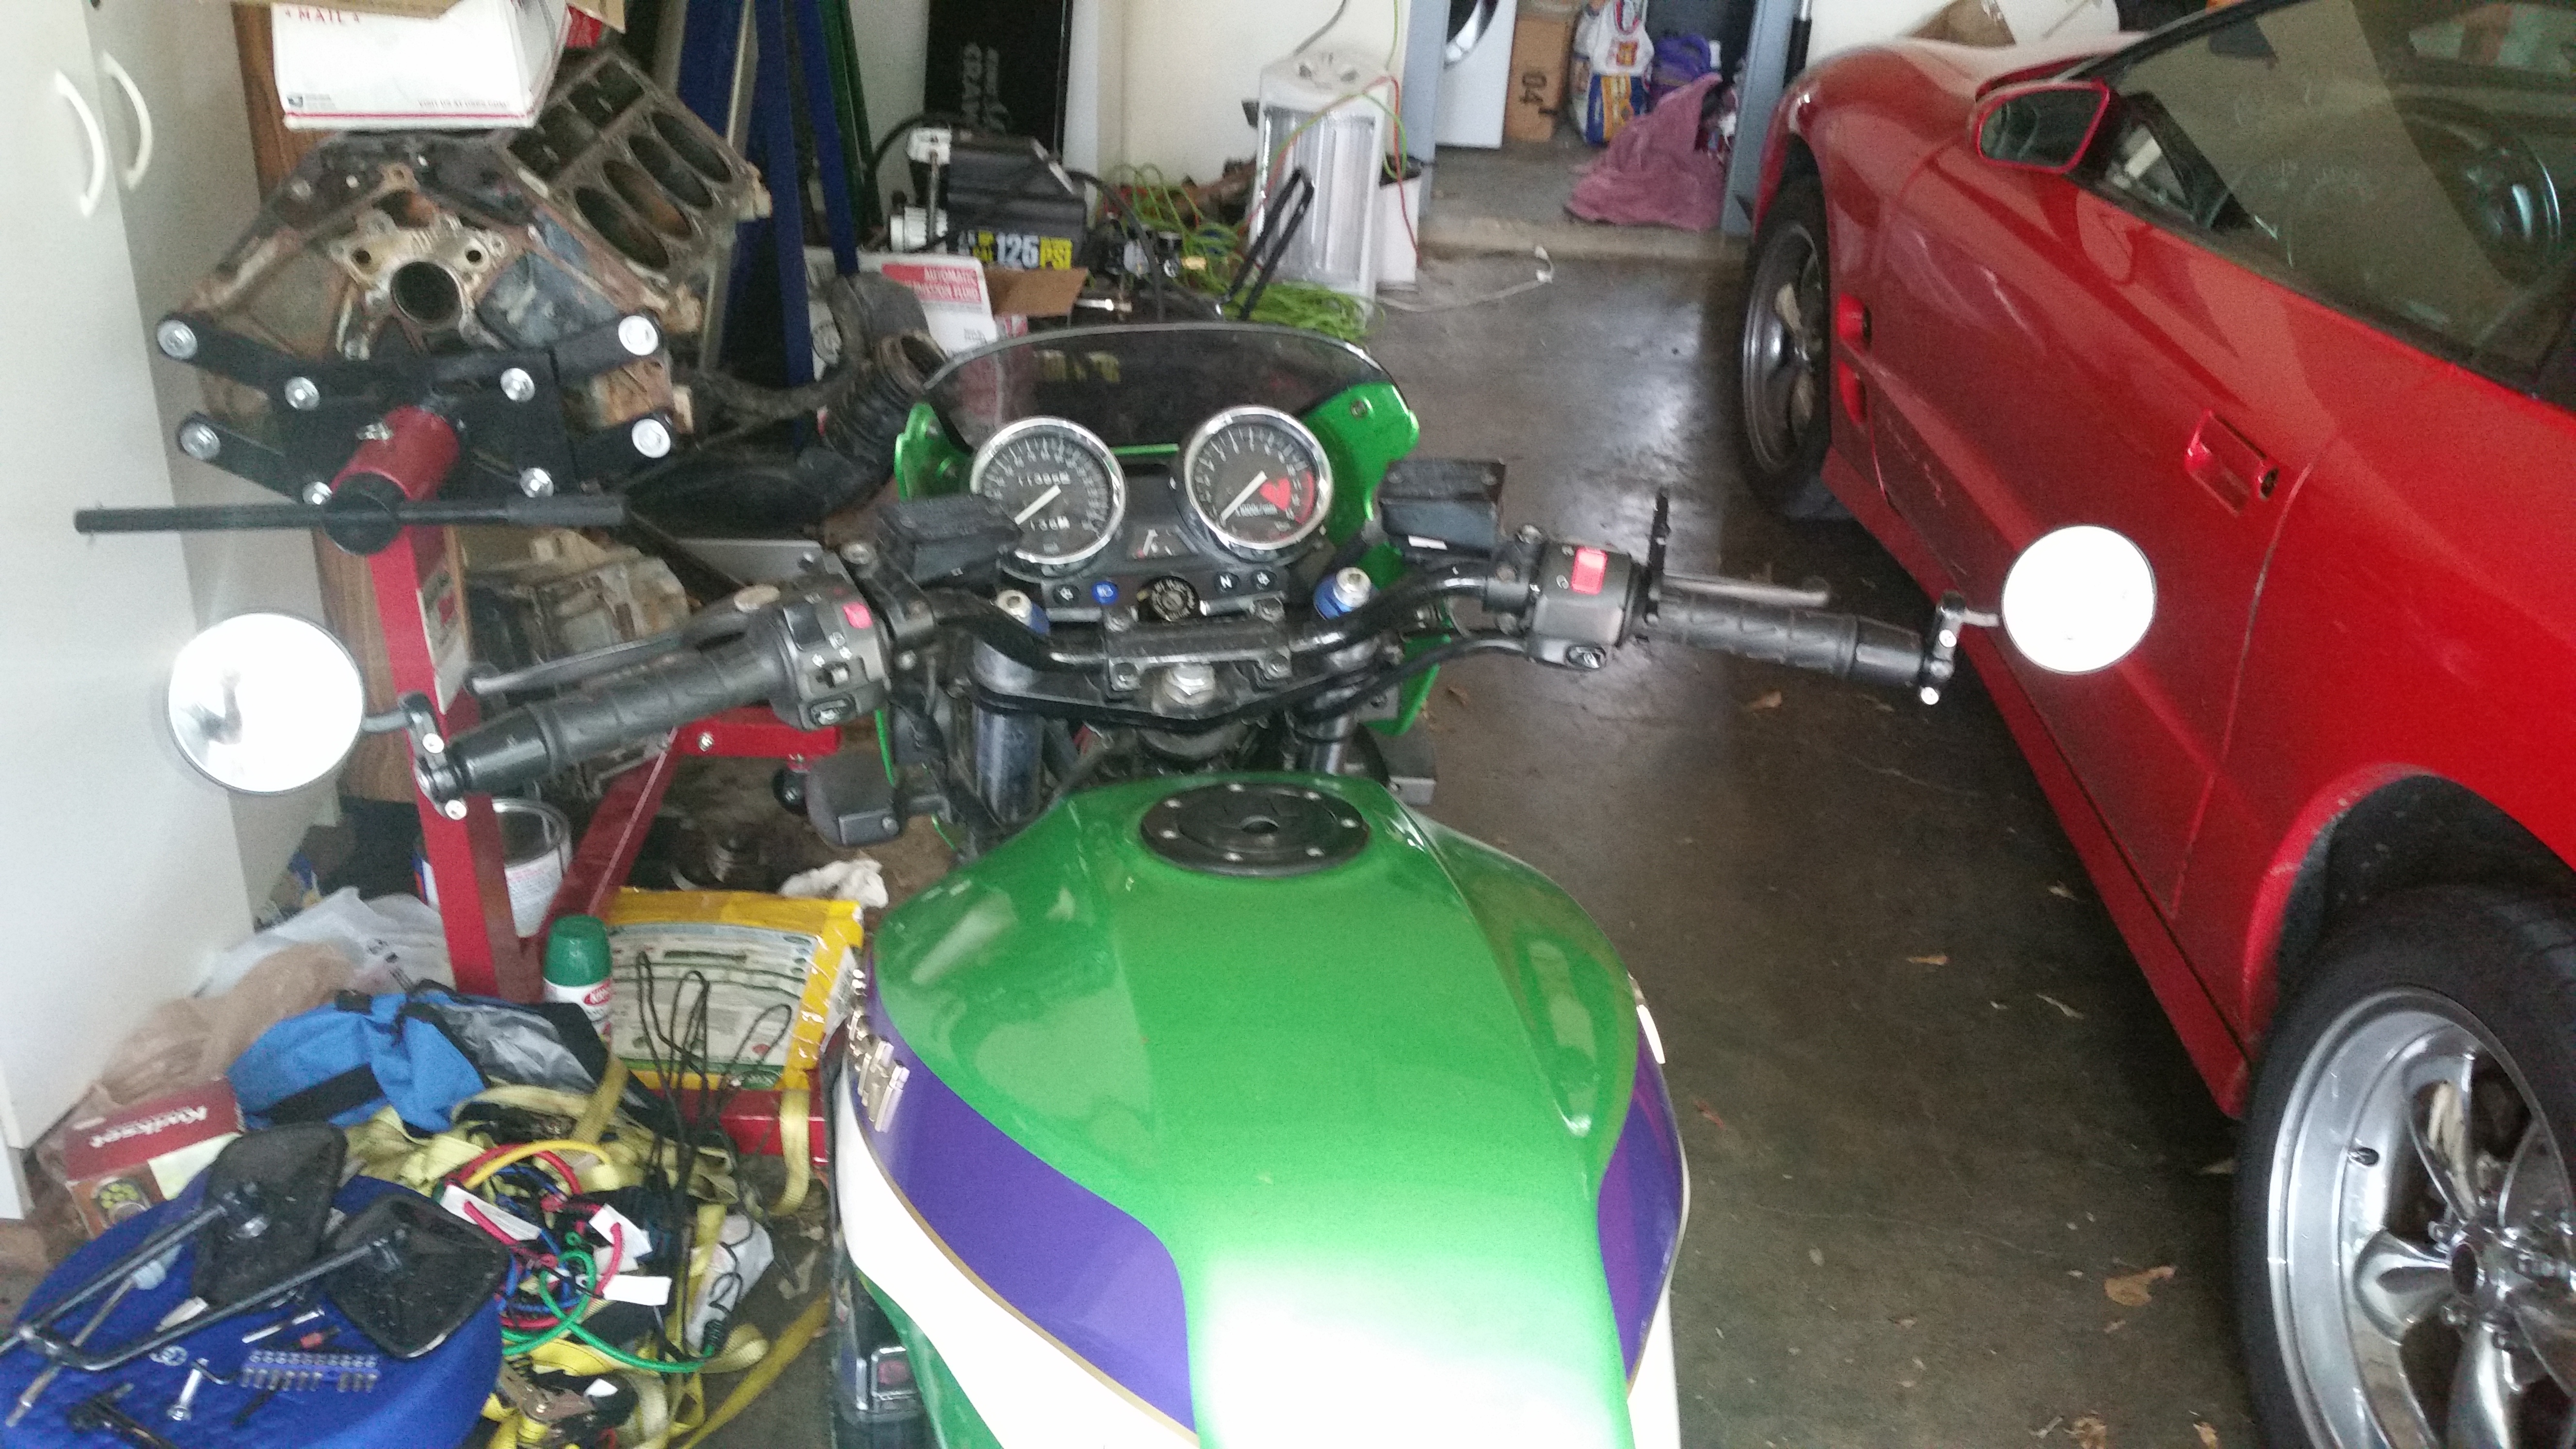
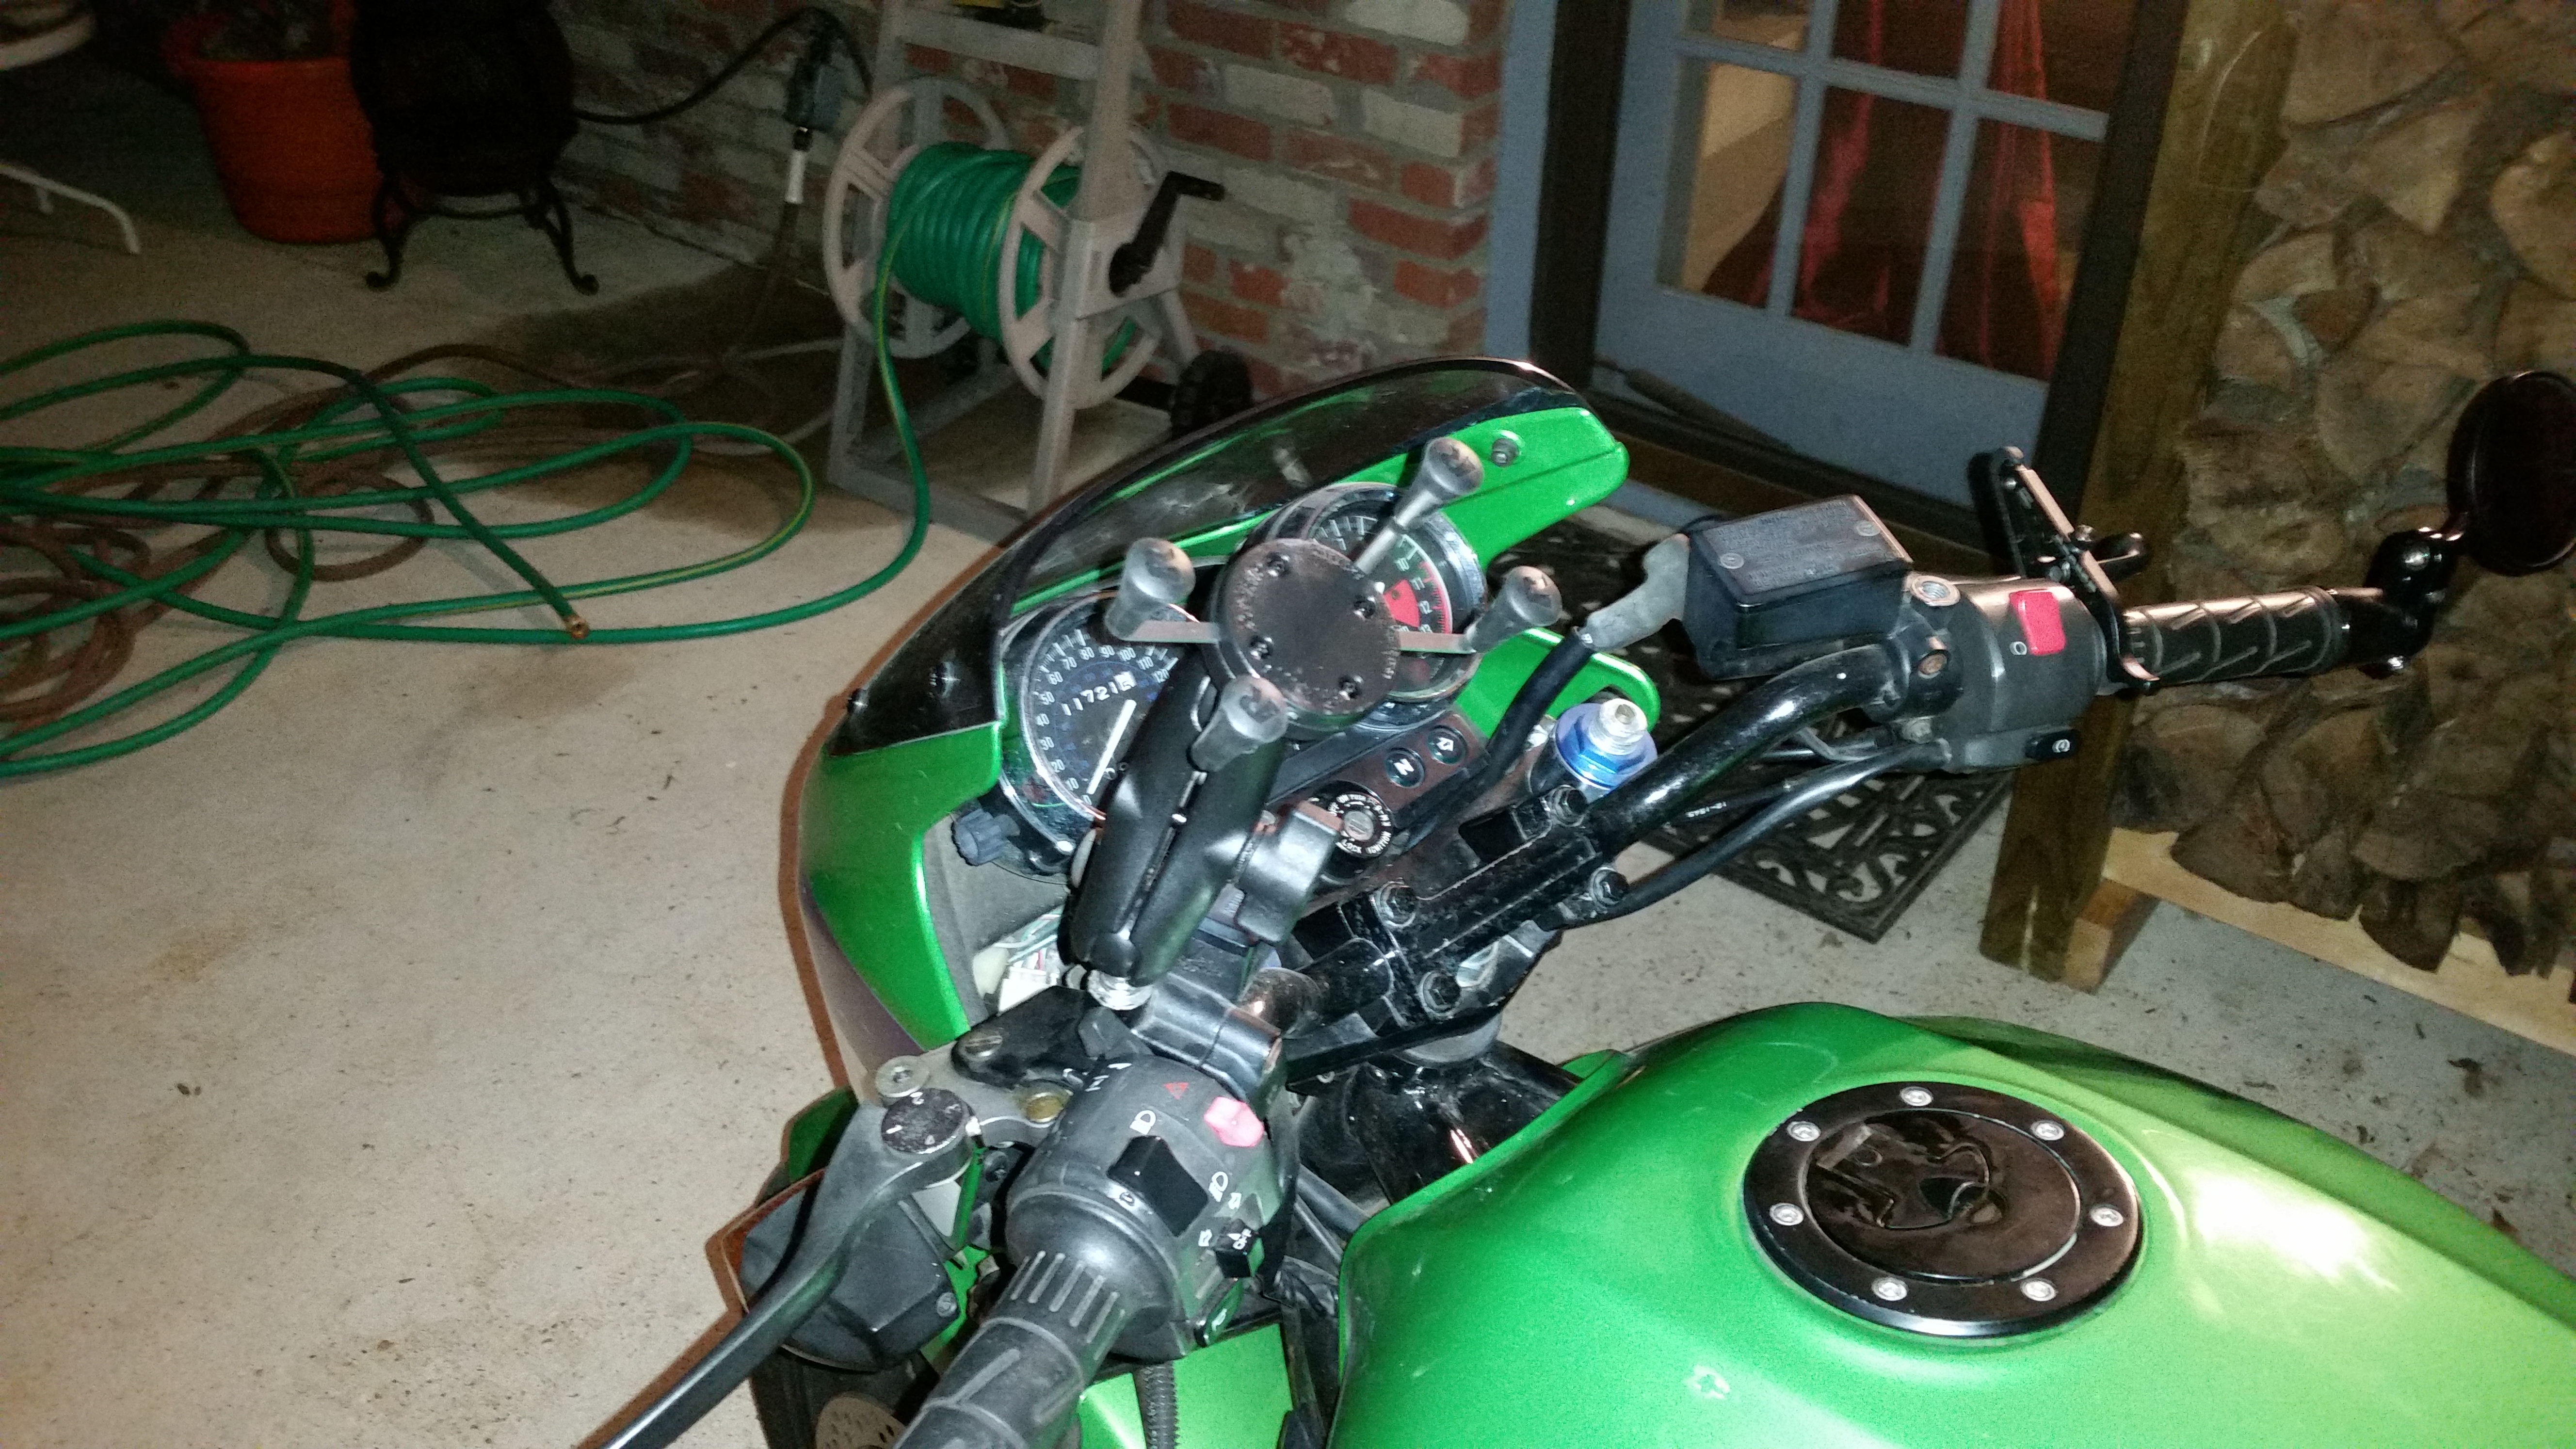
Next up was installing the RAM mounting system for my phone.  That way I can use it for navigation, GPS speedo since the stocker is around 10% off or music.  Though I will say that not having music hasn’t been an issue thus far riding around town as I am just enjoying myself too much to miss it.  However, if I make a long trip on it over boring interstate I am sure it will get some use for tunes then.  I used the threaded hole on the left side that the stock mirror was in to mount the base in then their medium length arm connected to the universal X-Grip phone holder.  As you can see from the picture, the arm turned out to be entirely too long putting the phone too high off the bars.  I had thought the shorter version was going to be TOO short but by being 1.31″ less than this arm, it would likely be the perfect height.  I will probably go ahead and order the shorter arm to replace this one along with another mounting ball to go in the other empty mirror mount hole in case I ever want to mount anything else on the bars.

RAM Phone Mount

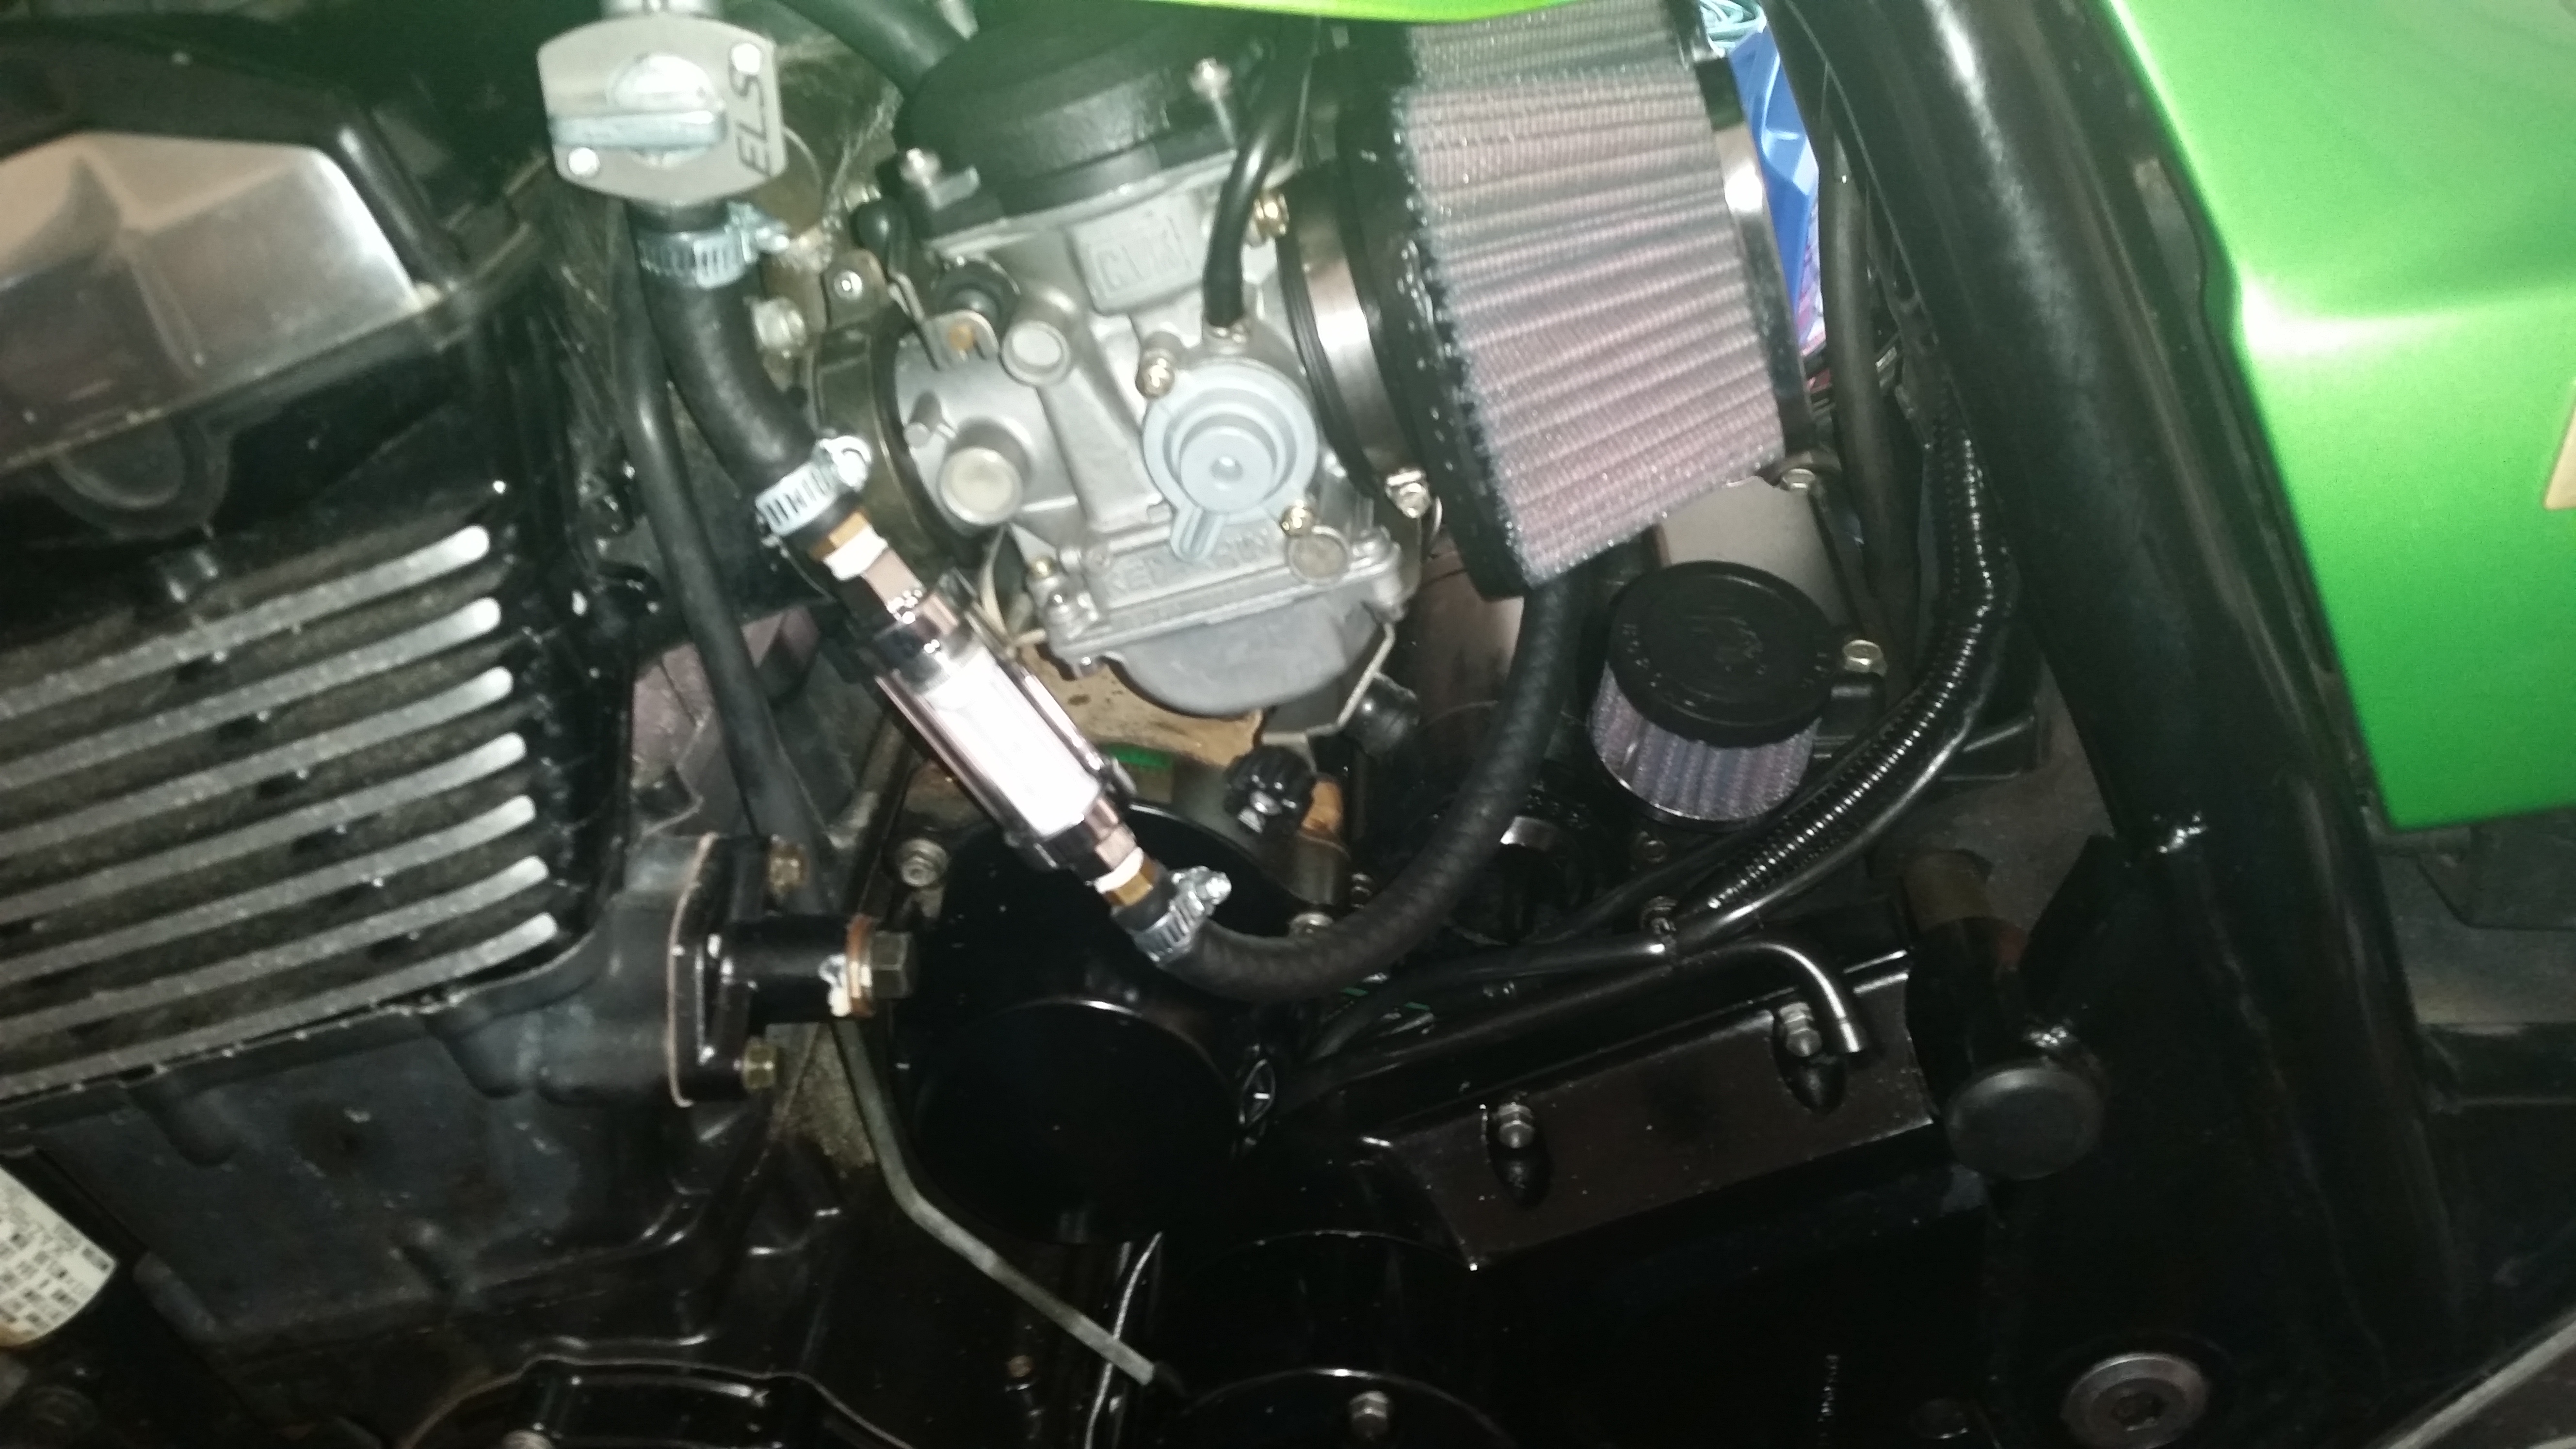
Another item that I added was the Omni-Cruise throttle locker.  It does a decent job of holding the throttle at a set level, though it does slowly slip no matter how much I tighten down the set screw.  But it does a good enough job so that you can flex and shake out the throttle hand some when it starts to bother you.

One day next week I really need to work on getting the suspension configured.


New Mirrors

The stock mirrors on the rex are great big piles of junk.  They work great if the only thing you want to see in them is your bicep, other than that you’re constantly twisting your head around or ducking and weaving trying to get some idea of what is behind you.  So I shopped around on e-bay and picked up a cheap pair of bar end mirrors to replace them with.  They aren’t too shabby for being $10 with free shipping, although the bolt was too short and I had spend half as much as the mirrors cost on two stainless replacements.  But once I got them on and adjusted I was able to get a pretty large field of view compared to the stock units.  Here is a side by side with the stock on the left and the new bar ends on the right.  The only thing I need to get used to is that I can’t just slide my hand off the end of the bars anymore.

Stock Mirrors  Bar End Mirrors

Leathers

The new leathers came in today. Now I can zoom around with a little more piece of mind in case something happens.

First up is the Xelement Executioner armored leather jacket.  I was a bit leery of how it was going to fit after reading a lot of people’s reviews about needing sizes larger and others saying it’s sized properly.  I took a gamble and picked a 3X which is what I generally wear in shirts and it paid off, it’s nice and snug when zipped so it keeps everything where it should be.  It has zippered vents in the front shoulders and biceps with exits along the mid back.  Level 3 CE approved armor on the back, shoulders and elbows with additional padding on the shoulders, back and kidney area.  There is also a zip out liner to remove some of the heat factor for summer riding and keeping warm in the winter.  The only thing is that when it showed up it has a foul smell to it, no doubt from the manufacturing process and I hope it goes away soon.

Xelement Executioner Jacket - Front  Xelement Executioner Jacket - Back

Next is the Xelement leather overpants.  I had debated back and forth about getting a pair of actual pants but as I plan on using the bike as a daily I didn’t want to be changing in and out of them getting to and leaving work.  This way I can put them on over jeans or khakis and they offer up additional protection for the commute.  Zippered up the side with snaps at the bottom.

Xelement Leather Overpants

Lastly is a pair of Xelement basic leather gloves.

Xelement Gloves

These are some relatively inexpensive options for protection but I needed something for right now as anything is better than a t-shirt and jeans.  I’ll probably look into some better alternatives for hand and leg protection later on.  I just hope the jacket does end up giving me a heat stroke being in the deep south summer.


Vroom! Vroom!

So I got back into town yesterday evening but was too tired to mess with the errant carb spring.  So this afternoon I pulled them again for what I really hope to be the last time for a good long while and put the spring back in it’s place.  Afterward, I re-synced the carbs and setup the idle again.  Then I aired up the tires and putted around the yard and side street a little bit to make sure nothing was going to blow up on me.  Once satisfied that everything was in order, grabbed the helmet and some leather work gloves from the garage and took off to put some miles on the bike.  It felt good to get out and ride it after spending the past month getting it back up to speed from sitting stagnant for a couple years.

The only problem I can see right now is that after sitting for the past week, gas in the newly installed clear filter had become a very dark yellow/brownish color.  I am hoping that this isn’t an indicator of a rusting tank.  Everything I can see from an open gas cap seems fine, but I need to pick up a little extendable mirror to check further in.

Colored Gas

But it was a blast to drive around town and put some miles on it.  Now I just need to order some proper gloves and a jacket.


Ready to Ride

Today I finished up the work on the rex.  Made some vent hoses for the carbs since the previous owner just left the vent tubes open and zip tied them under the tank.  Re-installed the tank and made new a new fuel line with an inline filter for added piece of mind.  Here is a shot of the filter along with the crankcase breather setup I put in.

Fuel Filter and Breather

The previous owner had the crankcase vent going through a long tube that routed up into the old air filter box and out into one of the side panels.

Crankcase Ventilation  Crankcase Ventilation 2

While I was changing the oil and filter again, I went ahead and installed the new timing rotor I picked up that will advance it by 4*.  Here are a couple comparison shots to show the difference in the timing marks between the stock unit and the new one.

Timing Rotor Comparison 1  Timing Rotor Comparison 2

So after everything was back together, I was feeling happy that it was all done and running now.  Then I went to clean up everything on the work table and found this.

carb spring

That would be one of the throttle shaft springs for the carbs.  Without this, the carbs won’t stay in sync and there will be some minor issues with it not running properly.  So, I get to yank the carbs yet again and pull them apart again to put this spring back in.  But besides that small snafu, everything seems to be running great on it so far.  I just need to remember to turn the fuel off when I shut her down now.

Carbs Rebuilt

After dragging my feet and trying to take the easy way out, I broke down and did a rebuild of the carbs.  This involved dis-assembly, a bath in carb dip and new o-rings.

Some of the o-rings were malformed, others dry rotted and the rest ill fitting and hardened.  I went to pull the carbs apart and ran into a problem of not being able to break one of the screws loose on the mounting rail causing it to strip out.  I ended up having to drill the head off as extractors didn’t want to catch.  Once the head and lock washer were off, the screw stud came out easily.  Quick trip to home depot and a replacement was had.

Over the next two days I broke the carbs down and gave each a bath in carb dip to get rid of any remaining varnish and buildup.  The fuel bowl o-ring slots were so filthy with varnish that some parts of the old o-rings broke away and stuck to the bowl.  After the cleaning everything was nice ans shiny again.  I then went through all the fuel and vent connections running between the carbs and replaced all the o-rings there.  Here is a quick shot of the set screw o-rings to give you an idea of how badly they needed replacing.  Old on the left, new on the right.

Fuel Screw O-ring

While cleaning up the float needles I noticed that the rubber tips were slightly deformed.  It’s a toss up on these as some folks say they will be fine, others that they should be replaced.  I’m going to run with them for now to see if they cause any issues in the future since those little jewels are $35 a pop.

Float Needles

When putting #4 back together I noticed a slight tear on the very outer edge of the diaphragm.  With it being on the very outer most part of the sealing ring I am hoping that this won’t cause any issues but only time will tell.  Apparently Kawi thinks these things are made of gold because replacements for them are $127 each.

Torn Diaphragm

And the final item of the rebuild was the K-TRIC system, which stands for Kawasaki Throttle Response Ignition Control.  It’s a TPS system that will decide to adjust the carb blades whenever it feels like it.  Yep, that’s got to go.

K-tric

And here we go with the nice shiny delete plate bolted on after the rebuild.

K-tric Delete

While getting everything back together I also opted to swap out the standard phillips screws for stainless allen button screws on the bowls and diaphragm caps.

After getting everything re-installed on the mounting rails without using the hulk like force the previous person to work on them did, I put them back on the bike and crossed my fingers.  Fired right up and after adjusting the idle I let it sit for a while and warm up.  After being satisfied that there weren’t any leaks, I hooked up the Motion-Pro sync tool to the vacuum ports and started to get them in line.  This goes to show how trying to sync by eyeballing it will never work as everything looked identical when when back together but #1 and #4 were pulling about twice as much vacuum as their partners.  Spent some time playing with the throttle adjustment screws and got everything to within 1/4 an inch of vacuum to each other.

I decided this was enough for today and called it a night.  A lot going on tomorrow trying to get ready for a trip but if I can find the time, I will re-install the tank, put in an ignition advancer and give it another oil & filter change.


Fuel Issues

After I got the bike running, I parked it for several days.  When I came back to it 4-5 days later to take it for a ride it was hiccuping and backfiring like crazy after starting up.  This included blue flames out the tail pipe.  After some investigation I pulled the oil fill plug and it just reeked  of gas.  Then after some further conferring with the OA people, it was determined that the petcock was probably leaking and causing the bowls to overflow into the cylinders.  I thought that unlikely since when I pulled the tank to do the initial carb clean, it was leaking 1 drop every 10 seconds or so.  But oh how things change.  When I pulled the tank this time, it was a dribble.

Good thing that I picked up a new petcock for the tank.  Here is the stock next to the ELS lightweight manual petcock.

New Petcock

Not only am I saving nearly half a pound from the bike I also have a true shutoff valve compared to the stock vacuum operated always open valve.

I was wanting to clean all the carbs internals at once without mixing them up.  This is the solution that I came up with.

Here is a fry splatter screen

Mesh Screen

I took it from it’s holder and split it into 4 parts.  Making pouches for each carb, holding the jets and a number of pennies equal to the carb it came from.

Mesh screen pouch

I set those in the carb dip for the night.  Everything came out shining and clog free the next day.  I re-assembled the bowls, checked the top diaphragm for tears and put it all back together.  I then went to change the oil and I’m pretty sure that more gas than oil came out.  Once everything was drained I put in a new filter and some cheap 20w50 for a cleaning cycle.  It will get another oil change once the carb situation is sorted out.  It fired up beautifully, and after a little idle adjustment ran fine.  But after a visual OK of the bike I saw it leaking fuel from #2 and had to shut it down.  I now need to figure out why that is happening.  I am suspecting a full carb rebuild is necessary and something I should have done on day one but was being stubborn.

I now have a full o-ring set and fuel bowl o-rings on the way and will do a full re-build when I can.  Then re-sync the carbs after.


Enter the Rex

So about a month or so ago a local auction house came up with what looked like a sport bike for sale.  At first I was not interested as I don’t really care for the crotch rocket lean forward bikes.  But as I took a second look at it as a parts bike to sell, it was done more in the muscle bike style of the 80’s.  It was sport styling with an upright riding style with a large inline 4 cylinder engine that would lean well into the curves.  I began researching what I would later learn the crowd calls the “rex”.  After weighing the pros and cons, I decided to shoot for it and pick it up at auction.  I got it for a decent price even after it had been sitting for 2 years in storage or wherever, they were never specific.

Some shots I snapped real quick while at the auction house.

Auction engine Auction exhaust Auction gauge cluster Auction left side Auction right side\

And here is one with it on a trailer at my house about to be unloaded.

Got it home

I managed to win the auction but some tool drove the price up to nearly double in the last 15 minutes.  Once I got it home, it wouldn’t turn over.  Sounded like a weak battery even though the AH said it was new.

Picked up a Schumacher XM1-5 charger/tender and put the battery on it overnight.    The next day I put the battery back in and it tried to to turn over but would never fire.  I suppose that is expected when sitting for 2 years.

I pulled the carbs and did a bit of cleaning on the jets then put them back in along with new plugs and fresh gas.  Fired right up.  Idles and reved great.