Radiator Installed

I finally got around to installing the new radiator today.  It’s a bit of a different look being plain aluminum instead of painted black.

New Radiator Installed

Took it out for a ride after getting the coolant system bled as the sun was out and an overall nice day.  That didn’t last long though as one of those awesome sudden southern thunderstorms decided to drop the bottom out of the sky in a torrential thunderstorm.  So by the time I made it back home, eeeeeeverything was completely soaked through.  My gloves and jacket sleeves were so full of water that it actually just poured out of them when I moved my arms taking everything off.  No telling how long it’s going to take to get all this dried out again.  On the upside, I found out that my SGS5 really is water resistant.

Leaky Radiator

So I had to hit up the bank drive through today during lunch and naturally I had to sit and idle for a good while before it was my turn.  Once I was done and started to pull out of the teller lane the temp light came on but went back out once I was on the road and getting some air flow going.  After getting back to the office I took a look around and found air bubbling out of the top left section of the radiator and antifreeze on the mount and rock guard.  Seems to only be leaking under pressure so probably a pin hole in the fins.  If it’s not one thing, it’s always another.  Time to look around and see how much it’s going to cost this go around.

ZRX Radiator Leak

New Shocks Installed

I finally found a few free moments and installed the new shocks.  At first when putting them on I tried to orient them so that the spring pre-load adjuster was on the top like the stock shocks were setup along with all others that I can remember seeing.  However this caused problems with the rebound adjuster hitting the mounting bracket on the swing arm  and wouldn’t allow any movement of the switch.  I then noticed that the sticker on the shock and the writing on the rebound was upside down so I flipped it over.  It fit perfectly now but the pre-load adjuster was on the bottom which was just a strange sight to me.  I suppose it’s that I am used to seeing a piggyback reservoir style and not a single tube setup like this.  At any rate, I got everything torqued down, cleaned her up and went for a ride.  I couldn’t do any real stress testing on them since it’s been rainy for nearly two solid weeks but it does seem to give a better ride on the short interstate jaunt I took.  I also took the time to replace the bar end mirror that fell off a couple months ago and can finally see behind me on both sides again.  Profile shot of the new gear.

New Shocks Installed


Shot of the rebound adjuster.  I really need to go over this bike and replace the rusty washers.  I hate that the PO had this bike sitting outside in the weather for a couple years before I got my hands on it.

New Shocks Rebound Control

New Shocks

The new shocks finally showed up today and I can’t wait to get them on the bike then give it a test run.  I’m told that versus the stock shocks, these are going to transform the bike completely and that I am now going to hate the forks and will want to have those done as well.  The only thing is that these took a while to get here and I lost 20 pounds during the wait time and they are now sprung for a heavier weight than I am.  I doubt it will really affect anything however.

Bitubo Shocks

Leaky shock

I recently noticed a fluid pool under the bike and at first thought it was a crankcase leak somewhere but despite all my searching I could not find an oil leak.  When putting the back back up I noticed that it was localized to the rear of the bike and after some further looking I noticed the left rear shock shaft was dirty and looking a little gummy.  So it looks like the shock has given up the ghost and needs to be rebuilt.  For now I am going to have to settle on trying to find a cheap stocker to replace it with until I can gather the cash needed to send them off for rebuilding.

Leaking Shock

More adjustments

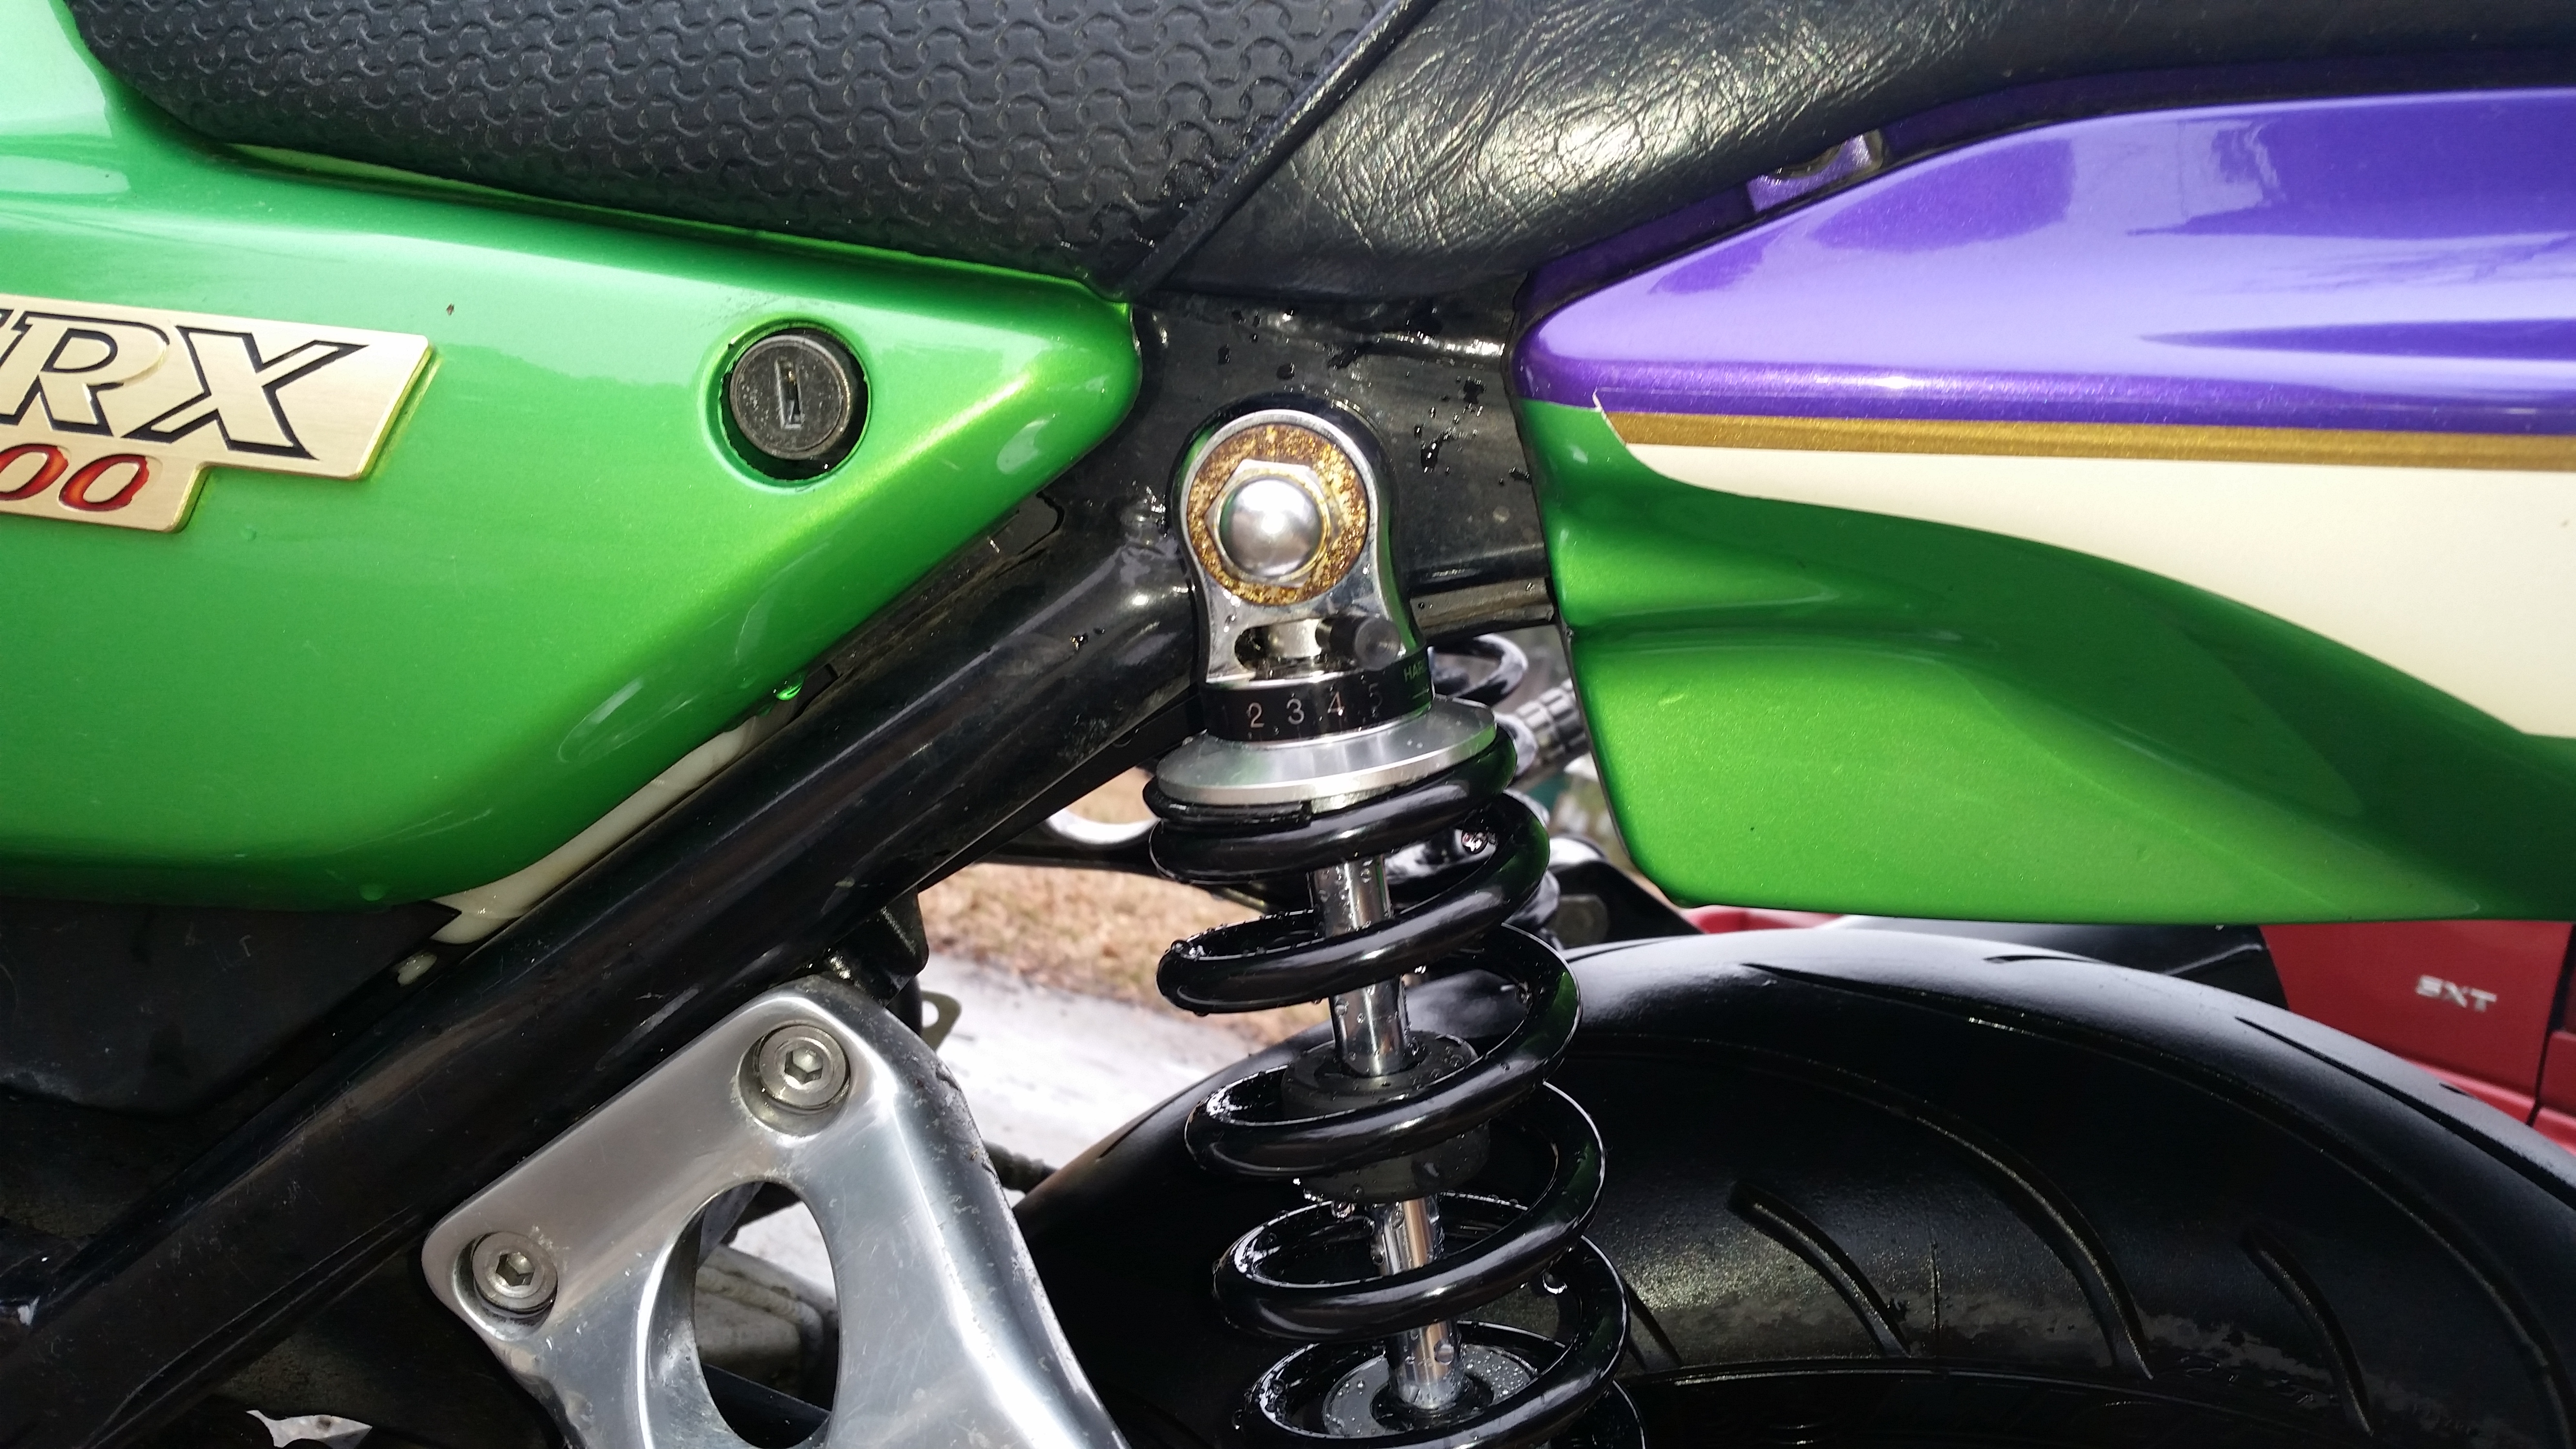
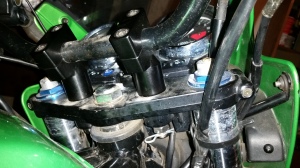
A couple weeks ago I made a post to the OA about how the exhaust collector would sometimes scrape on tight right turns and that one of the header primaries would bottom out when leaving my driveway.  I had assumed it was due to me being a pretty hefty guy making it ride low.  After talking back and forth with some of the members there were some good suggestions on suspension adjustments and leads to places that could re-valve and adjust the shocks for my added weight.  After posting up some pics and one of the members checking out the blog here, they noticed an irregularity with the forks.  Namely that they were set crazy low as you can see in this pic from when I installed the bar risers.

Bar Risers Installed 2

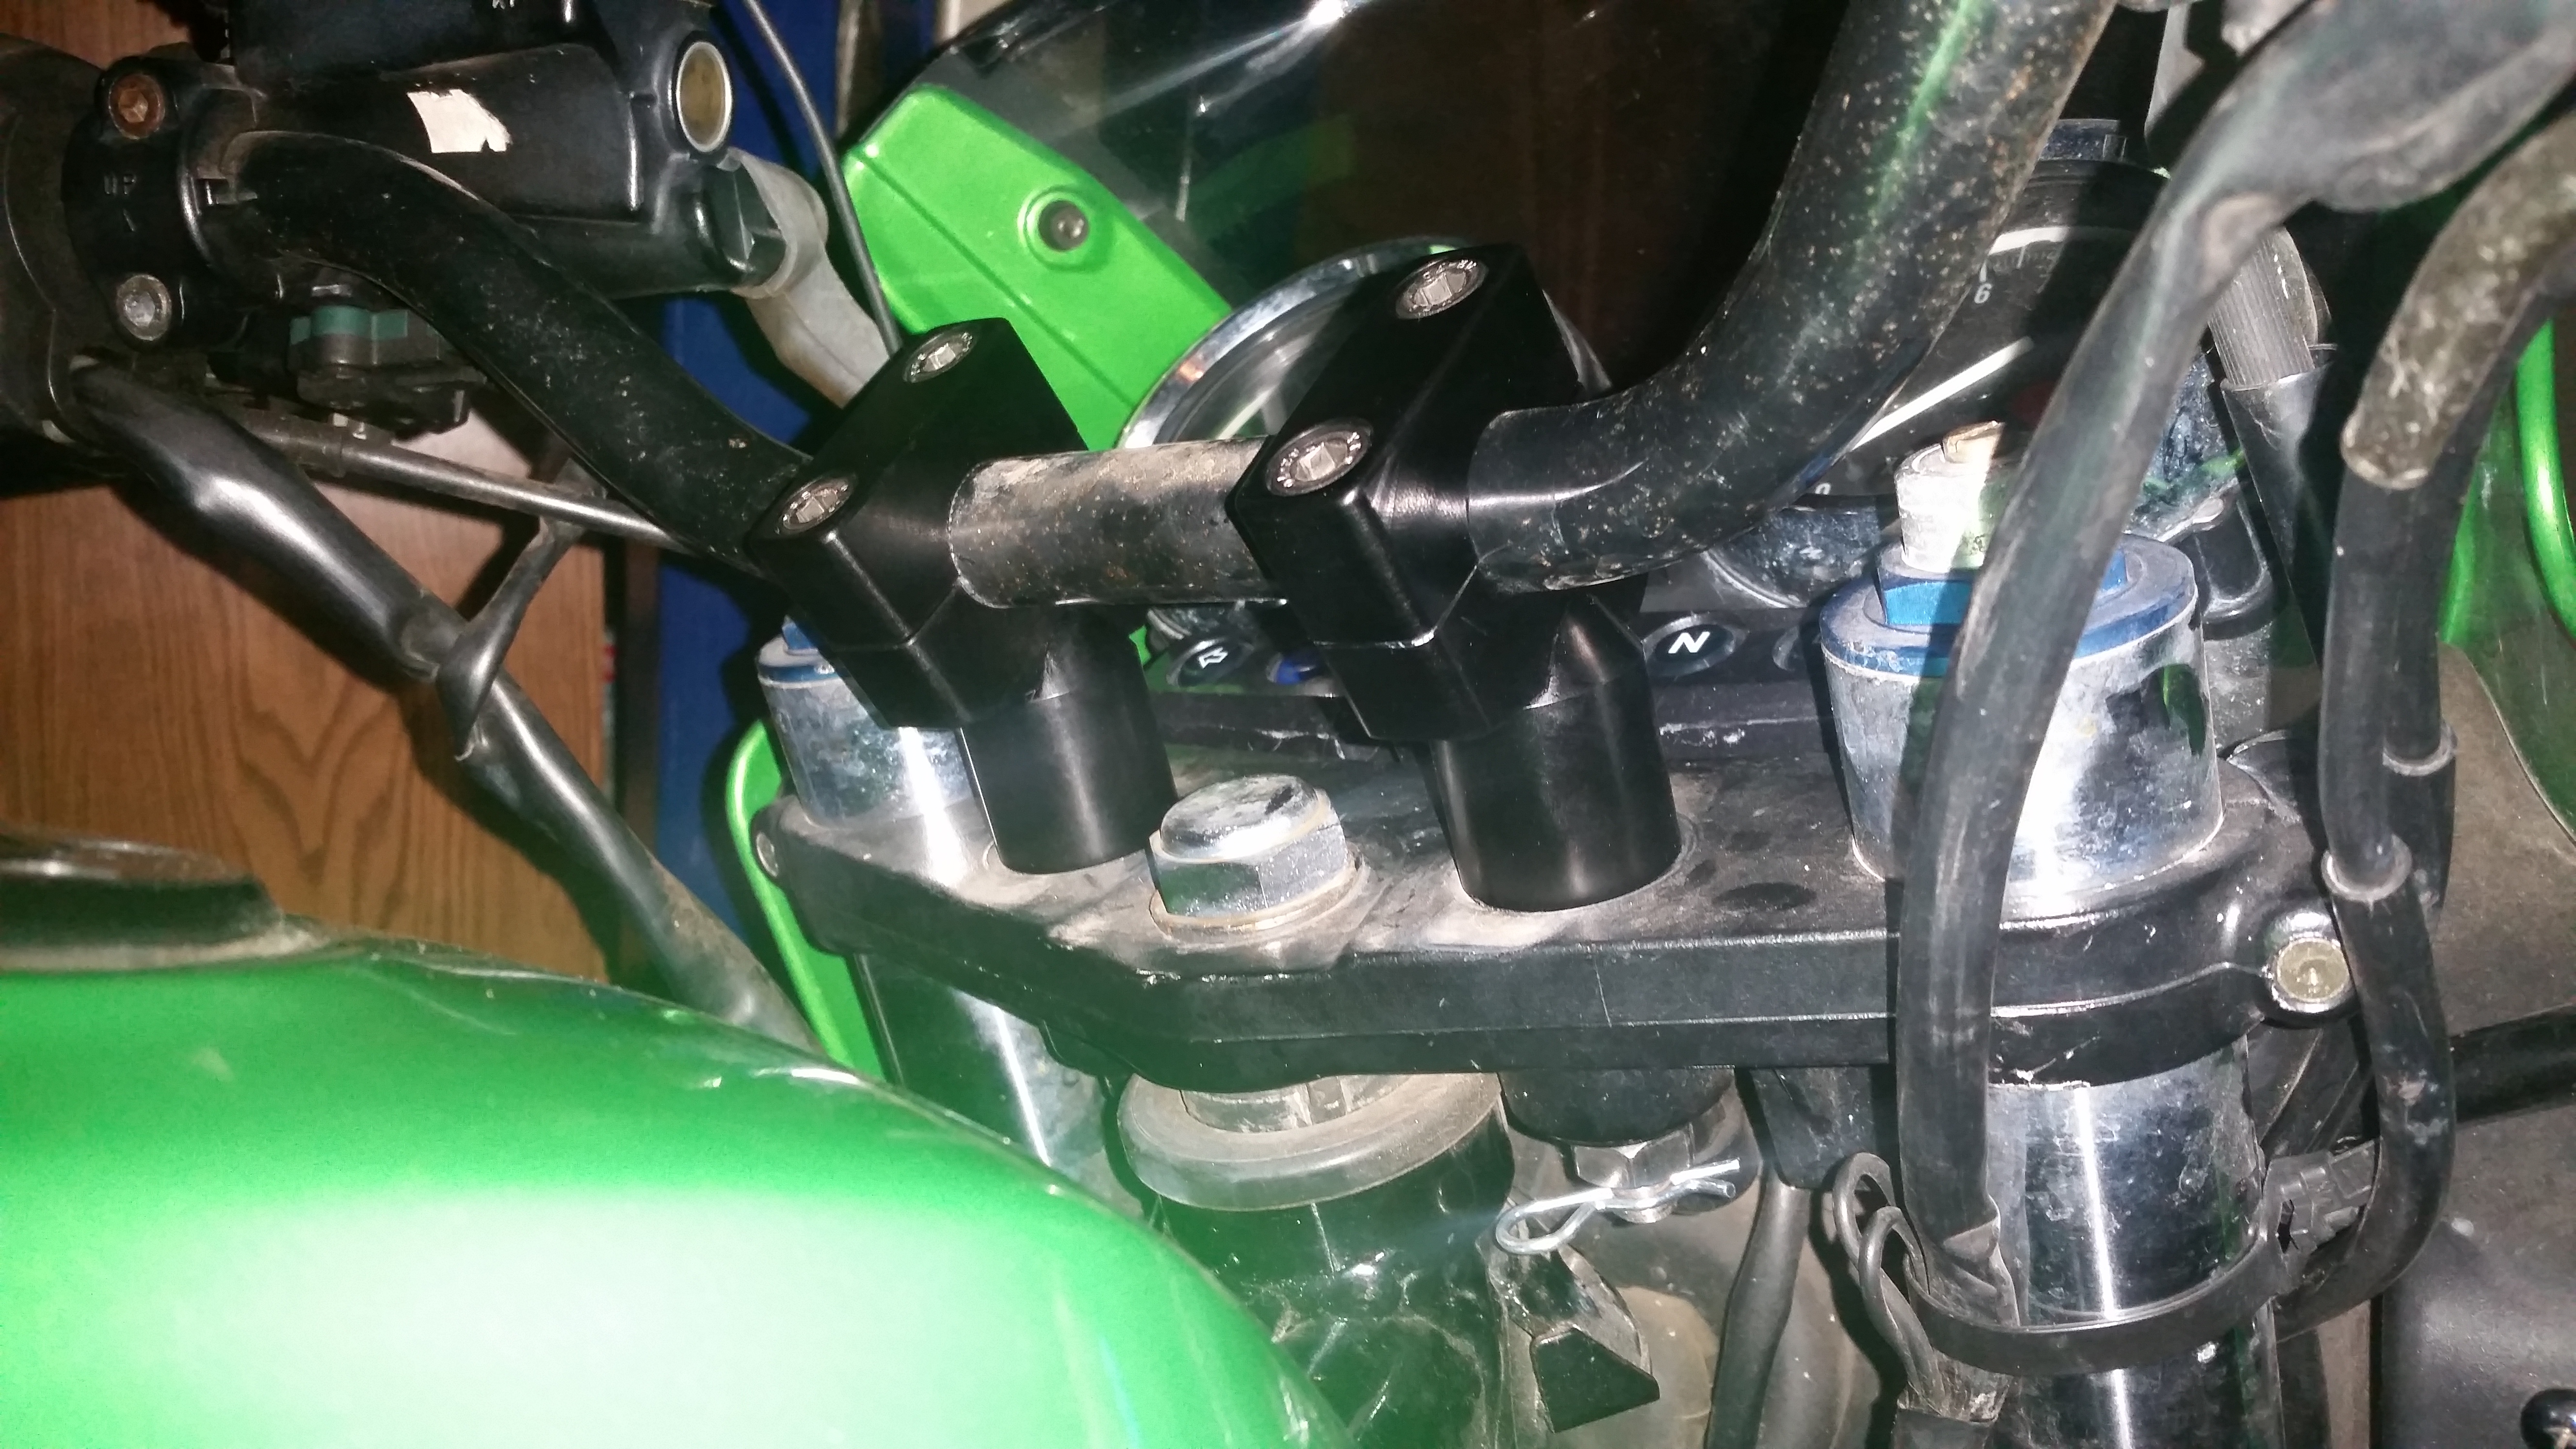
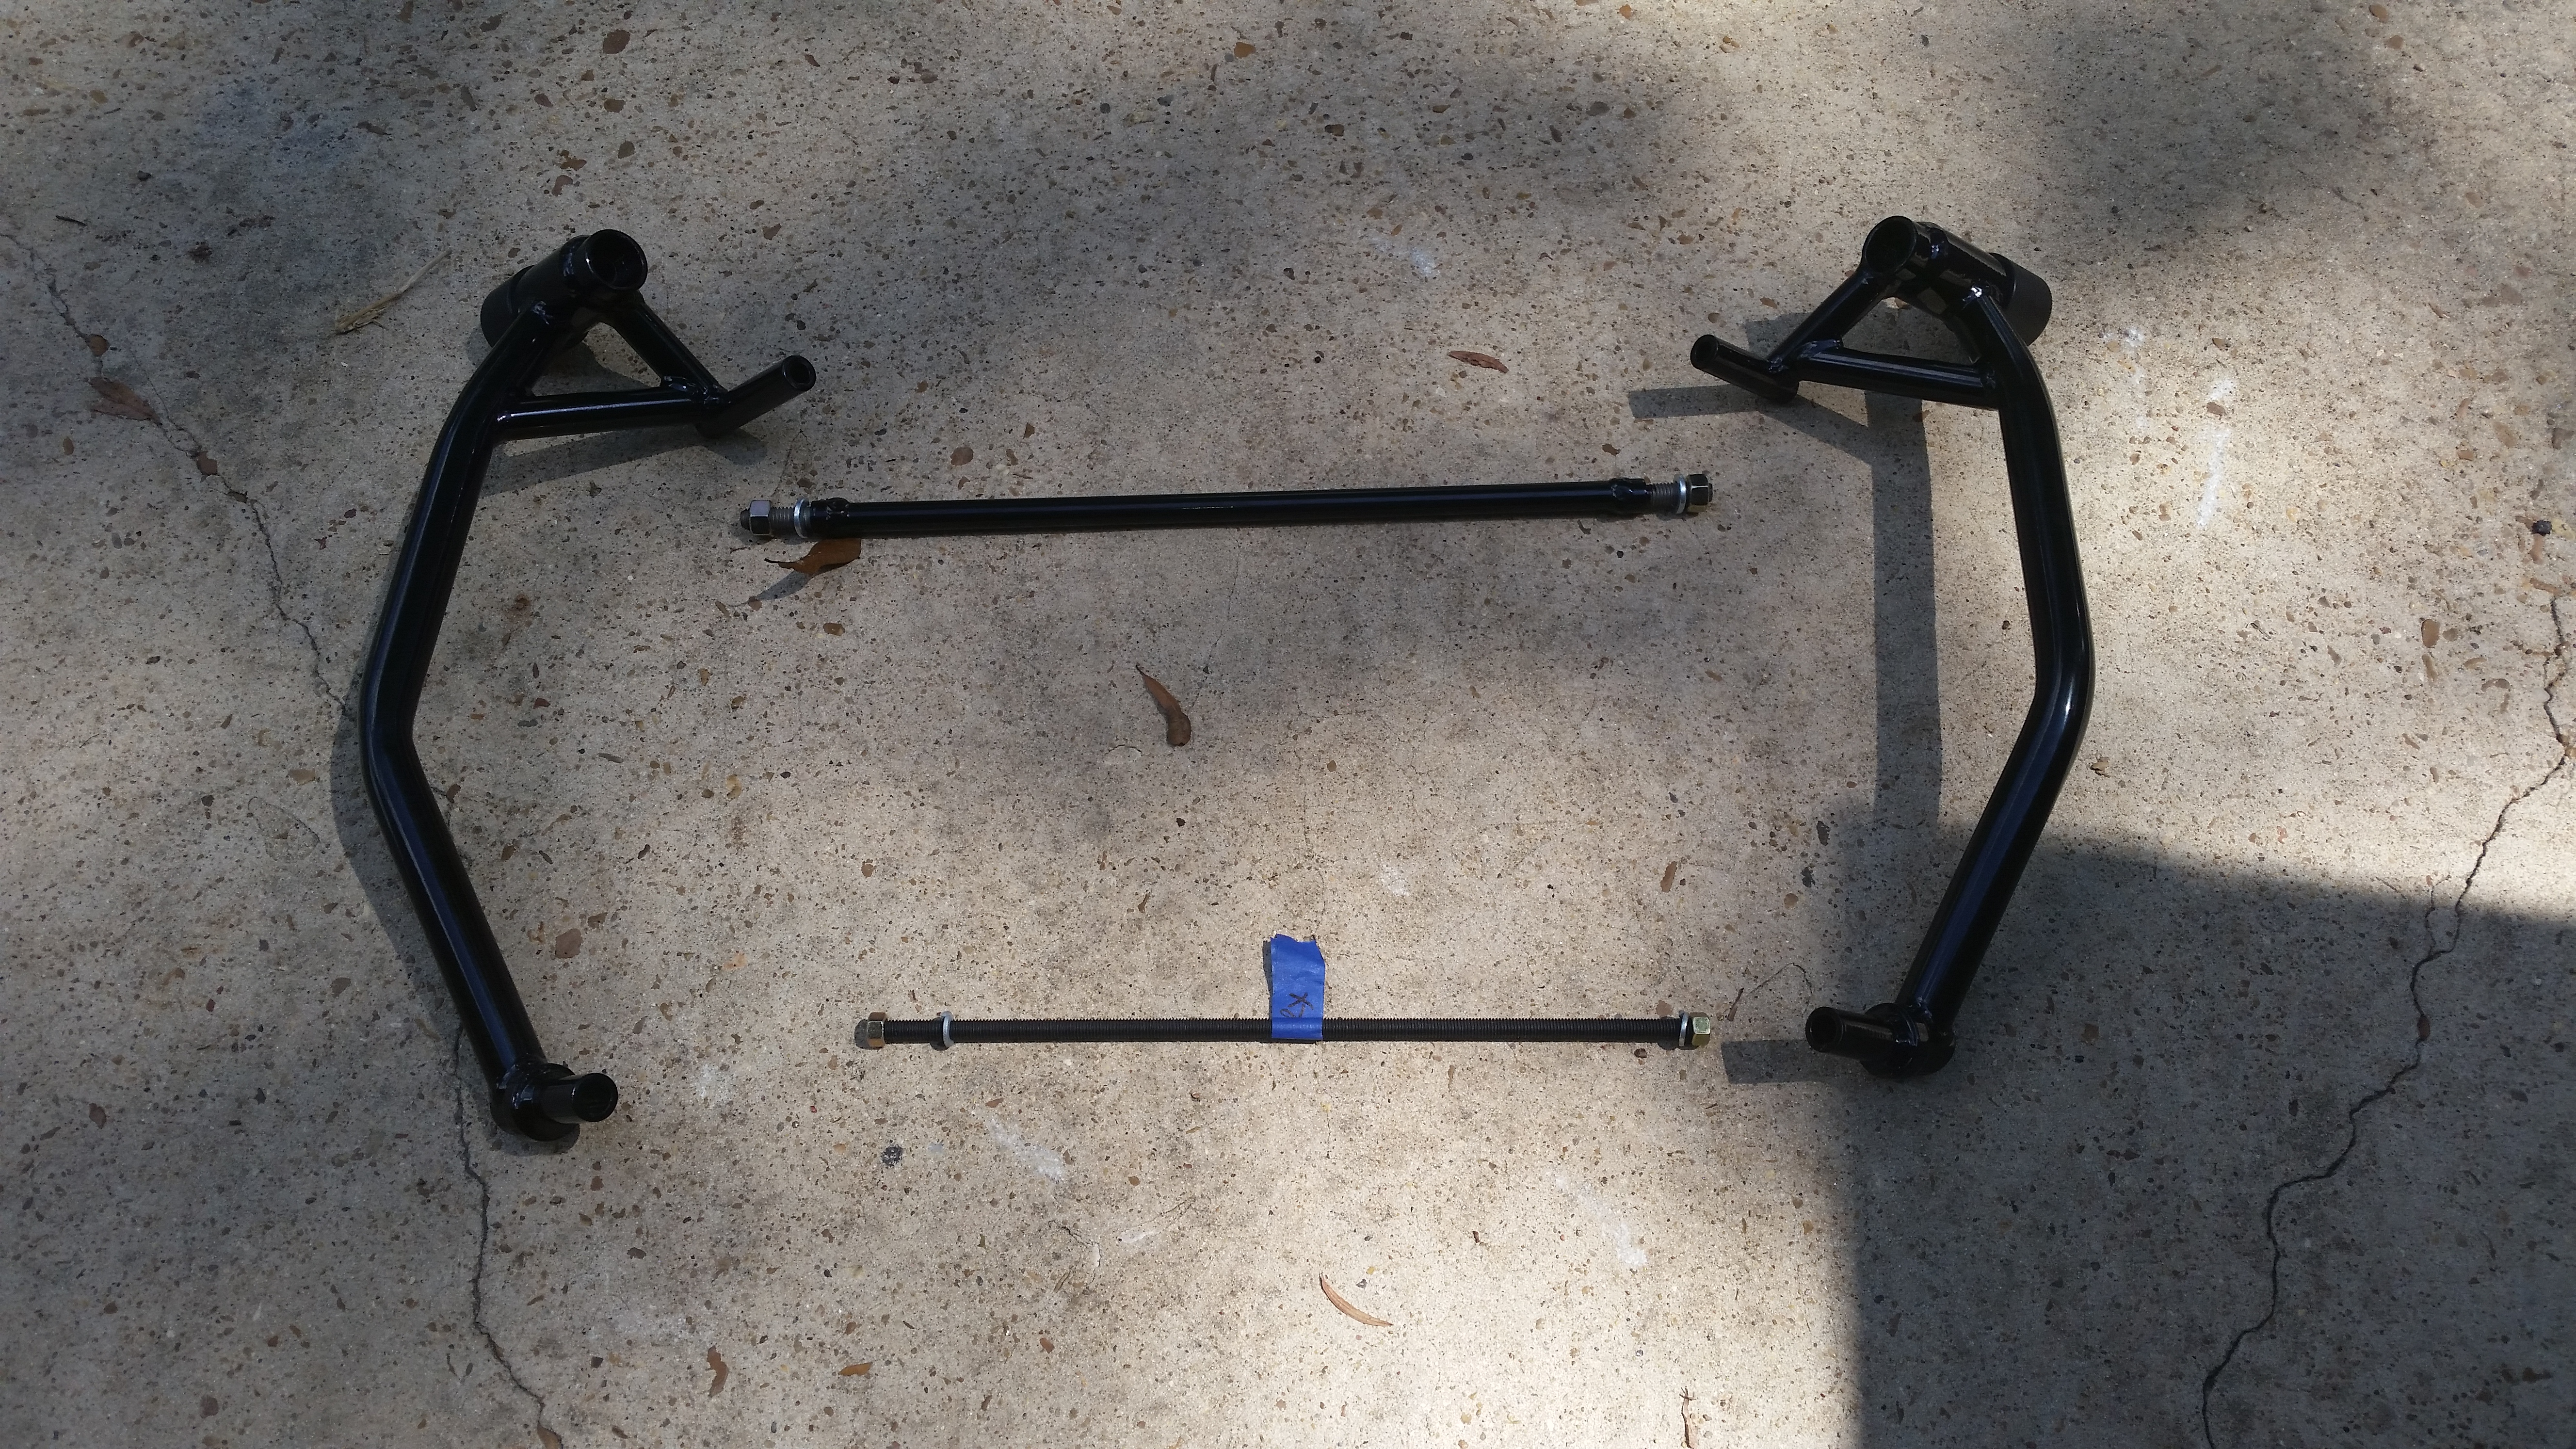
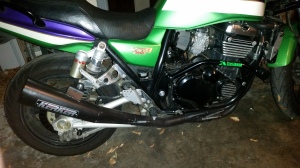
One of the OA members local to the area offered to help me out with the adjustment since I’m still pretty new to riding and working on bikes.  I met up with him early last week and we talked about the bikes some and using a pallet jack he had handy we lifted the front end of the bike and set the forks back to stock height.  He also pointed out that I was missing one of the frame bolts so I ordered up a replacement and a few spares since they are a hard to find thread.  Here you can see how much of a difference it was.  We measured it right at an inch and a half of drop.  The whole bike felt completely different after this and the enjoyment factor went up greatly.

Forks Adjusted


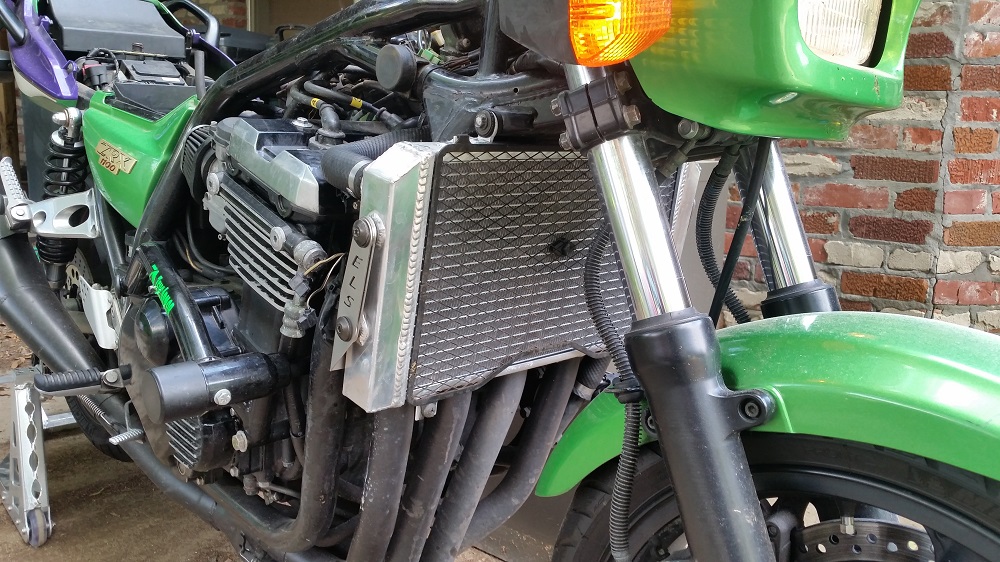
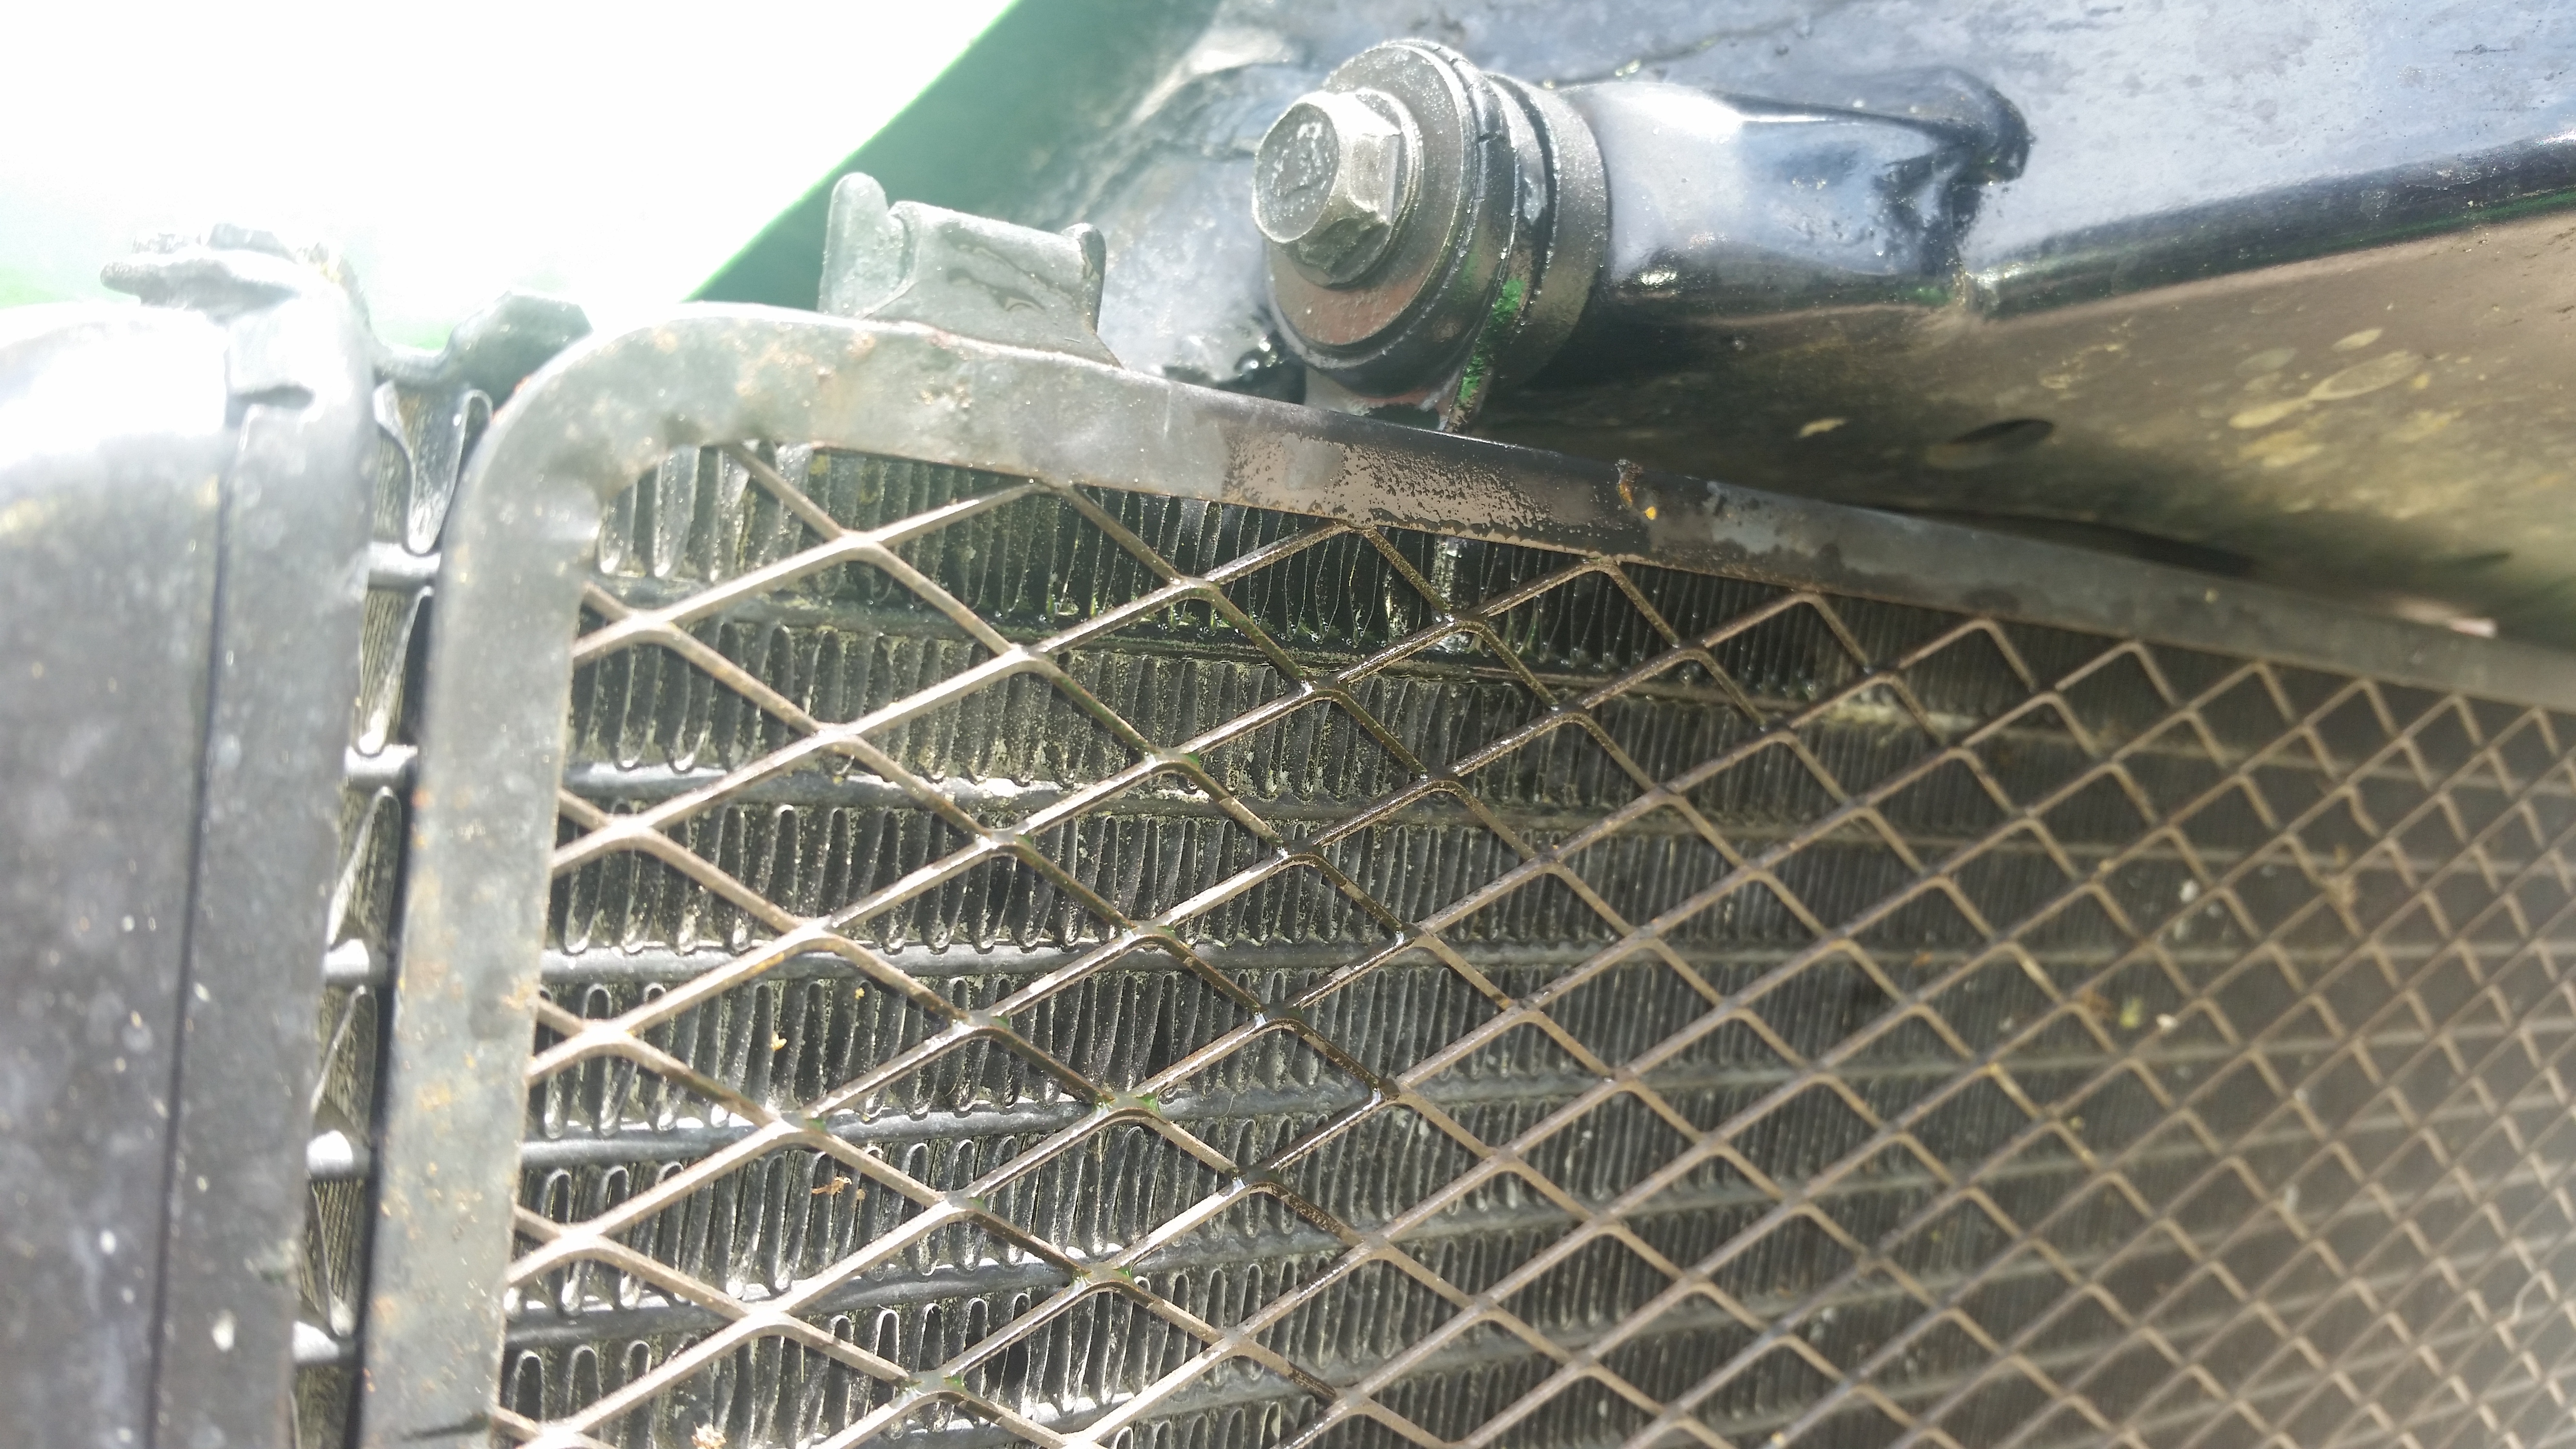
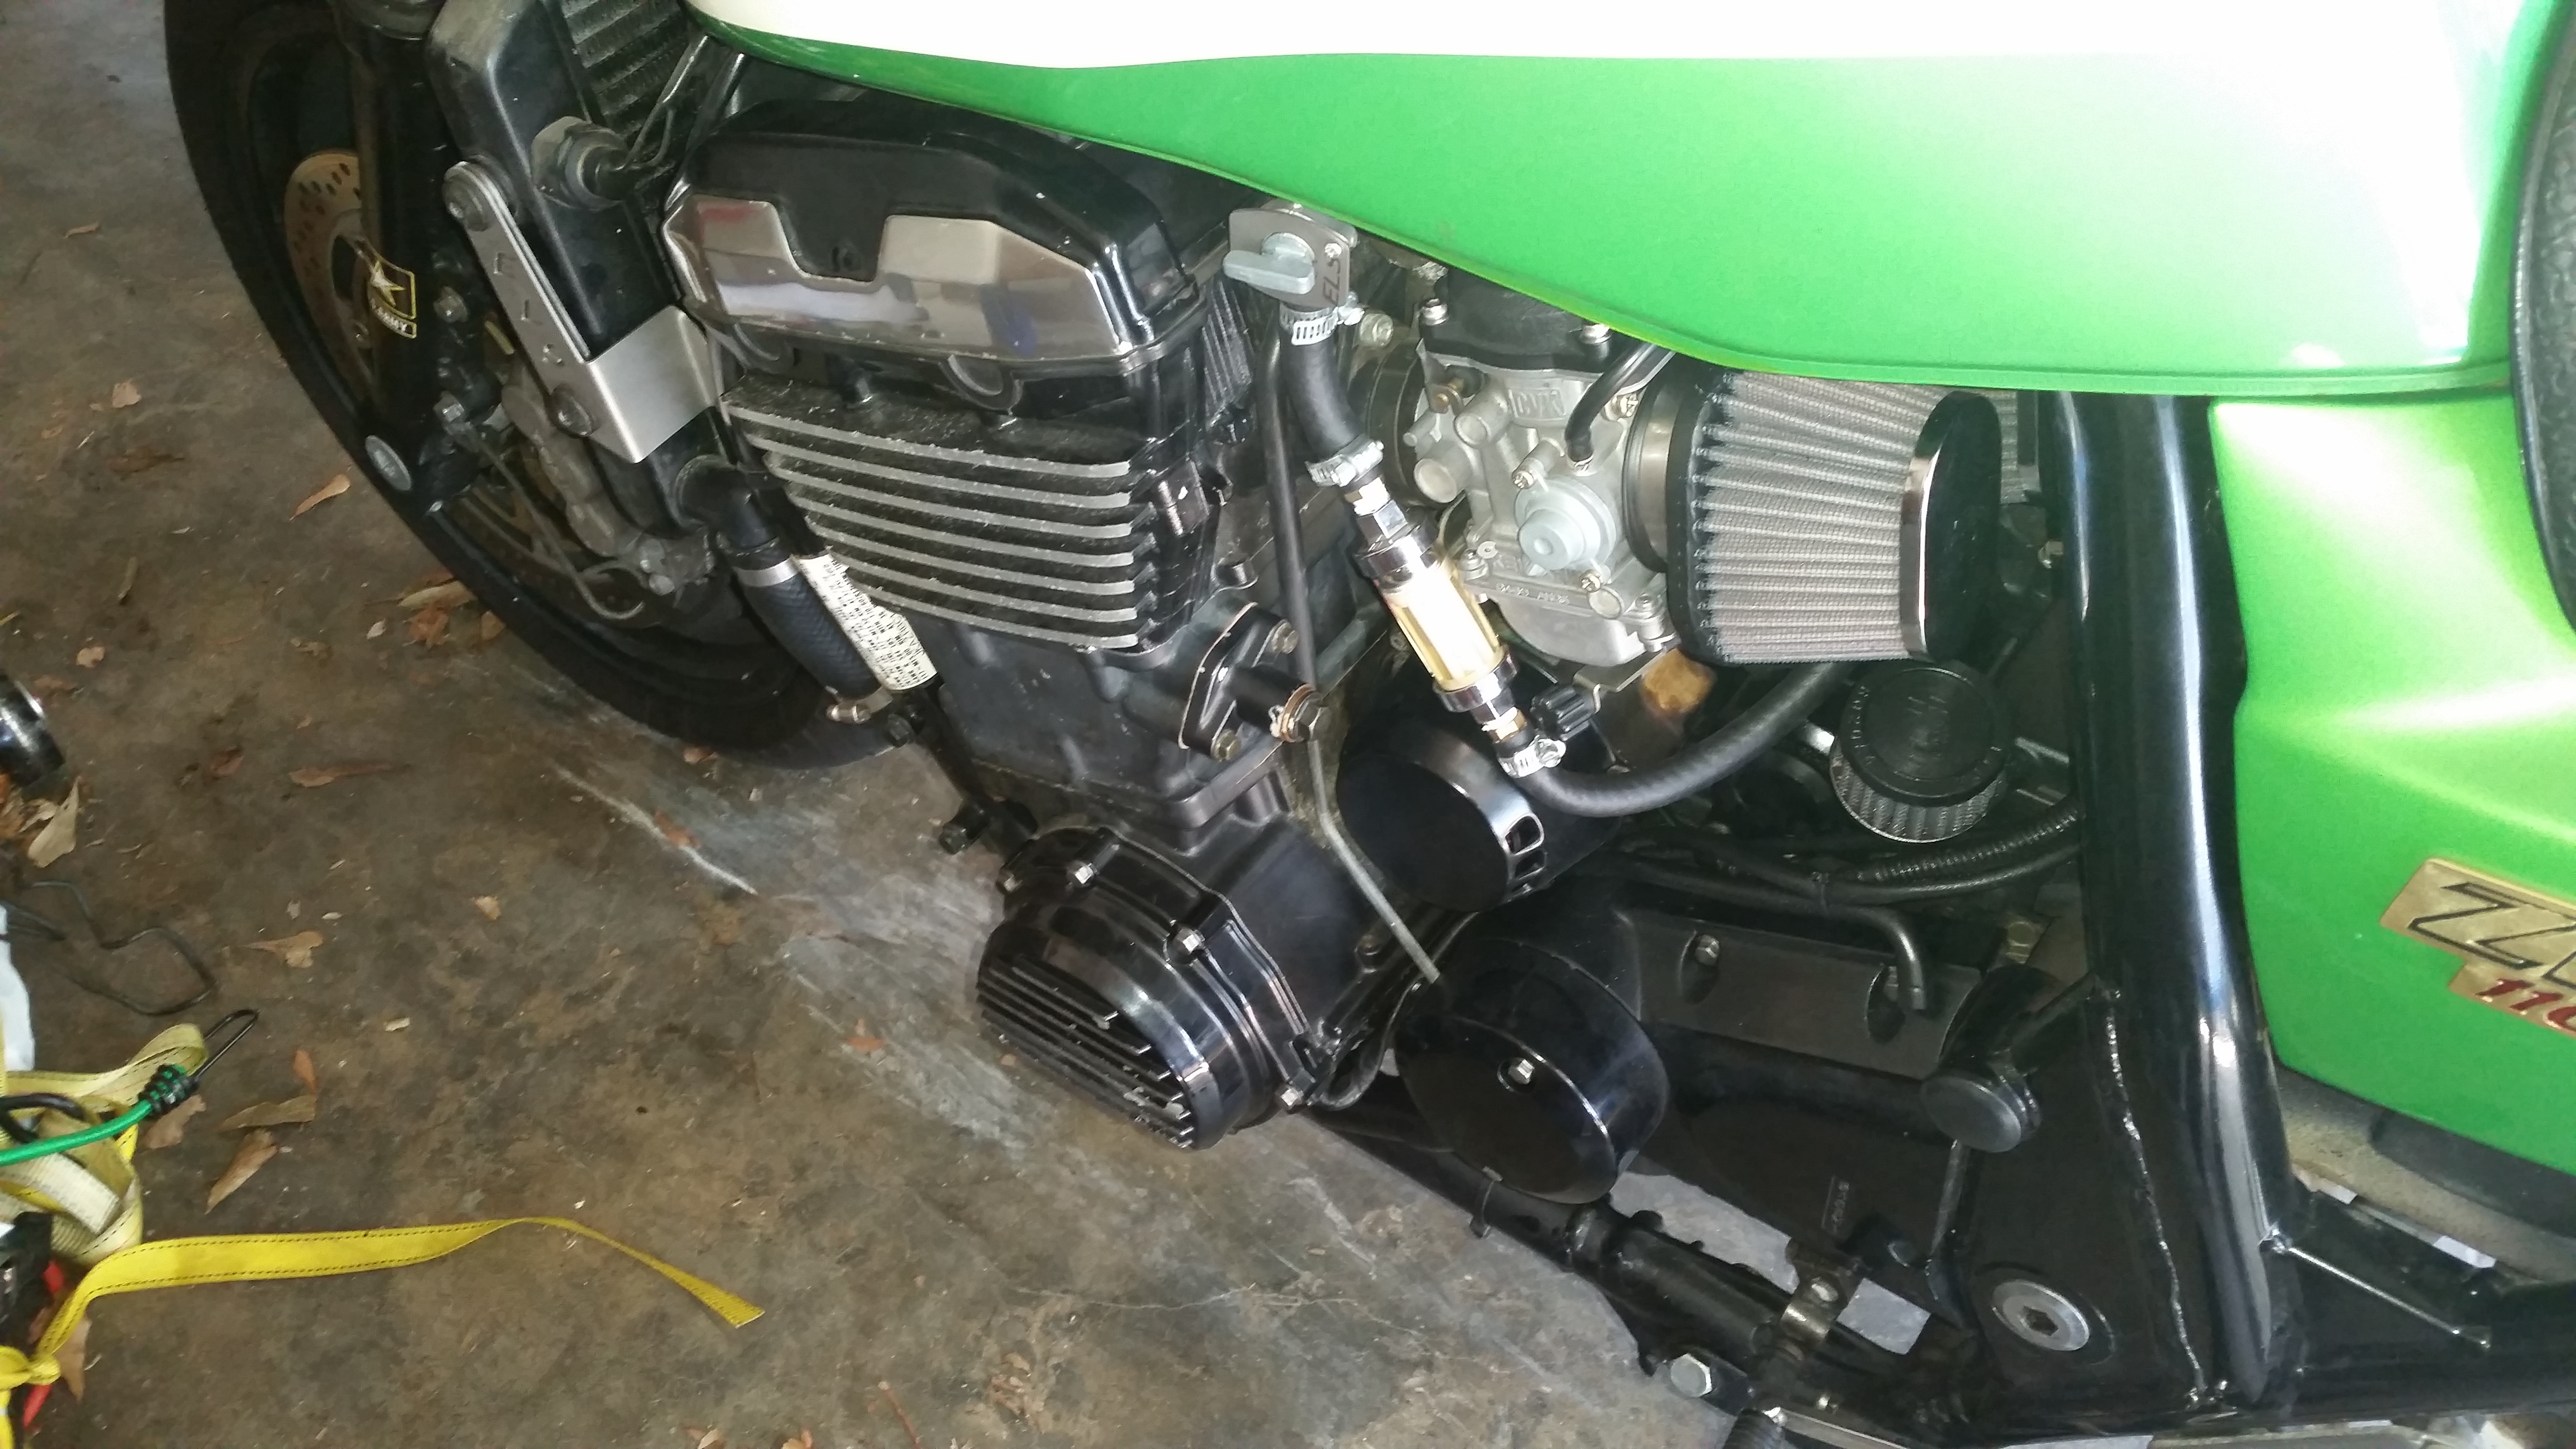
Today the new frame bolts came in so I went to install it, only it wasn’t quite that easy.  Nothing I do ever is.  The right side radiator connection was in the way and I couldn’t get a socket in there.  So I removed the hose and made a mess on the garage floor with spilled coolant but the radiator connection itself was still in the way.  So I ended up needing to unbolt most of the radiator connection so I could push it out of the way.  Once torqued down, I re-bolted the radiator back up and set to fixing a different exhaust issue.

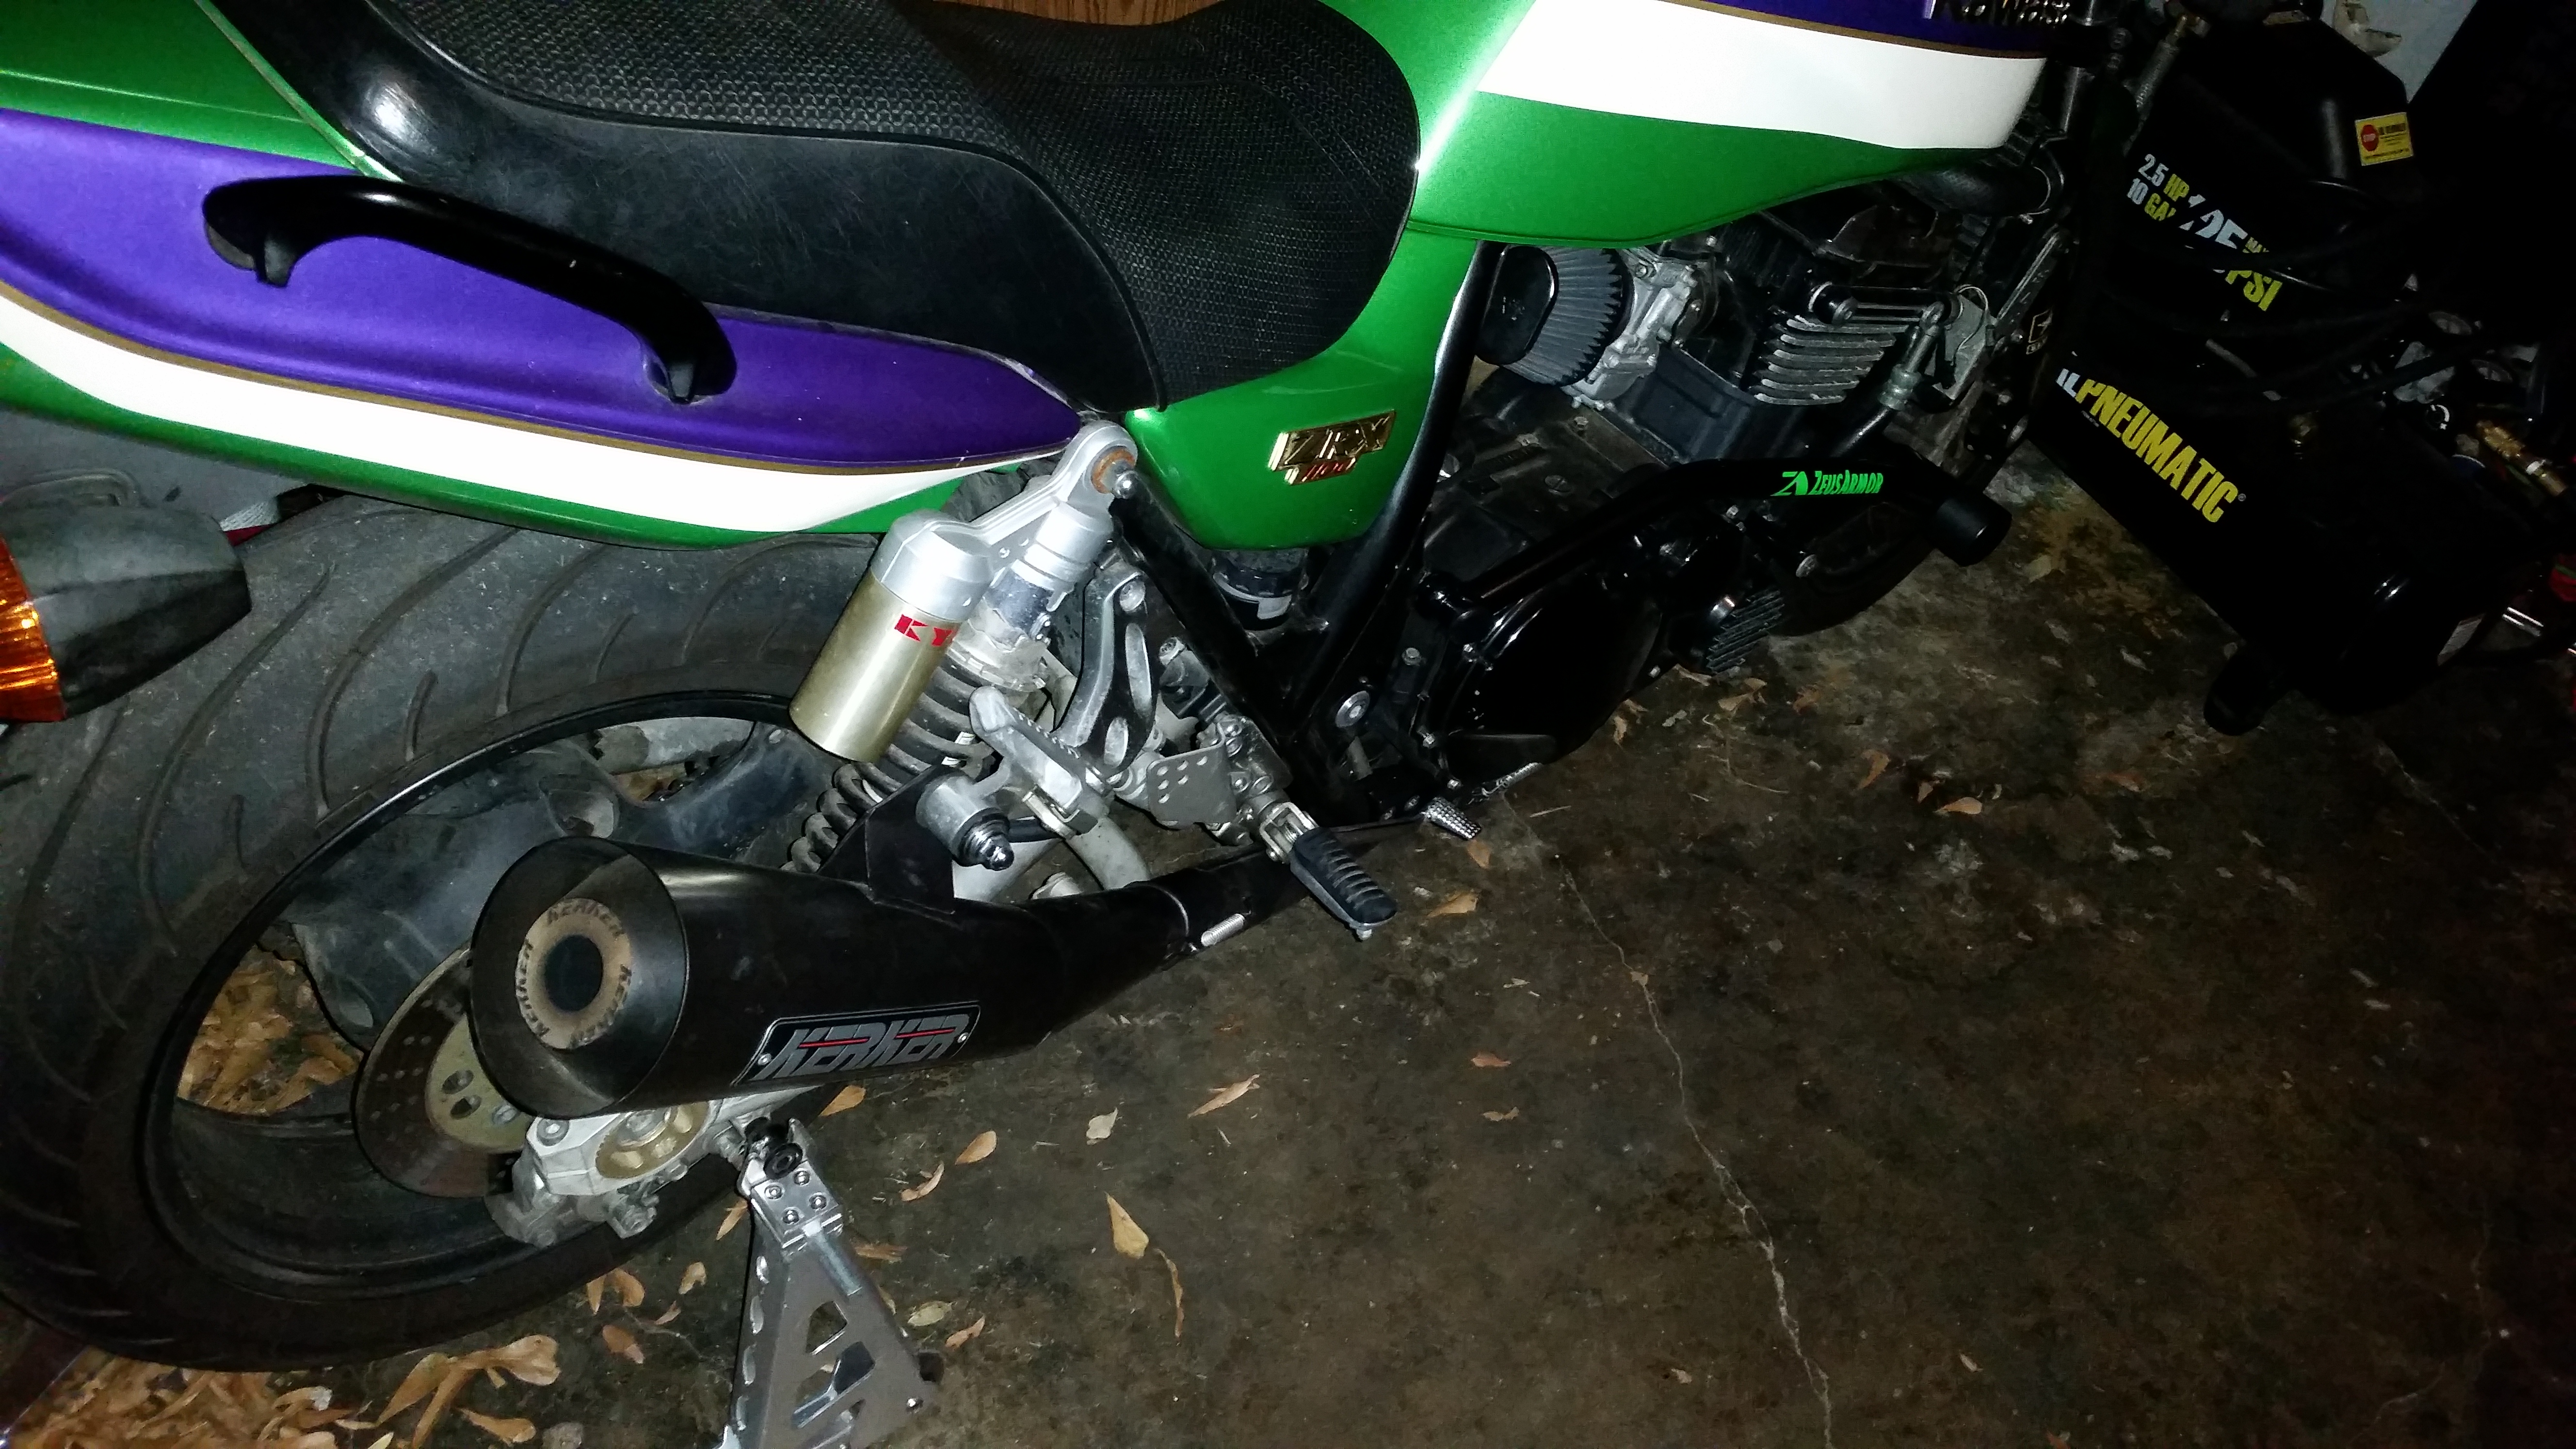
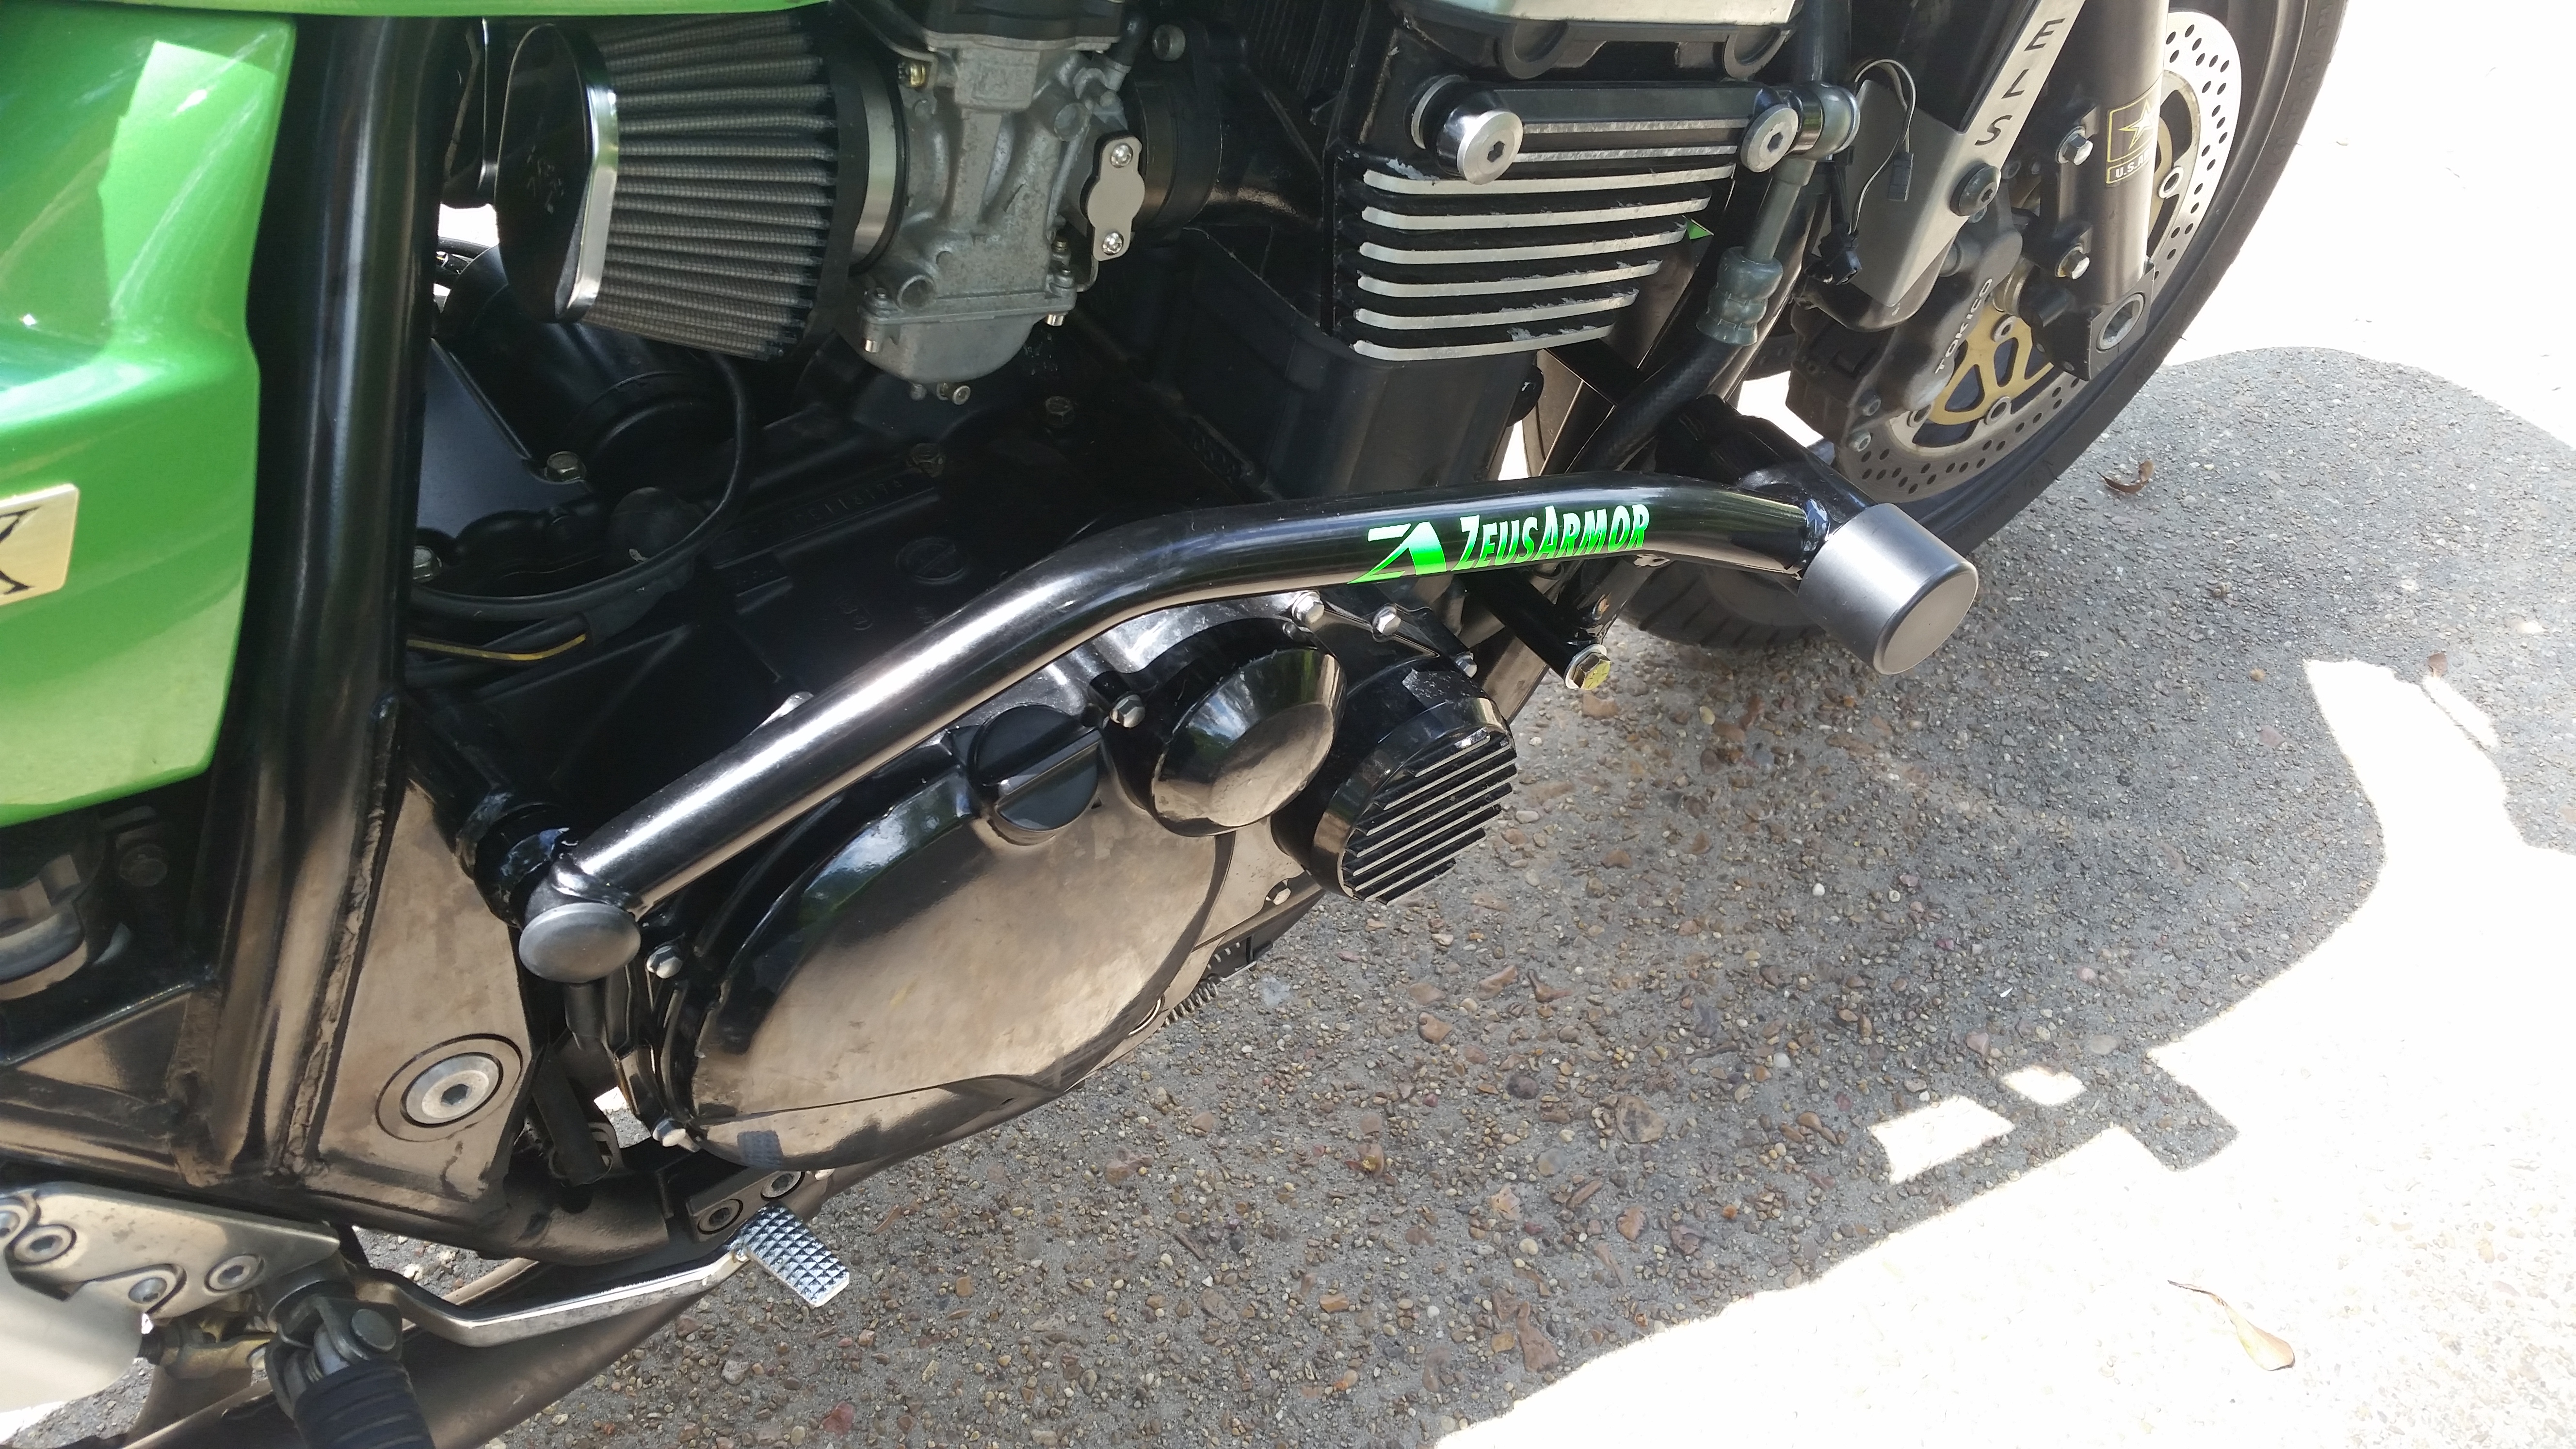
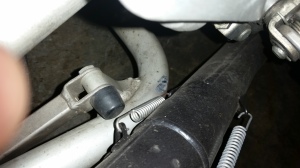
When I bought the bike numerous folks on the OA pointed out that the muffler was mounted incorrectly.  Here is a shot of how it was mounted when I bought the bike.  The muffler hanger is on the outside of the rear pegs/hanger and the springs are not quite lined up.

Exhaust Before

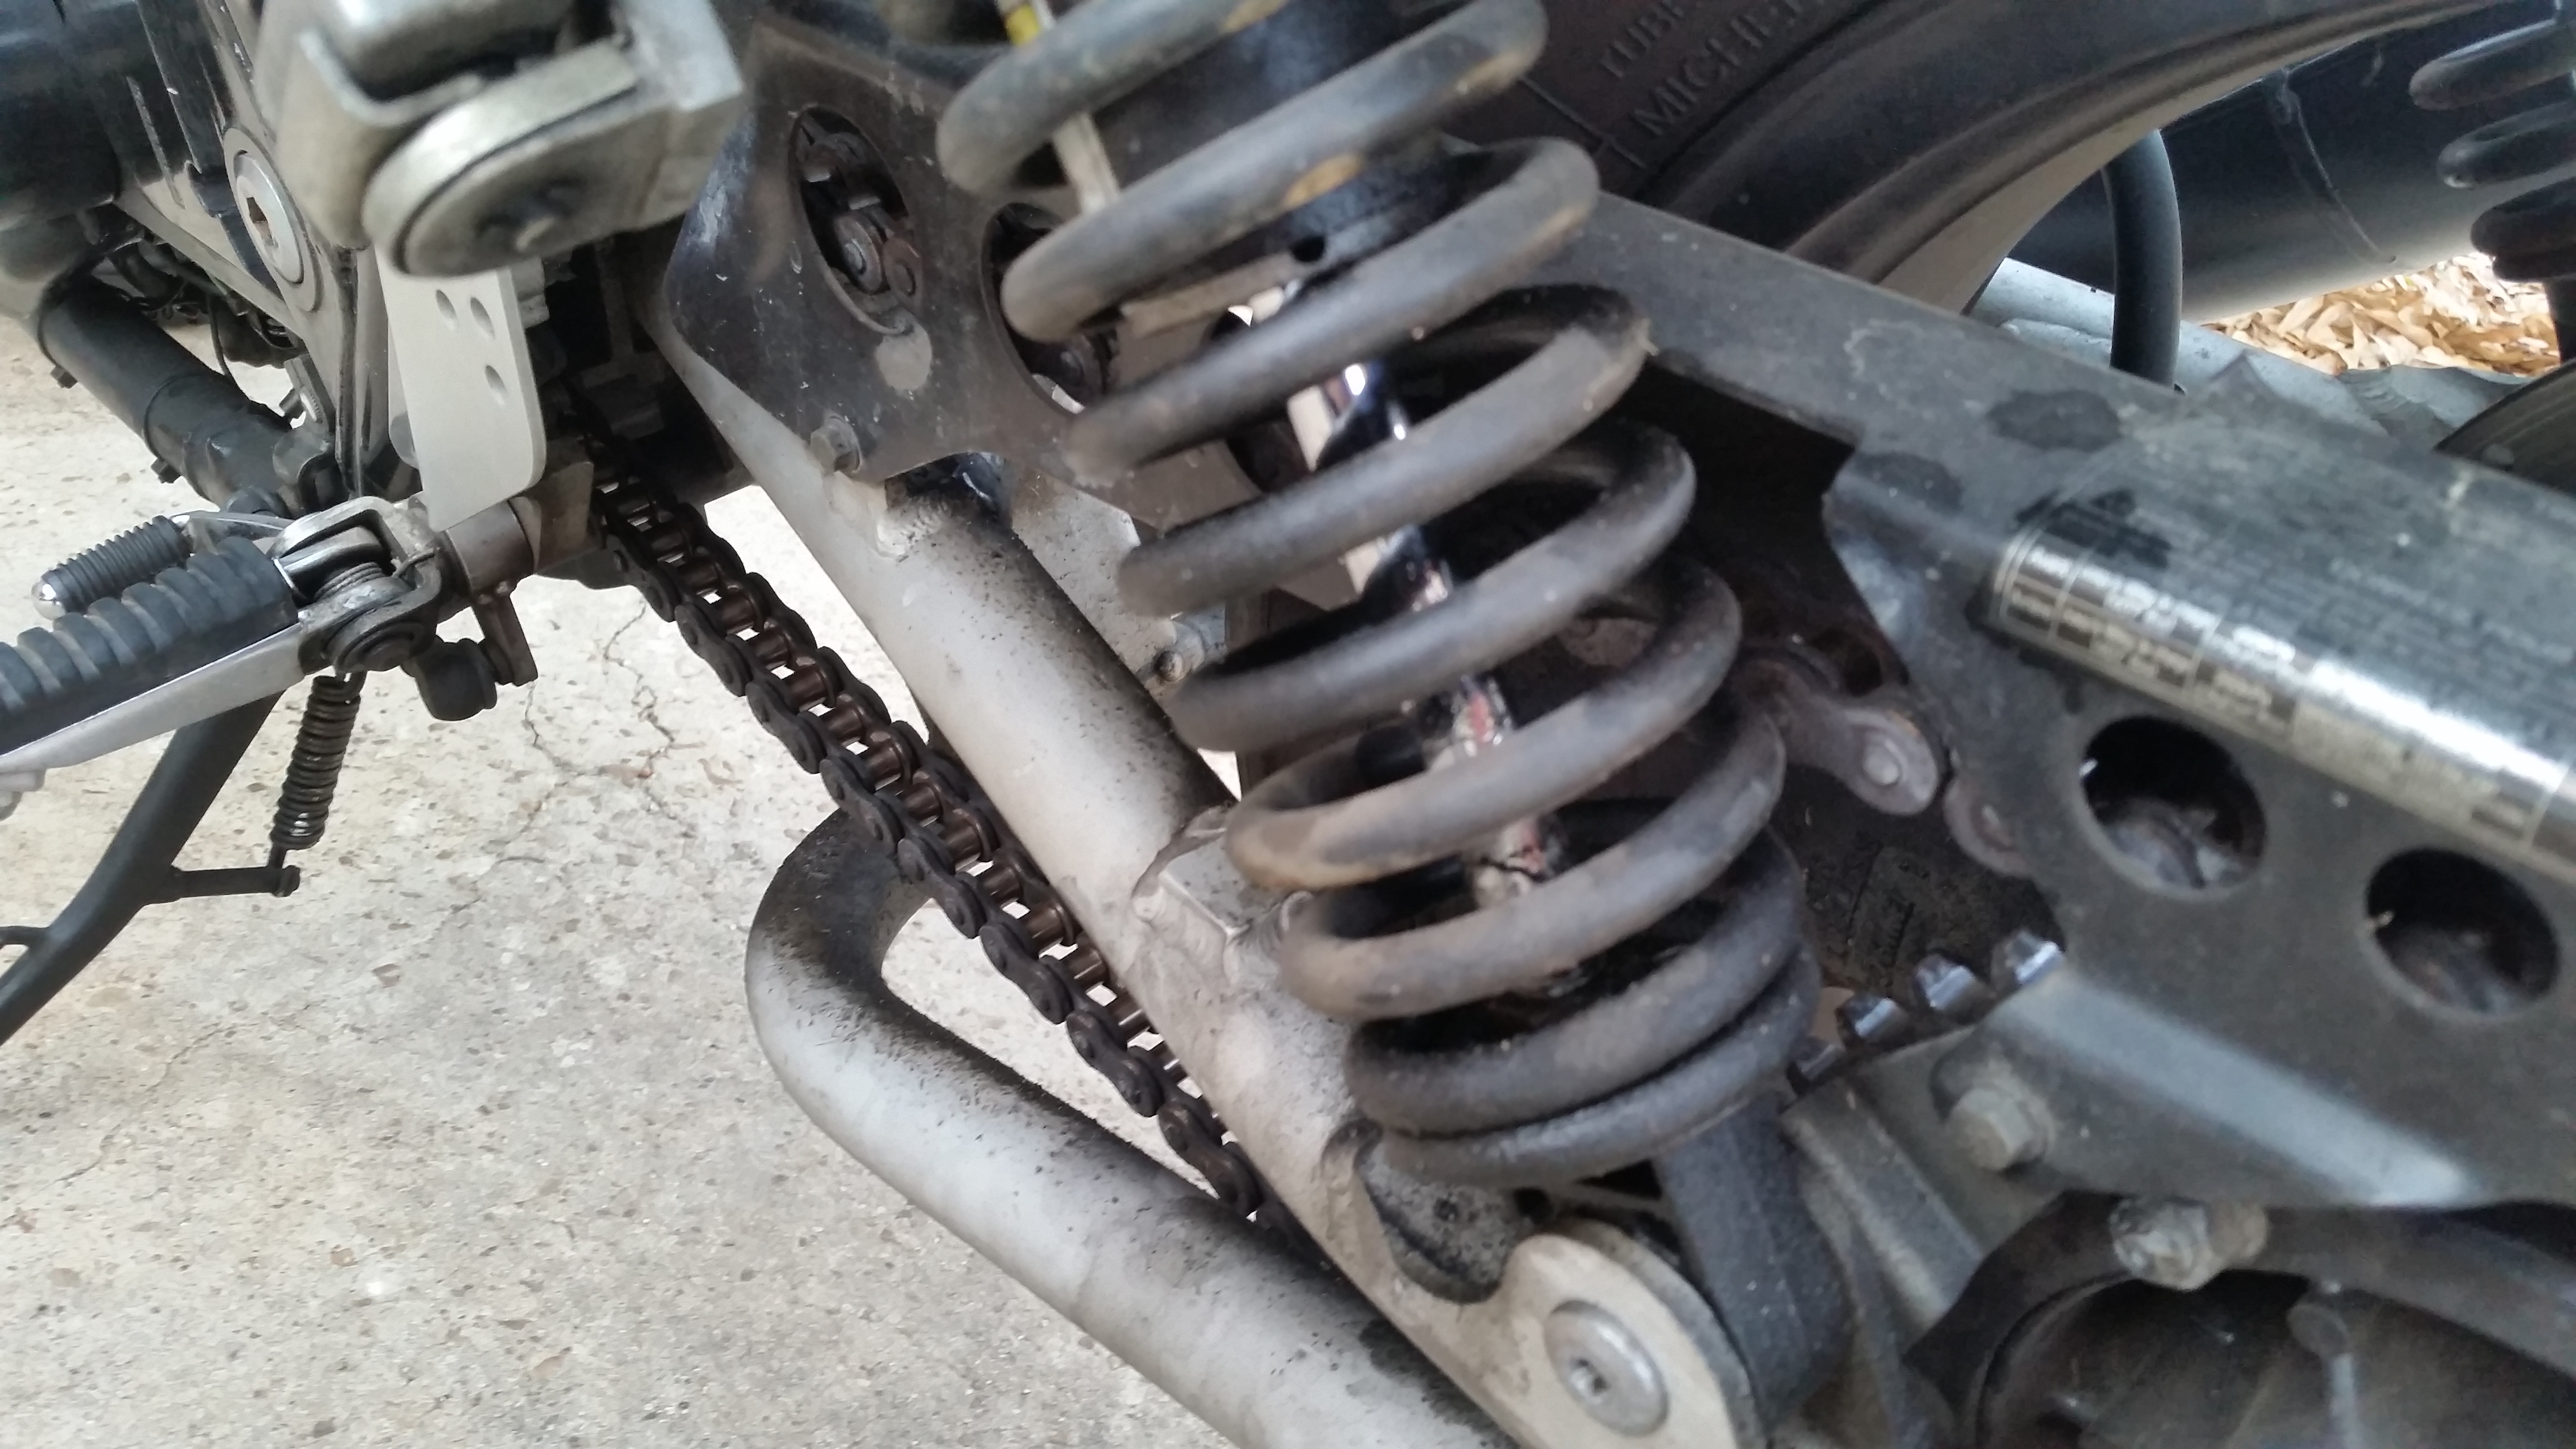
After unbolting the muffler you can also see where the inside spring mount on the mid-pipe was rubbing a notch into the swing arm.

Swing Arm Rubbing

So I worked the muffler loose from the mid-pipe and loosed the rear hanger a bit.  Then I tried and tried and tried….and then tried some more to get the muffler mounted to the rear of the hanger where it belongs but I just could not get it to line up.

Exhaust Hanger Alignment

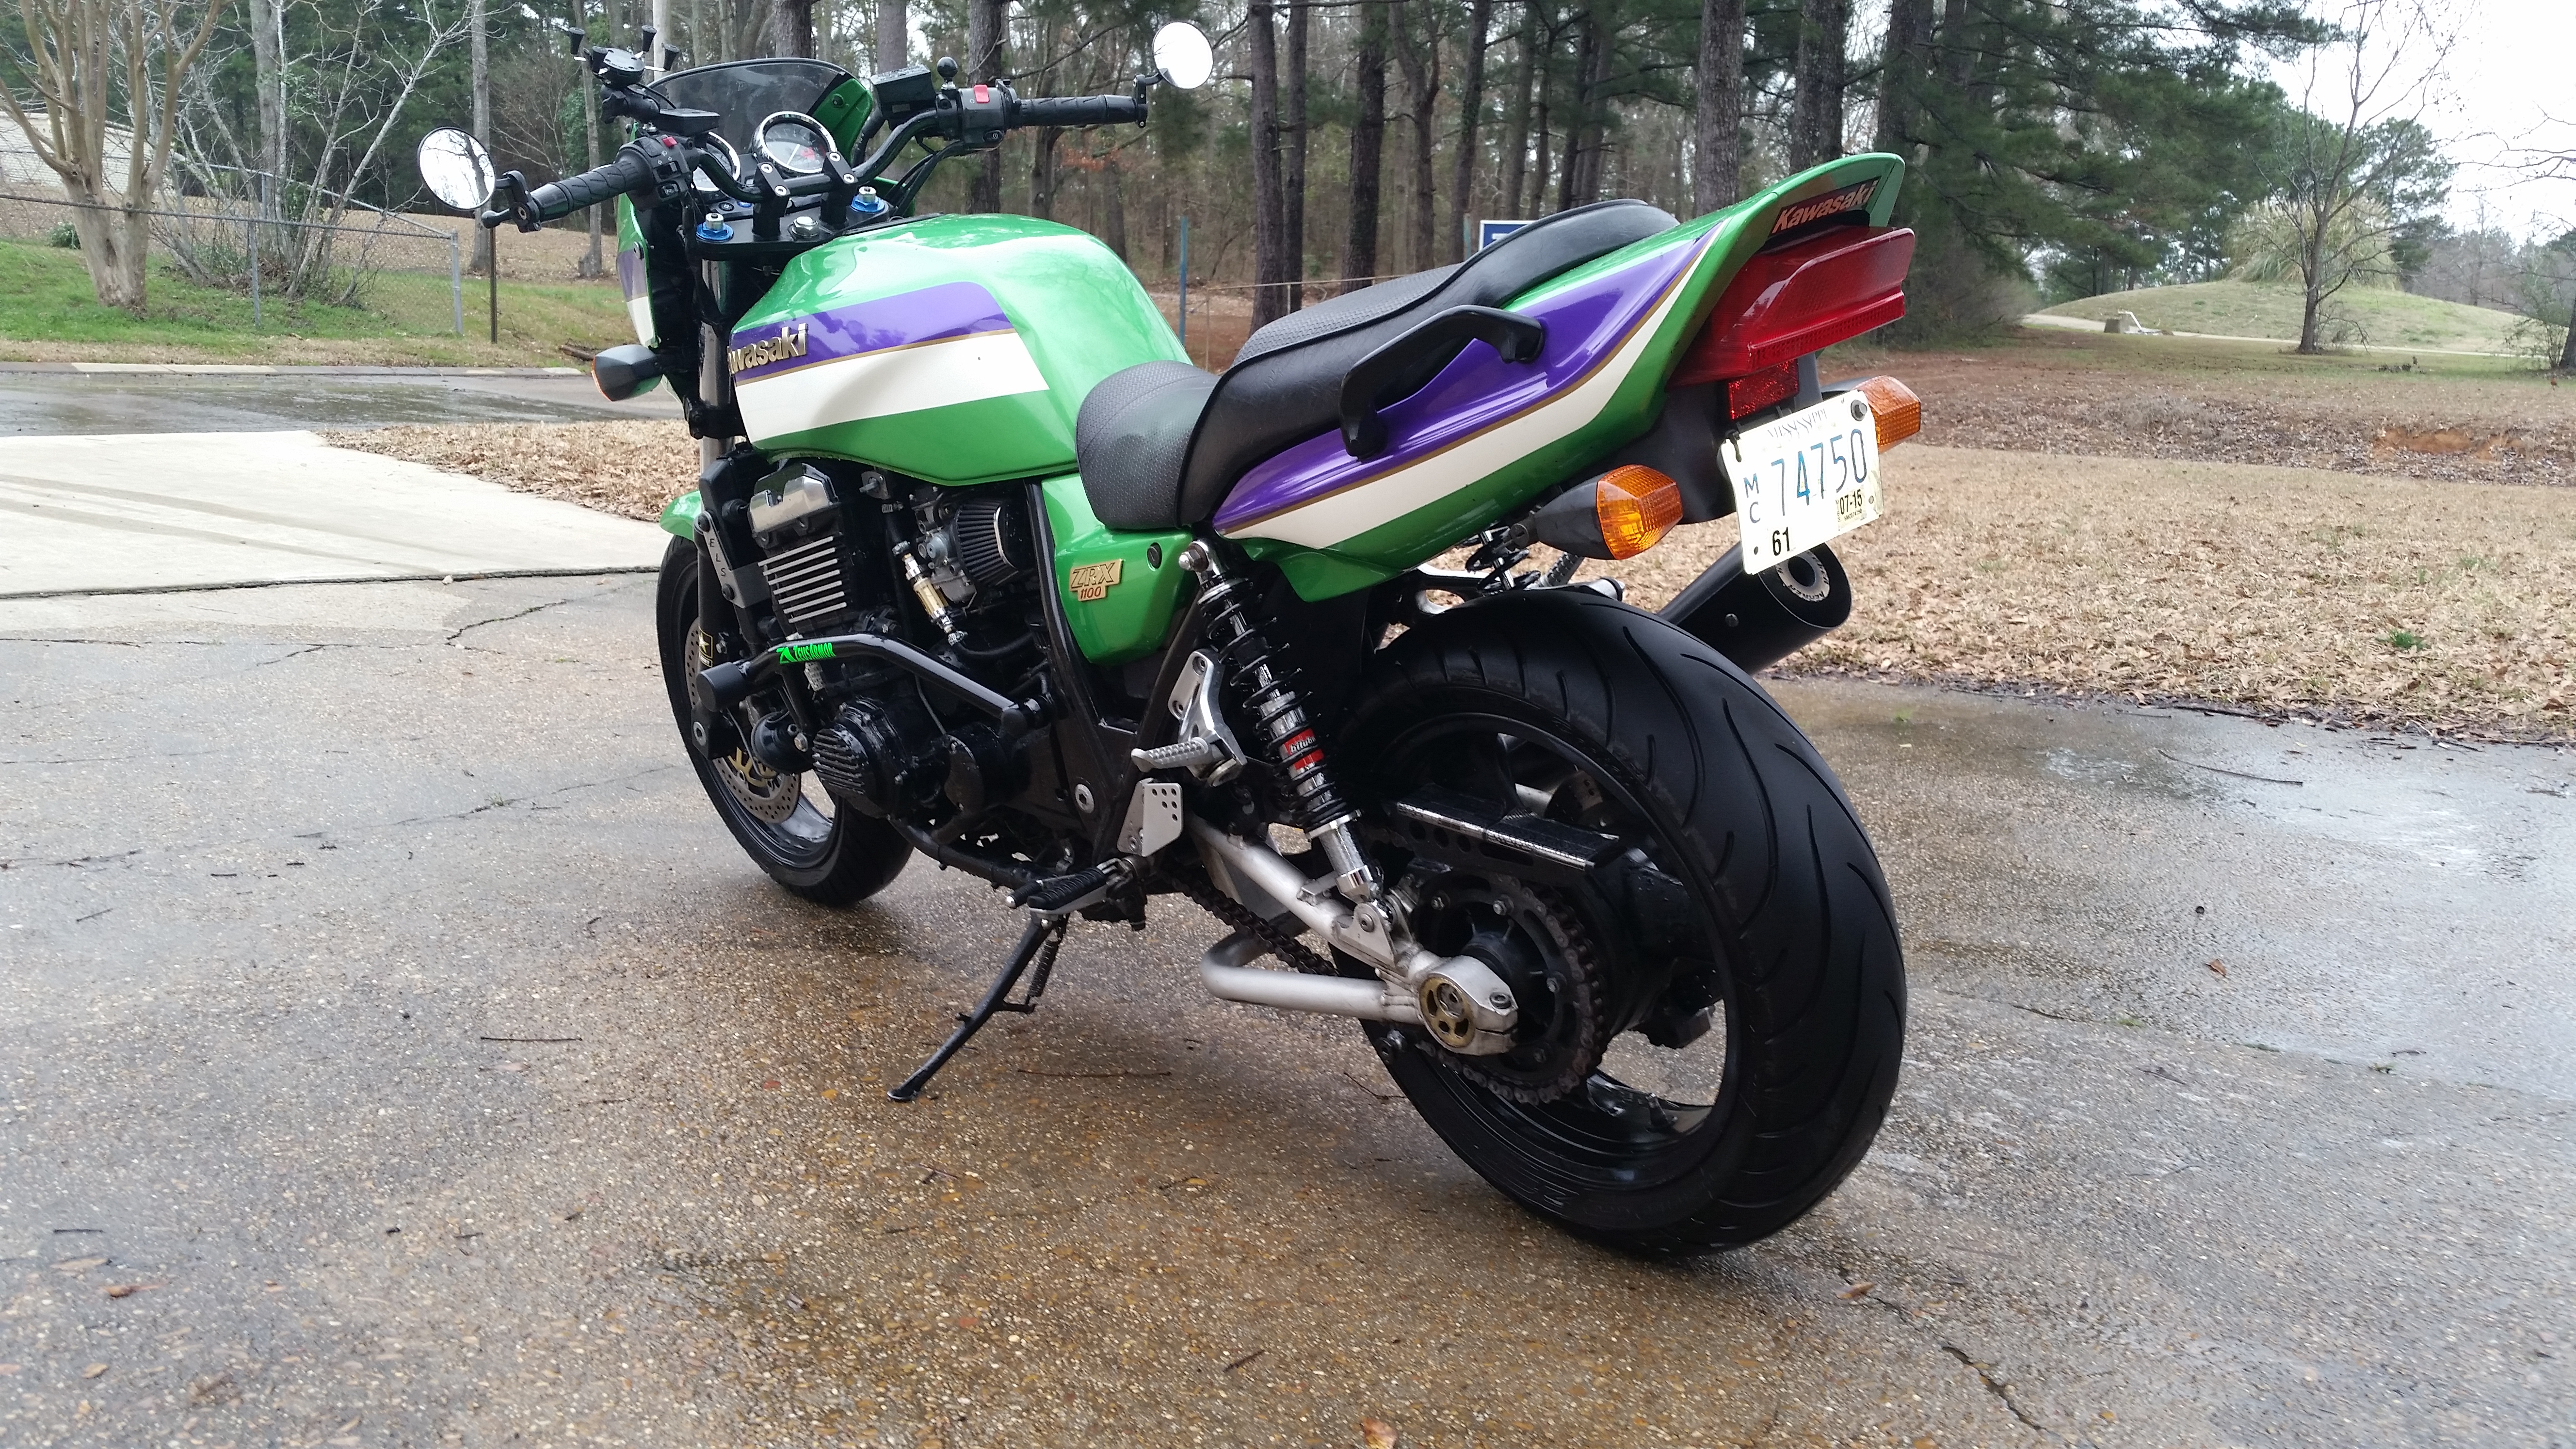
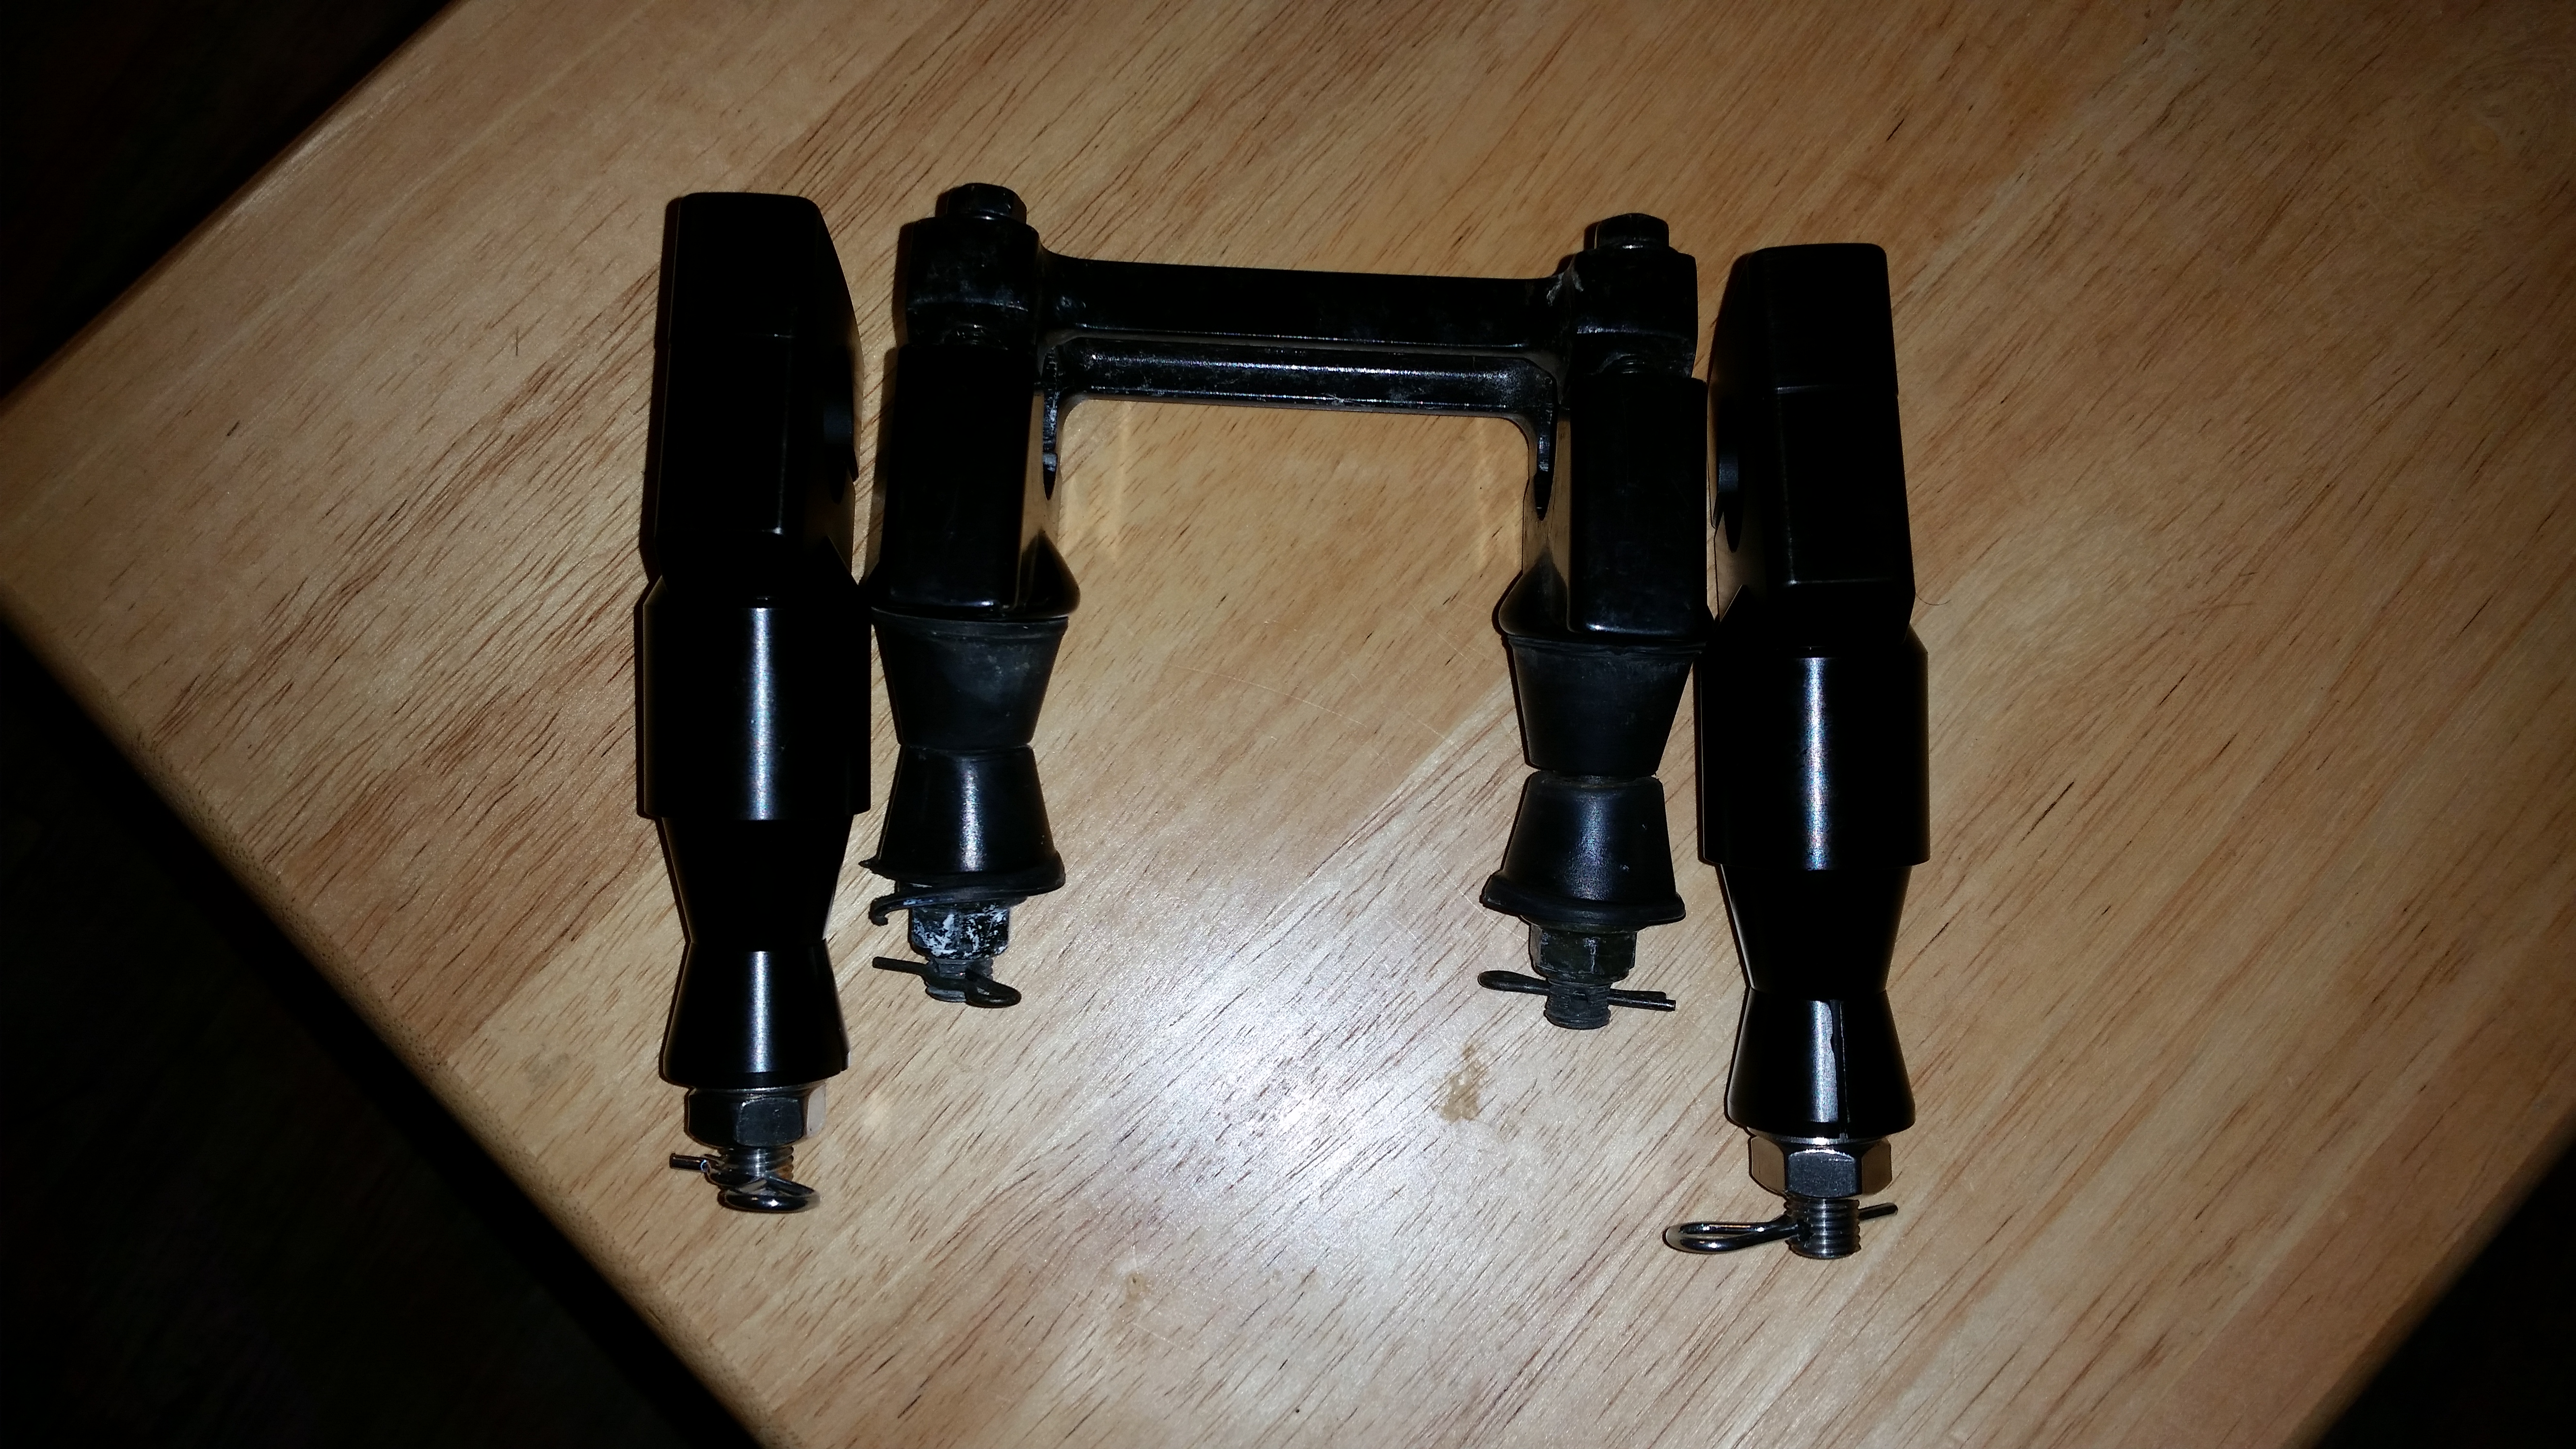
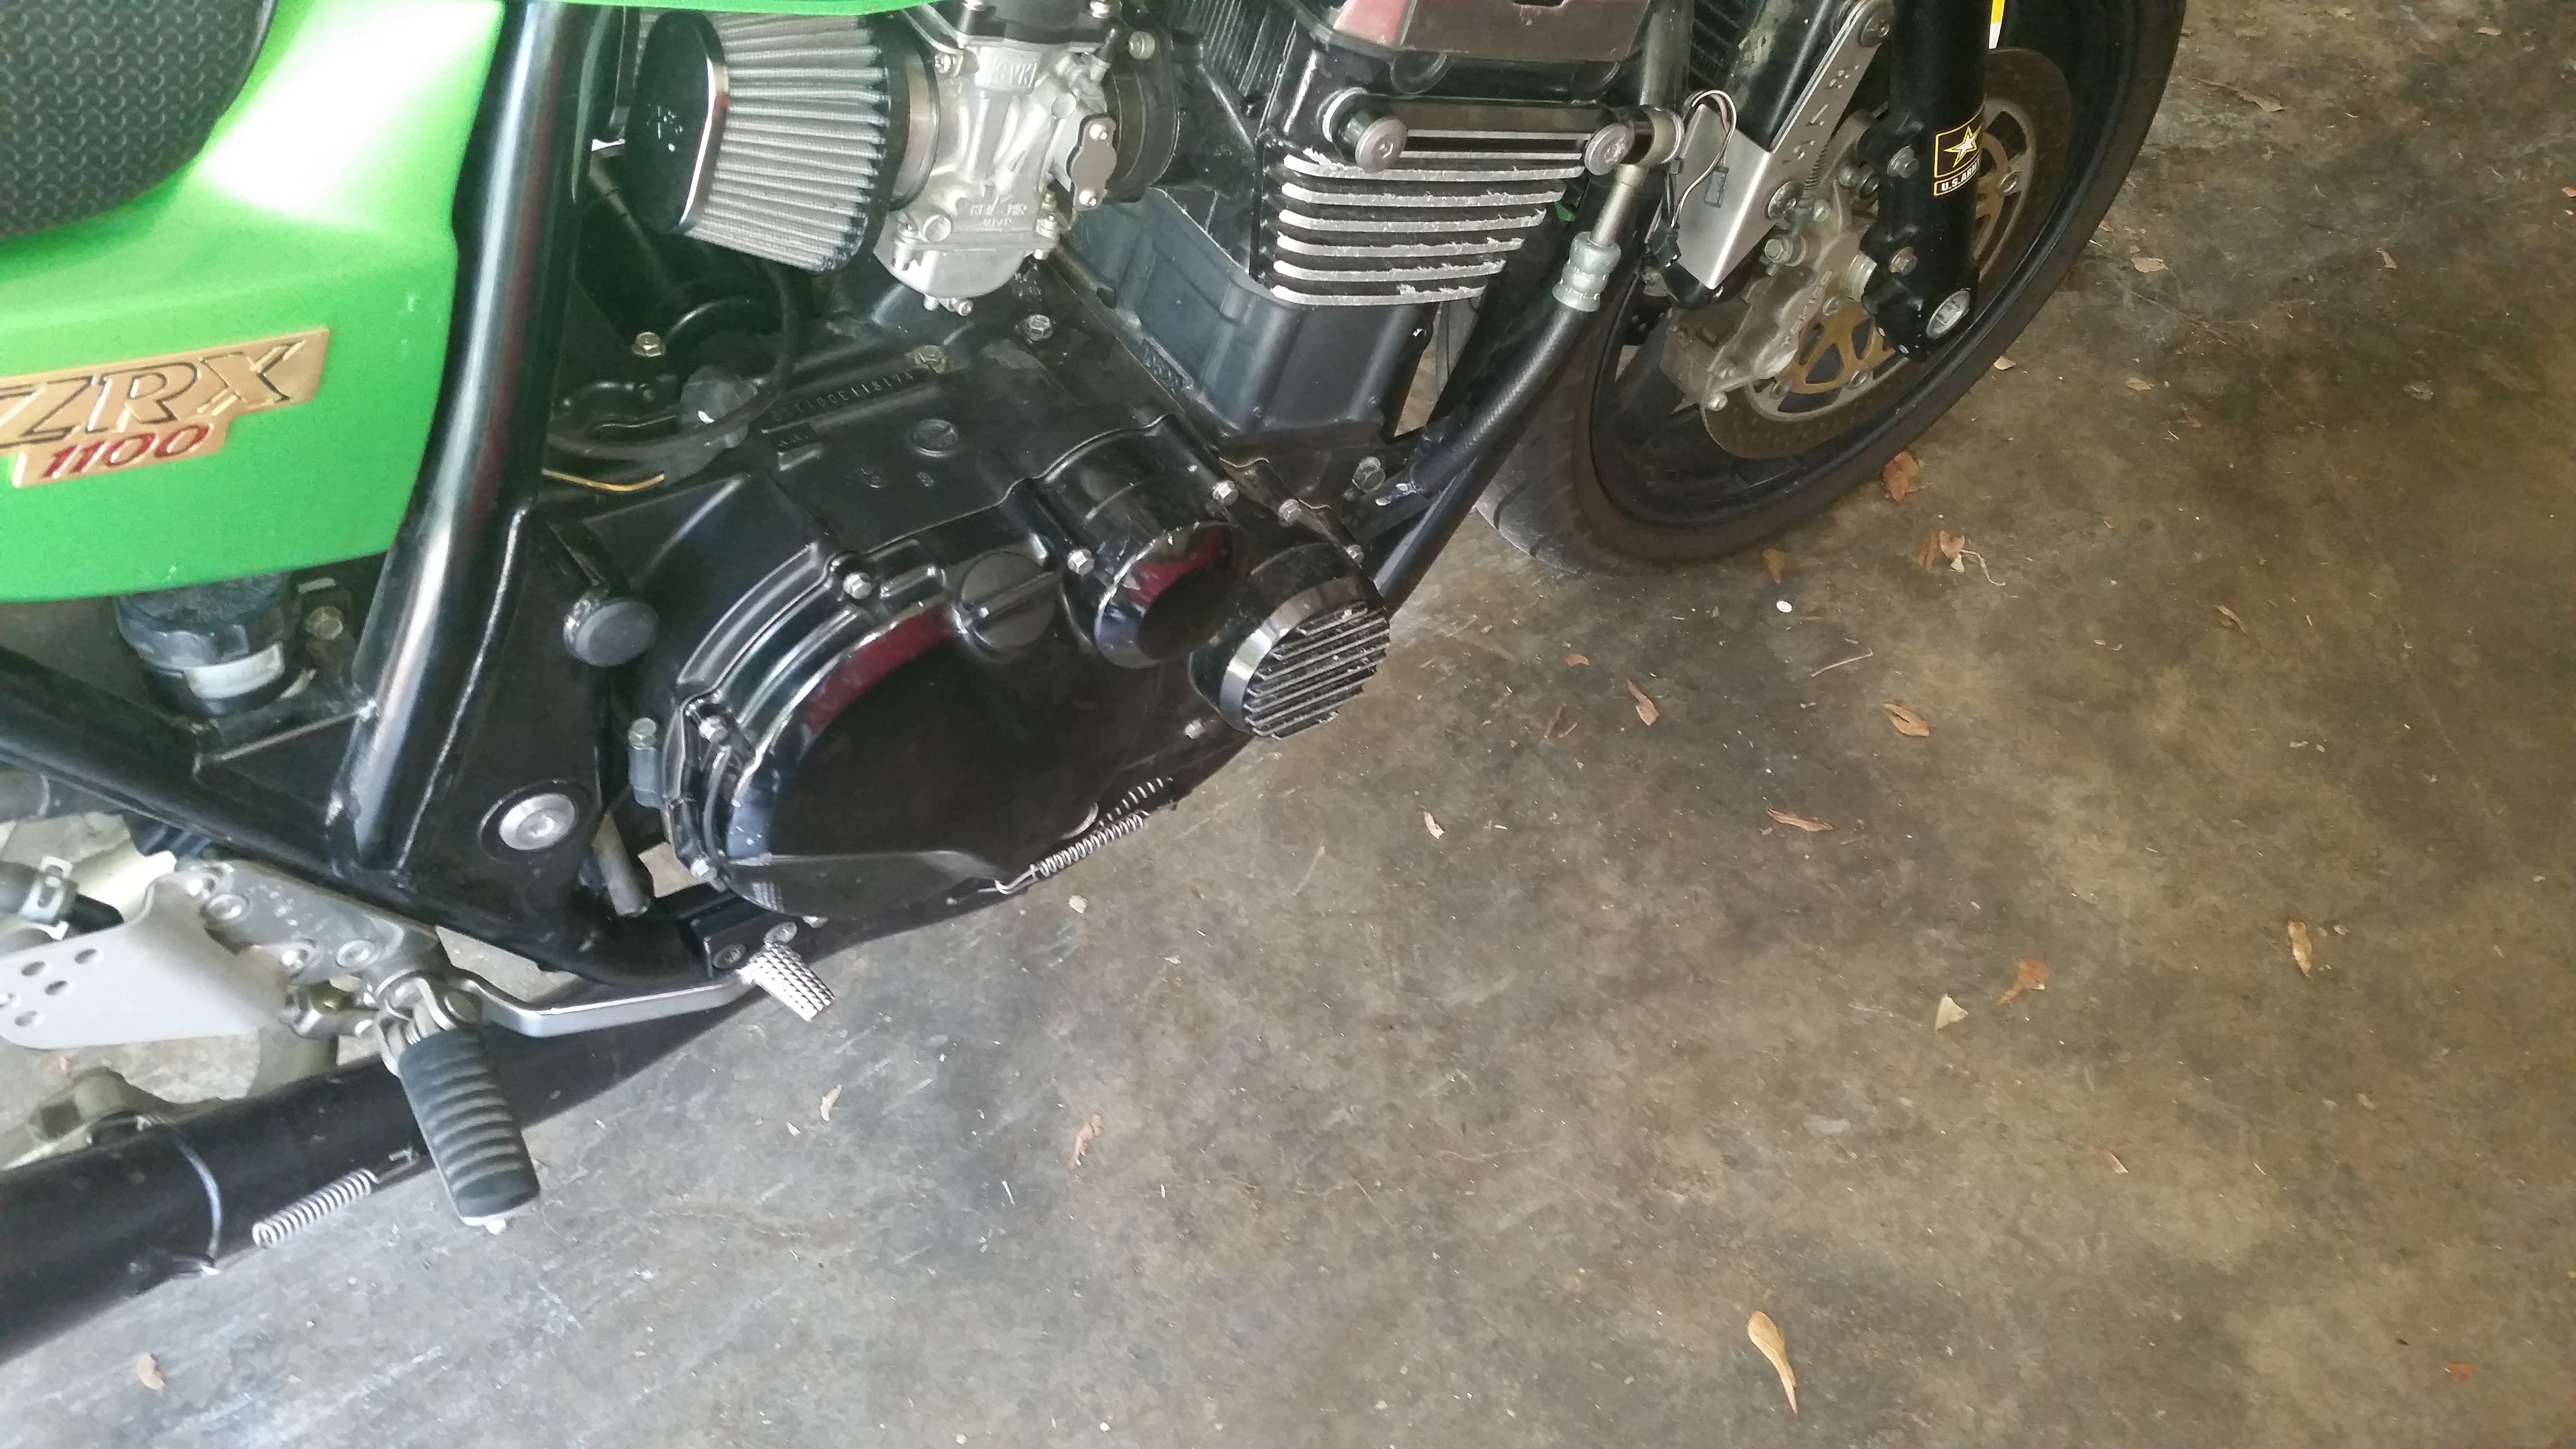
Finally I just completely removed the rear peg/hanger, bolted it to the muffler then brute force man handled the exhaust until I was able to get the peg/hanger bolted back into place.  Then came the issue of getting that inside spring back on, that was not something I want to do again soon as there is very little room in there to work with.  So here we are with the exhaust setup in the proper location.

Exhaust After

So after all that cursing and sweat I decided it was time to suit up and take her out for a good ride since I have had very little time for it at all in the past week since I’ve been busy putting down a new floor in one of my offices and driving the work van.  It was well worth it as usual.


New Bar Risers

Took a few quick minutes this evening to install some new bar risers. Being a little on the taller side, the stock ZRX risers had me leaning forward a little more than was comfortable for me. Fortunately Greg Couch over at the ZRXOA makes a set of risers and cones out of aluminum that are 1″ taller than stock. I was in a rush when putting them on as it was getting dark and I began to run late for a dinner so there aren’t any before pictures. Though here is a shot of the stock risers next to the new ones.

Bar Riser Comparison


And here are a couple of them installed I snapped after getting home tonight.

Bar Risers Installed 1 Bar Risers Installed 2

And yes, I know the bike is filthy.  It did sit for at least a couple years before I picked it up at auction, outside from the looks of rust on some parts of the bike.  One day I will get some time to shine her up.

It didn’t seem like much of a difference just sitting on the bike after bolting everything up but once I got out on the road for a bit I could tell that they were allowing me to sit in a more natural state without needing to have my shoulders as far forward as the stock ones did.  I think I’m going to like them just fine.

Birthday Swag and Admiration for the REX

Since my hatching day is this weekend, my family took me out to eat tonight.  I chose one of the more relaxed and laid back seafood establishments to get my oyster on, Shuckers Oyster Bar.  This was the first time I have used the REX for anything other than commuting or riding for the sheer joy of it.  One of the things I like about this place is that half the seating is outside and they reserve a section of parking lot right in front of the door for motorcycles only.

When I pulled up, there must have been a good dozen or so bikes there already.  Folks that took the day to enjoy the weather that is finally starting to cool down from the horrible southern heat that’s plagued us the last couple months and were stopping in to get their oyster on too.  I’ll admit that the Kawi green REX looked out of place amongst what was strictly cruisers and one spyder, all of them black with the exception of one burnt orange Honda.  As we sat waiting, and waiting, and waiting for some service (but that’s a whole ‘nother story), I began to notice a trend as all the other bike riders left.  Nearly each and every one of them stopped at the REX to give it a good looking over with what mostly seemed like curiosity but a couple of them talking to each other and nodding their heads approvingly.  I might add that most of them were slightly older riders.  I mention this only because most people under around 35ish usually look at my REX as “just an old bike”.  It was nice to see so many people have some appreciation for something that isn’t your standard run of the mill cruiser or sport bike.  Around here Harley is usually the road king with most people and ‘busa/CBR/ZX being popular with the kids.

There was another guy that wasn’t a rider that night go out and give it a once over who then came over to talk to me about it.  He asked how long I’ve had the bike and after answering, he asked if I got it at an auction.  Turns out that he knew the previous owner and spun me a story that explains why the bike had sat for a couple years before showing up at the auction I bought it from.  Turns out the previous owner went to prison.  I didn’t ask any particulars about what happened to get him there, I just hope that he doesn’t get out one day looking for his bike.

Once finished eating, we convened at my house to hang out for a while more and the family broke out some gifts.  They were some really nice items.  First up was a set of Crystal Head Vodka that came with 2 skull shaped shot glasses.  While this wouldn’t normally be hugely noteworthy, this particular bottle is autographed by the great Aykroyd himself when he was in town.  My brother had told me about him showing up for a meet and greet but I wasn’t able to make it out, thankfully I have thoughtful family members and he grabbed a bottle for me while he was there.  Thanks Bro!  The second item was a pair of Xelement XG-852 deerskin gauntlet riding gloves.  These are so much better than my basic leather glove that I have been using as gear.  They have a double layered pre-curved palm, anti-slip material on the thumb/index/middle fingers, gel padded palm heel, fleece interior with 40g of thinsulate and the gauntlet part is zippered for removal in warmer weather.  I also like the fact that they fit so much more snug than my basic pair does so I shouldn’t have any issue with gaps and the glove wanting to bunch up and travel on me like the current pair does.  I can’t wait to give them a try.

Birthday Swag 2014


Case Armor, Suspension and Horn Relocation

Sometime last week the engine case slide rails finally came in and I had some free time today so I figured I would install them.  They are built by Zeus Armor who custom makes a number of parts and accessories for bikes.  I wanted a little protection for the engine in case I was to ever lay the bike down.  Here is a shot of the pieces before.

Engine Case Armor

And a few shots of the bike’s engine before the install.

Left Engine Case Before Armor Install Right Side Engine Case Before Armor Install Both Sides Before Armor Install

After working out the best way to get the rails on since they came with no instructions I set to taking the stock bolts and rods off.  Once everything was test fitted and placed, they bolted right up without issue.  Here are some after shots.

Left Side After Armor Install Right Side of Engine Case After Armor Install Both Sides After Armor Install

They add about 10 lbs to the bike weight but I think it will be worth it in the long run.  They also came out with some highway foot pegs that can go in place of the pucks for long rides right after I received the rails and I might have to consider a set of those for trips.

I also took the time to put the horn back on.  I’ve been riding without it for a couple weeks now since I replaced the stock radiator mounts with smaller lighter ones.  I didn’t think I would miss it that much but there have been a few incidences where I really needed it to blare at asshats pulling dick moves on the road.  so I pulled it’s mount off the old shroud and looked around for a place to put it.  Found one right below where it originally was were the wires would reach in their stock location so no other mods were needed.

Horn Relocation

Along the way I put in the shorter RAM mount arm so the phone isn’t sticking way up in the air off the bars any longer.  Then ran a phone charging cable under the tank to the storage compartment and hooked it up to a Battery Tender USB quick disconnect plug that I can hook up when I need some juice to the phone.

Shorter RAM Arm Mount and Charging Cable

And finally, I played with some of the suspension settings to see if I can make the ride any better since I know that stock it was setup for a 150 lb rider which is half of me when geared up.  I put everything a couple clicks to the harder side than stock on both the forks and rear shocks.  Now I just need to go for a ride and see how it goes.